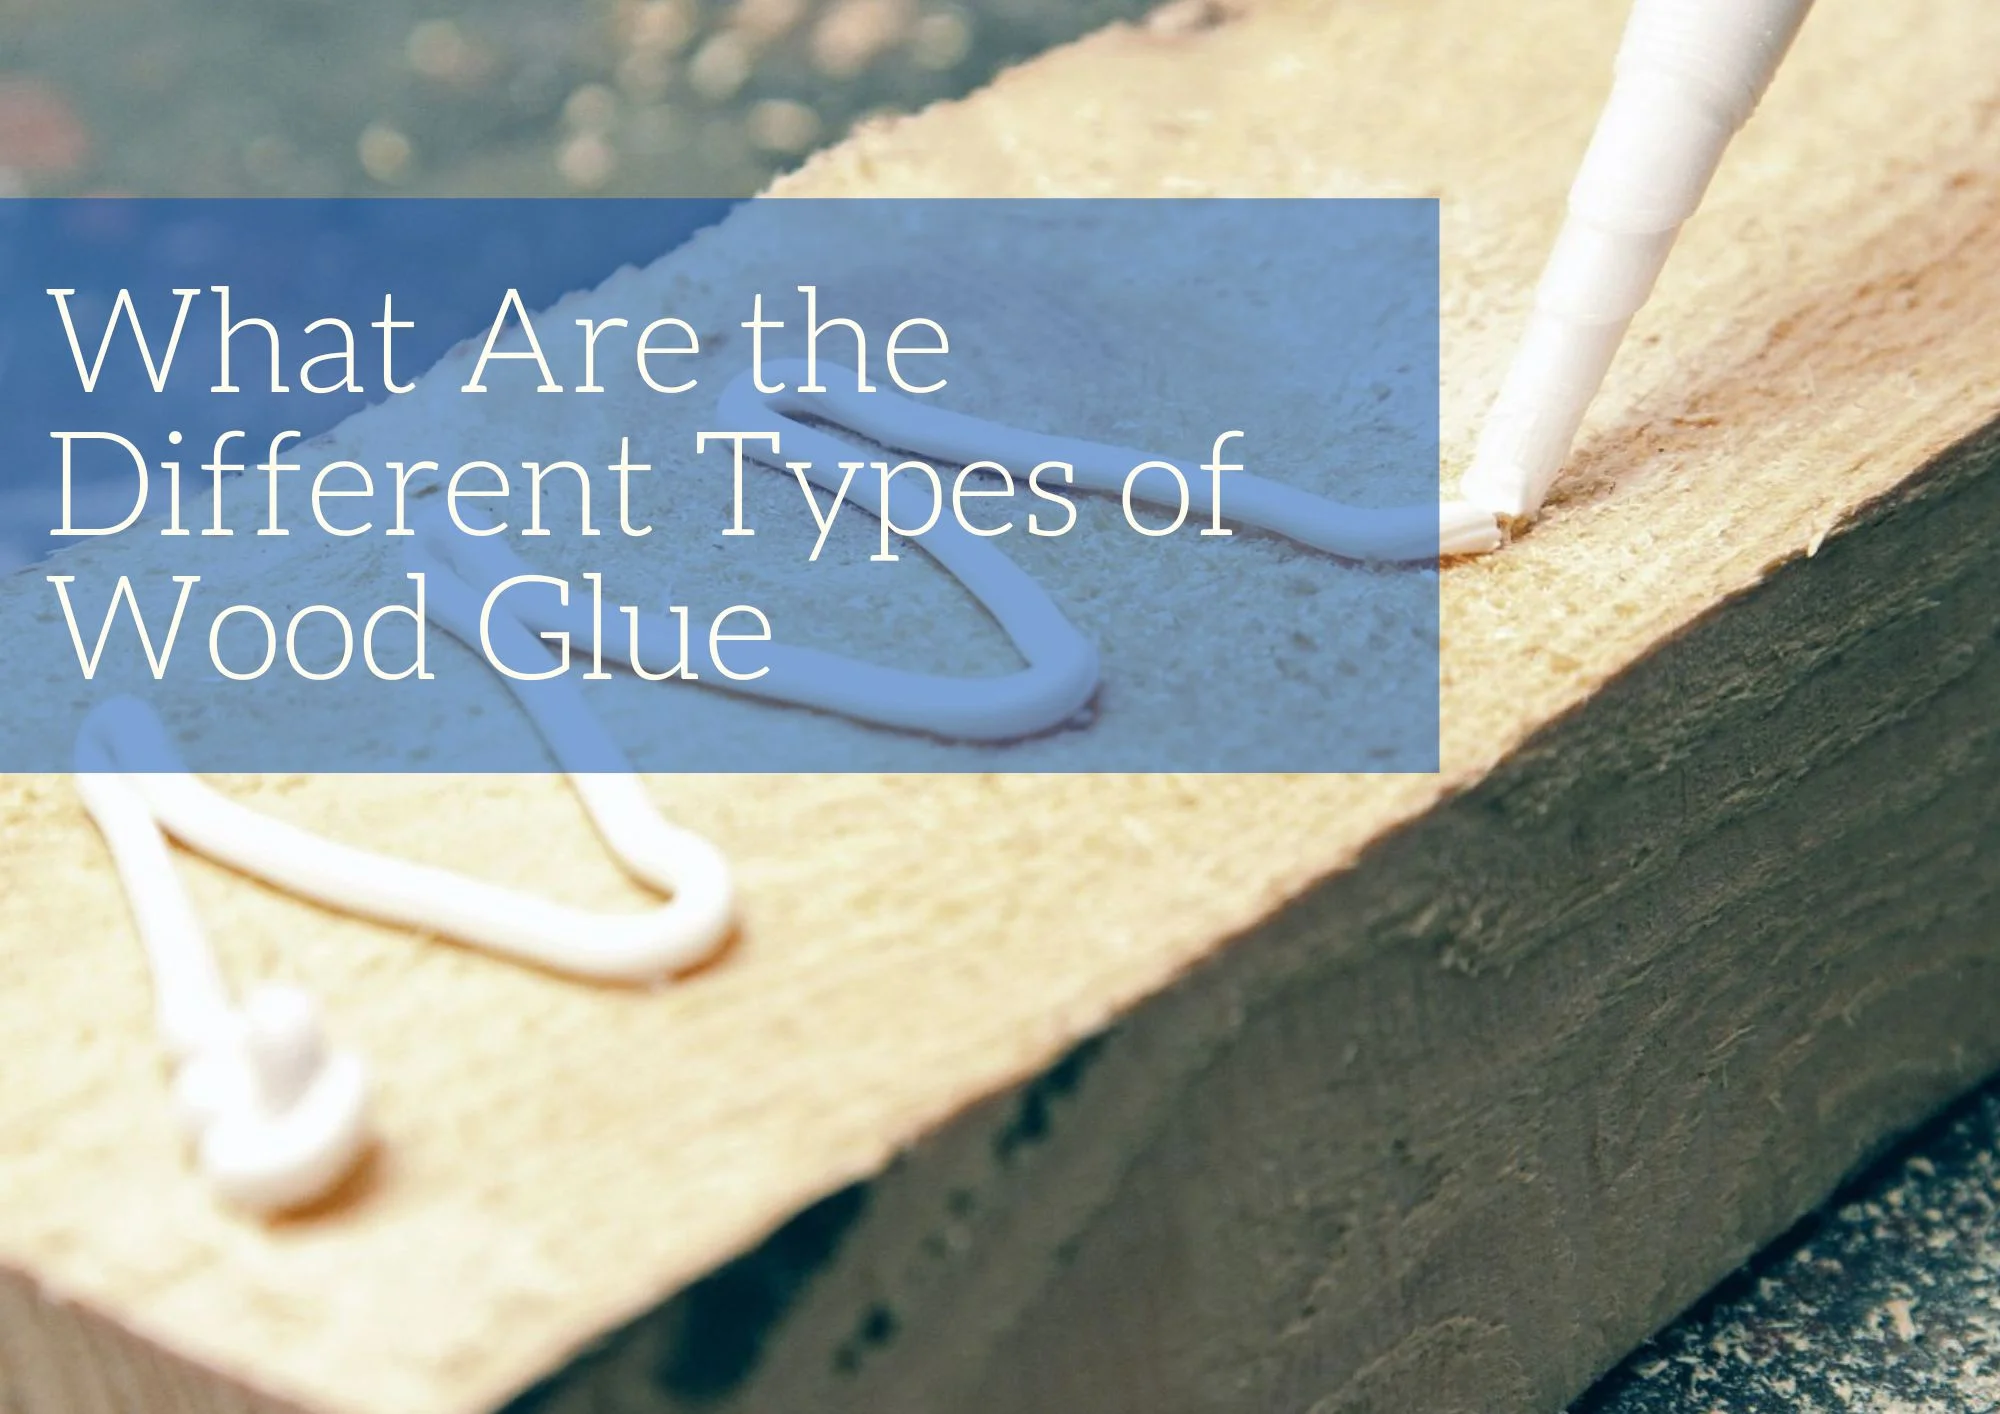
When it comes to DIY projects, having the right glue can make all the difference. Whether you’re building furniture from scratch, repairing a broken chair leg, or creating custom shelving units for your walls, wood glue is essential for bonding and attaching pieces of wood together. However, not all glues are created equal – different types of wood glue have varying levels of strength and application techniques that are necessary in order to achieve the desired result. In this blog post, we will discuss some options available when choosing a type of wood glue as well as provide tips on how to use each one so you can get the most out of your project!
1. Cyanoacrylate Glue: Fast Bonding for Small Wood Repairs
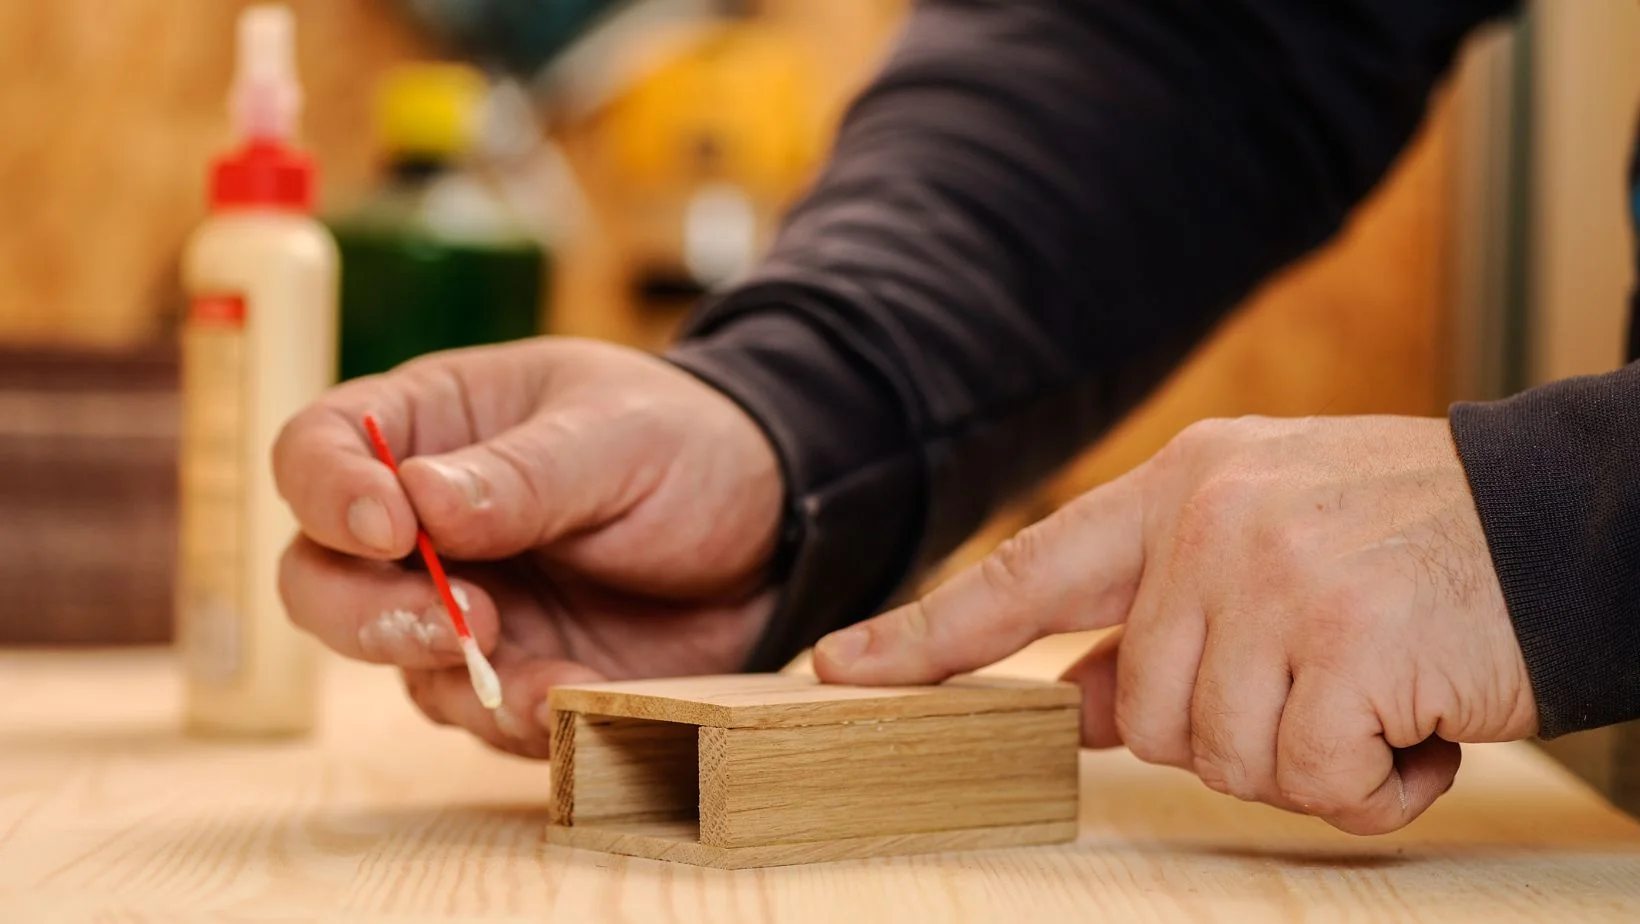
Cyanoacrylate glue, also known as super glue or CA glue, is a quick-setting adhesive that’s well-suited to small wood repair tasks. Its strong adhesion and fast bonding properties make it an attractive option for gluing wood together in situations where speed matters.
How to Use Cyanoacrylate Glue
Begin by cleaning the surfaces of the wood pieces to be bonded. Make sure they are free from dirt, dust, and oil.
Apply a thin layer of cyanoacrylate glue to one of the surfaces. Don’t use too much glue, as it can cause a weak bond.
Press the two pieces of wood together for about 15-45 seconds, or until the glue has set.
Allow the glue to cure for at least 24 hours before applying any further pressure or stress to the bond.
2. Polyvinyl Acetate Glue (PVA)
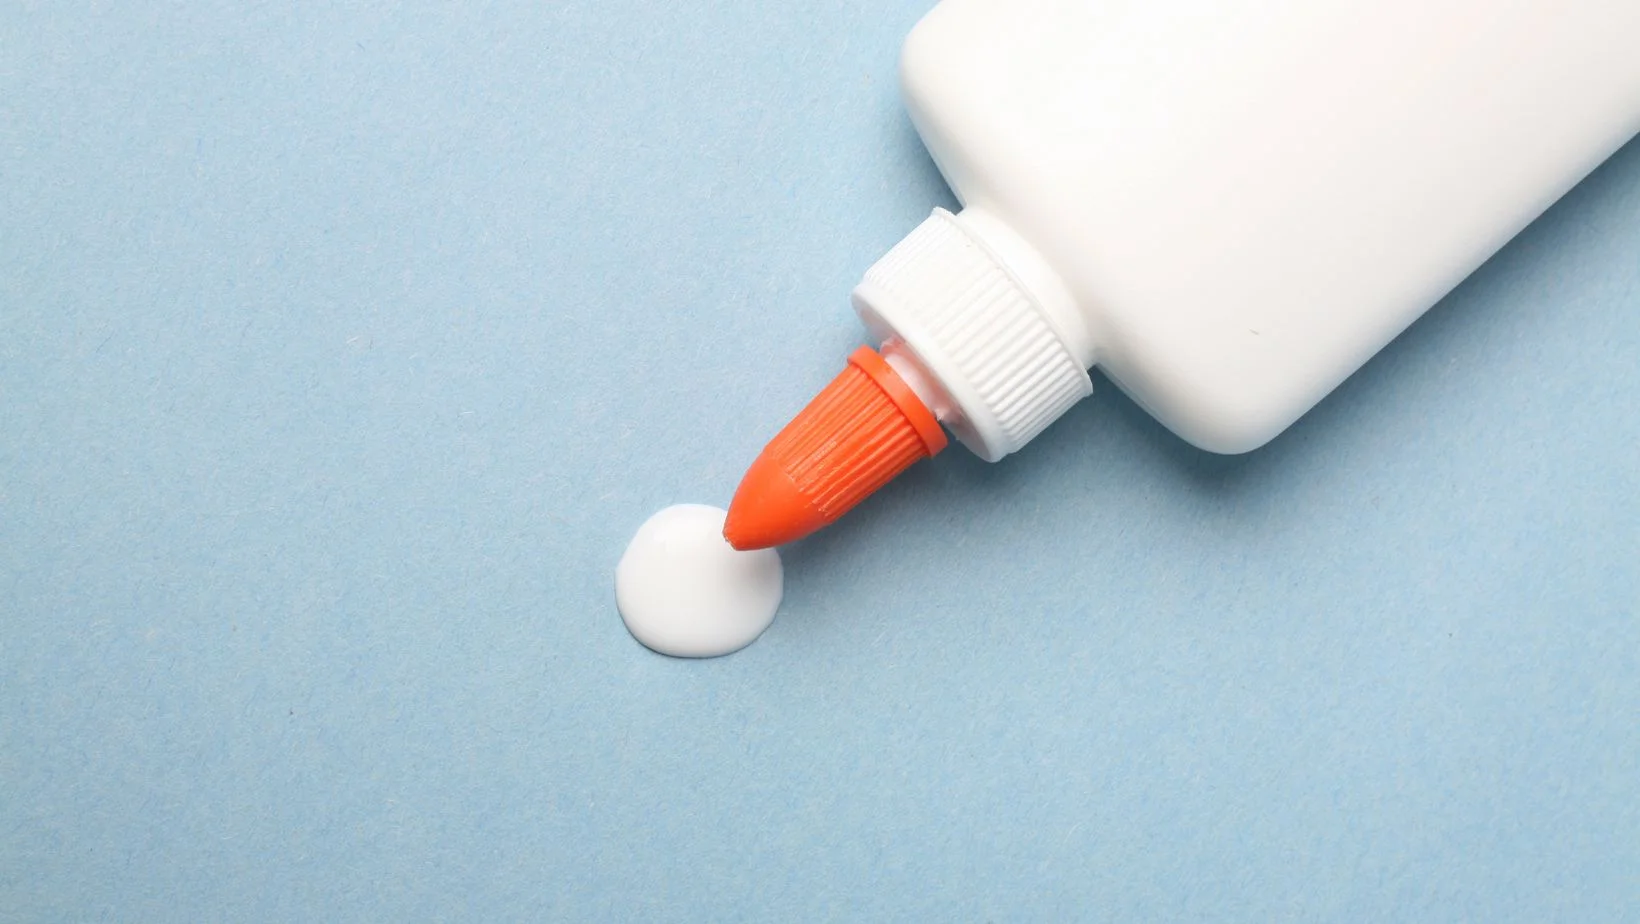
Polyvinyl Acetate, commonly known as PVA glue, is a popular choice among DIY enthusiasts due to its widespread availability and affordability. PVA glue is water-based, non-toxic, and offers strong adhesion for most wood projects.
How to use PVA glue:
Ensure both surfaces are clean, dry, and smooth.
Apply a thin, even layer of glue to one surface.
Press the pieces together firmly and maintain pressure while the glue sets.
Clamp the pieces together, if possible, and allow the glue to dry according to the manufacturer’s guidelines (usually 24 hours).
Best for: general woodworking projects, such as furniture assembly, cabinetry, and crafts where a strong bond is required but minimal moisture exposure is expected.
3. Epoxy Glue: A Strong Choice for Heavy-Duty and Outdoor Projects
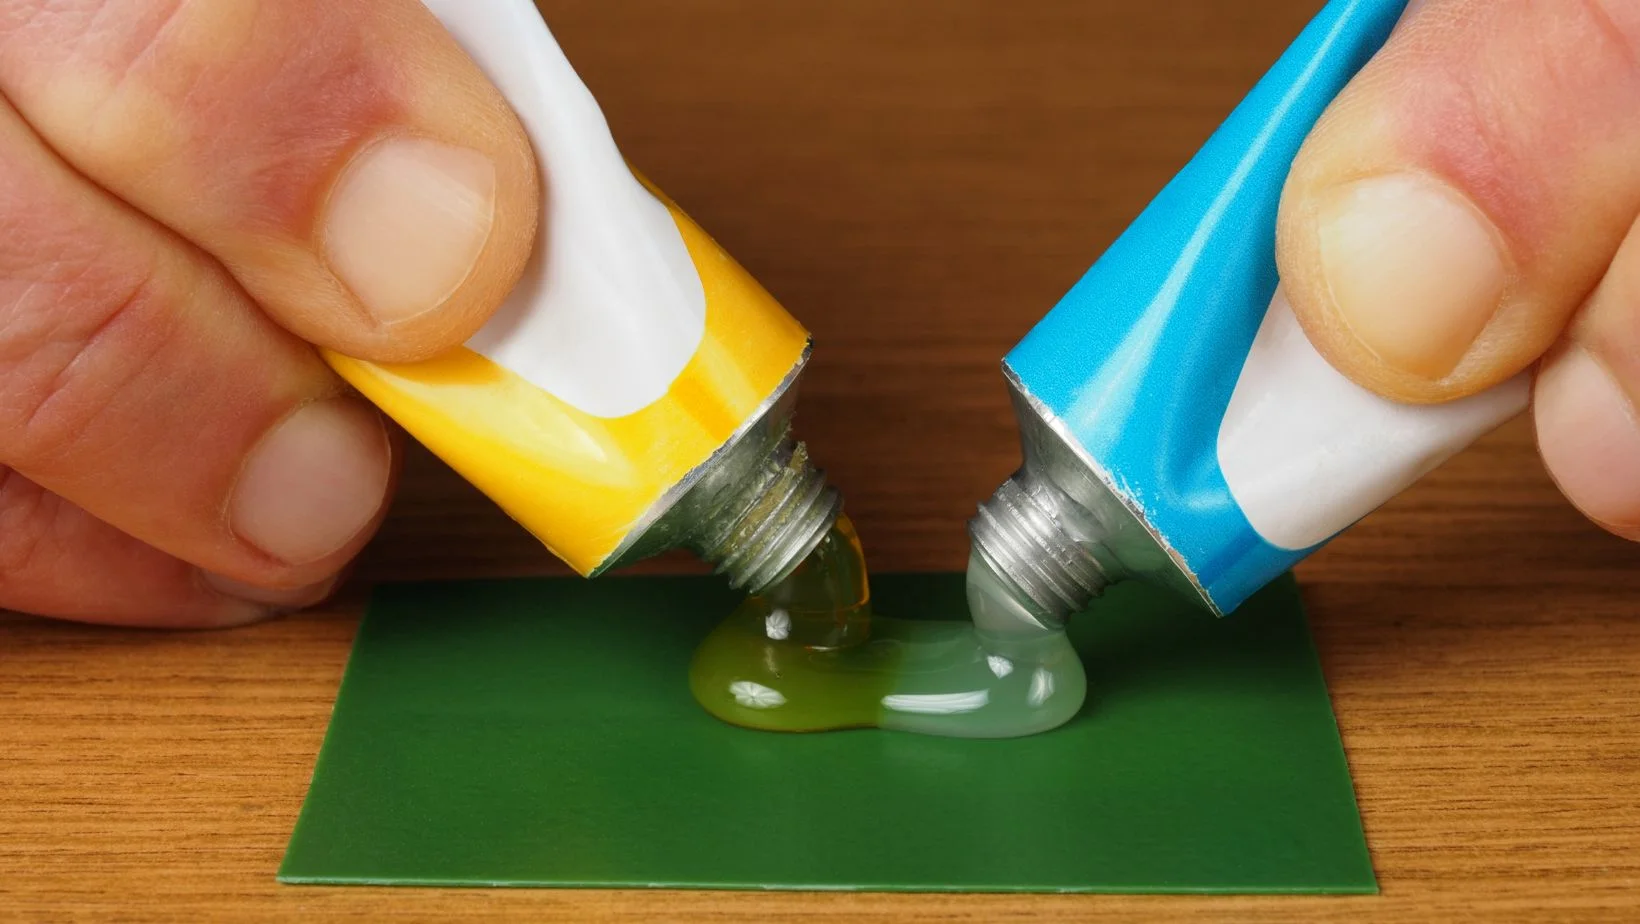
Epoxy glue is a versatile and durable adhesive that’s ideal for more demanding woodworking projects, such as outdoor furniture, heavy-duty repairs, and load-bearing joints. It’s a two-component glue – a resin and a hardener – that when mixed together, forms a bond that’s resistant to heat, moisture, and chemicals.
How to Use Epoxy Glue
Prepare the surfaces by cleaning them thoroughly and, if necessary, lightly sand the wood for better adhesion.
Mix the epoxy resin and hardener according to the manufacturer’s instructions. Be precise with the ratios to ensure proper bonding.
Apply the mixed epoxy to both surfaces and join the pieces together. Clamp the wood pieces in place if possible, and let it cure for the time specified by the manufacturer (usually at least 24 hours).
After the epoxy has cured, remove any clamps and clean up any excess glue.
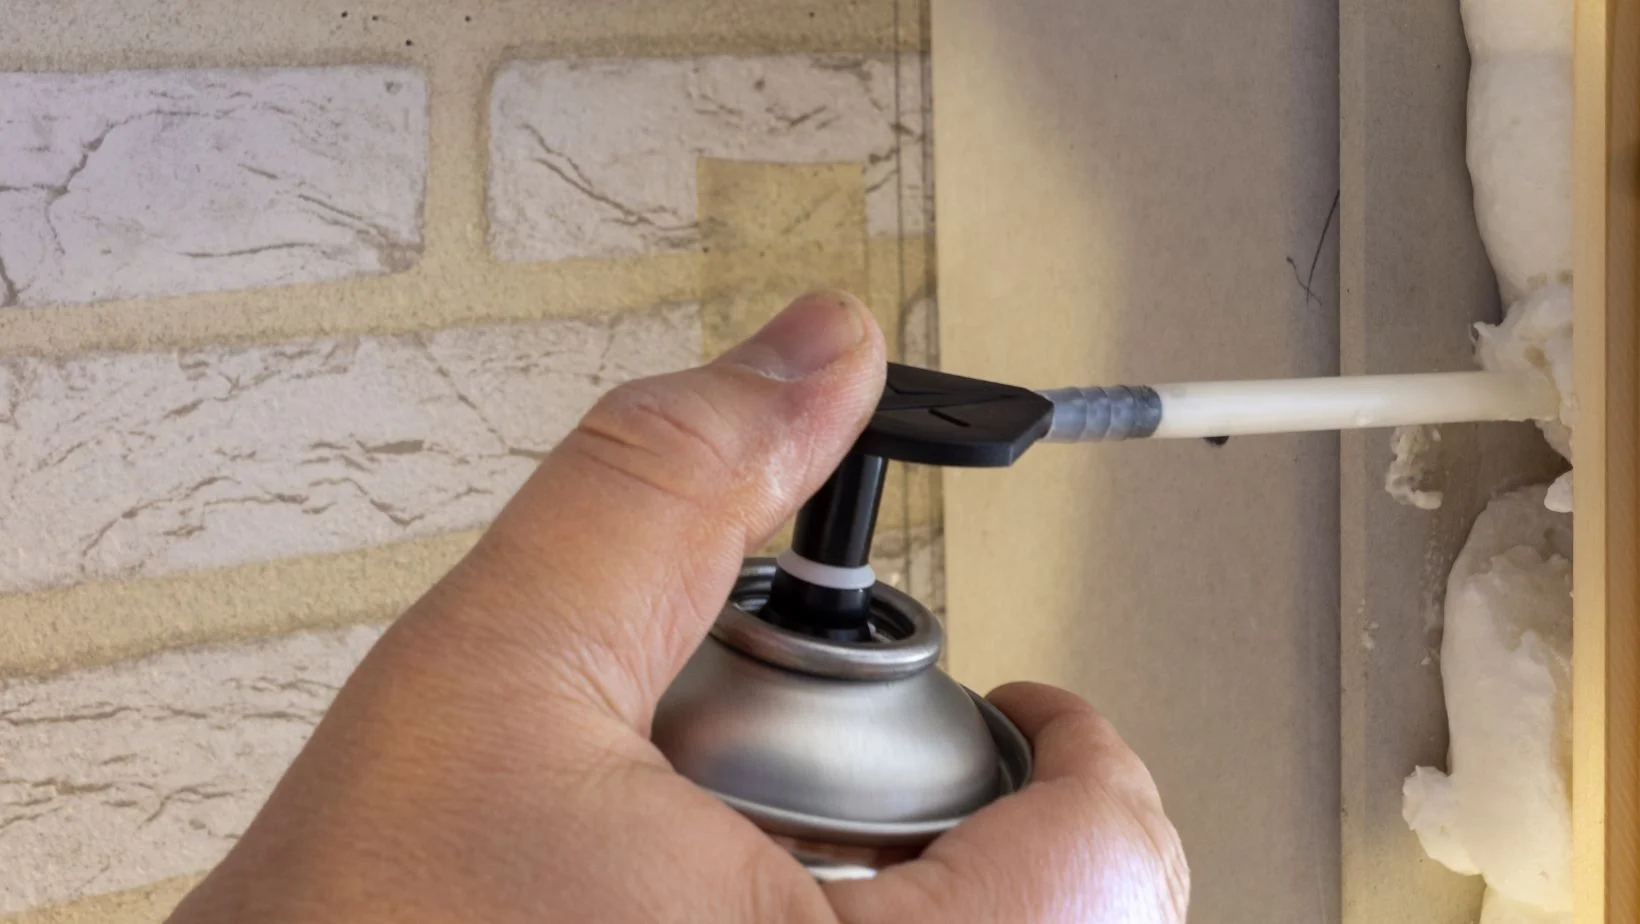
4. Polyurethane Glue
Polyurethane glue is known for its strong, waterproof bond and versatility in securing various materials, including wood, metal, and plastic. It is particularly useful when working with wood that will be exposed to moisture or outdoor elements.
How to use Polyurethane glue:
Lightly dampen one surface before application.
Apply a bead of glue to the other surface.
Spread the glue evenly with a brush or finger, ensuring full coverage.
Assemble the pieces and clamp them for at least 2-4 hours until the glue sets (may vary depending on the manufacturer’s instructions).
Remove excess glue with a damp cloth before it cures.
Best for: outdoor woodworking projects, marine applications, and any projects requiring a waterproof bond.
5. Hide Glue
Hide glue, made from animal collagen, is an old-school adhesive that has been used for centuries in woodworking and furniture making. It has the advantage of being reversible, meaning it can be softened with heat or moisture if you need to make adjustments or disassemble a glued joint.
How to Use Hide Glue:
Prepare the surfaces: As with epoxy, ensure your wood surfaces are clean and dry before applying the glue.
Heat the glue: Hide glue is typically sold as granules or flakes that are mixed with water and then heated to create a liquid glue. Follow the manufacturer’s instructions for the recommended water-to-glue ratio and heating method.
Apply the glue: Brush the liquid-warm hide glue onto one of the surfaces being joined.
Join the surfaces: Press the wood pieces together making any necessary adjustments. Act fast—hide glue starts to set as it cools.
Clamp and dry: Clamp the joint firmly and allow the glue to dry for the time suggested by the manufacturer.
To conclude, there are many types of wood glue available on the market today. Each one has its own advantages and disadvantages depending on the situation. Whether you opt for PVA, hide glue, epoxy, or any other type, make sure that you consider the characteristics of the project and select the most suitable adhesive. By also taking into account environmental factors such as VOCs and ingredients make-up of each glue, you can ensure a successful woodworking project without damaging your health or the environment. Keep all of these things in mind when deciding which type of wood glue is right for your next carpentry project!