
Hand-cut dovetails are the hallmark of fine woodworking, representing both the skill and artistry of the craftsman. This time-honored technique not only provides exceptional strength but also adds a touch of elegance to your projects. Whether you’re a seasoned woodworker or a passionate beginner, mastering the art of hand-cut dovetails is a rewarding endeavor. In this expert guide, we’ll walk you through the steps, tips, and tools necessary to achieve perfect hand-cut dovetails.
What are Dovetail Joints?
Dovetail joints are a series of interlocking pins and tails, cut into two pieces of wood, which fit together to form a strong corner joint. There are several types of dovetail joints, including through dovetails, half-blind dovetails, and secret miter dovetails. The most commonly used are through and half-blind dovetails, each with its unique applications and visual appeal.
Step-by-Step Guide to Hand-Cut Dovetails
1. Begin by marking the dovetails with the tailboard.
2. Adjust the marking gauge slightly beyond the thickness of the wood and lock it in place.
3. Using the marking gauge, scribe a line along the entire edge where the dovetails will be cut. This line will serve as a guide for your saw and chisel, indicating where to stop cutting.
4. Place the tailboard into a vise with the backside facing you. Before clamping it entirely, use a square to ensure the board is straight. This will help create a precisely vertical pinboard so the dovetails fit together flawlessly.
Pro Tip: Start with the bottom board as it is less visible. Any mistakes made during the learning process will be less noticeable here.
5. Use dividers to mark out the dovetails.
6. Using a knife and a dovetail marker, create grooves along the dividers you’ve marked.
7. Cut grooves along the vertical end using the same dovetail marking process.
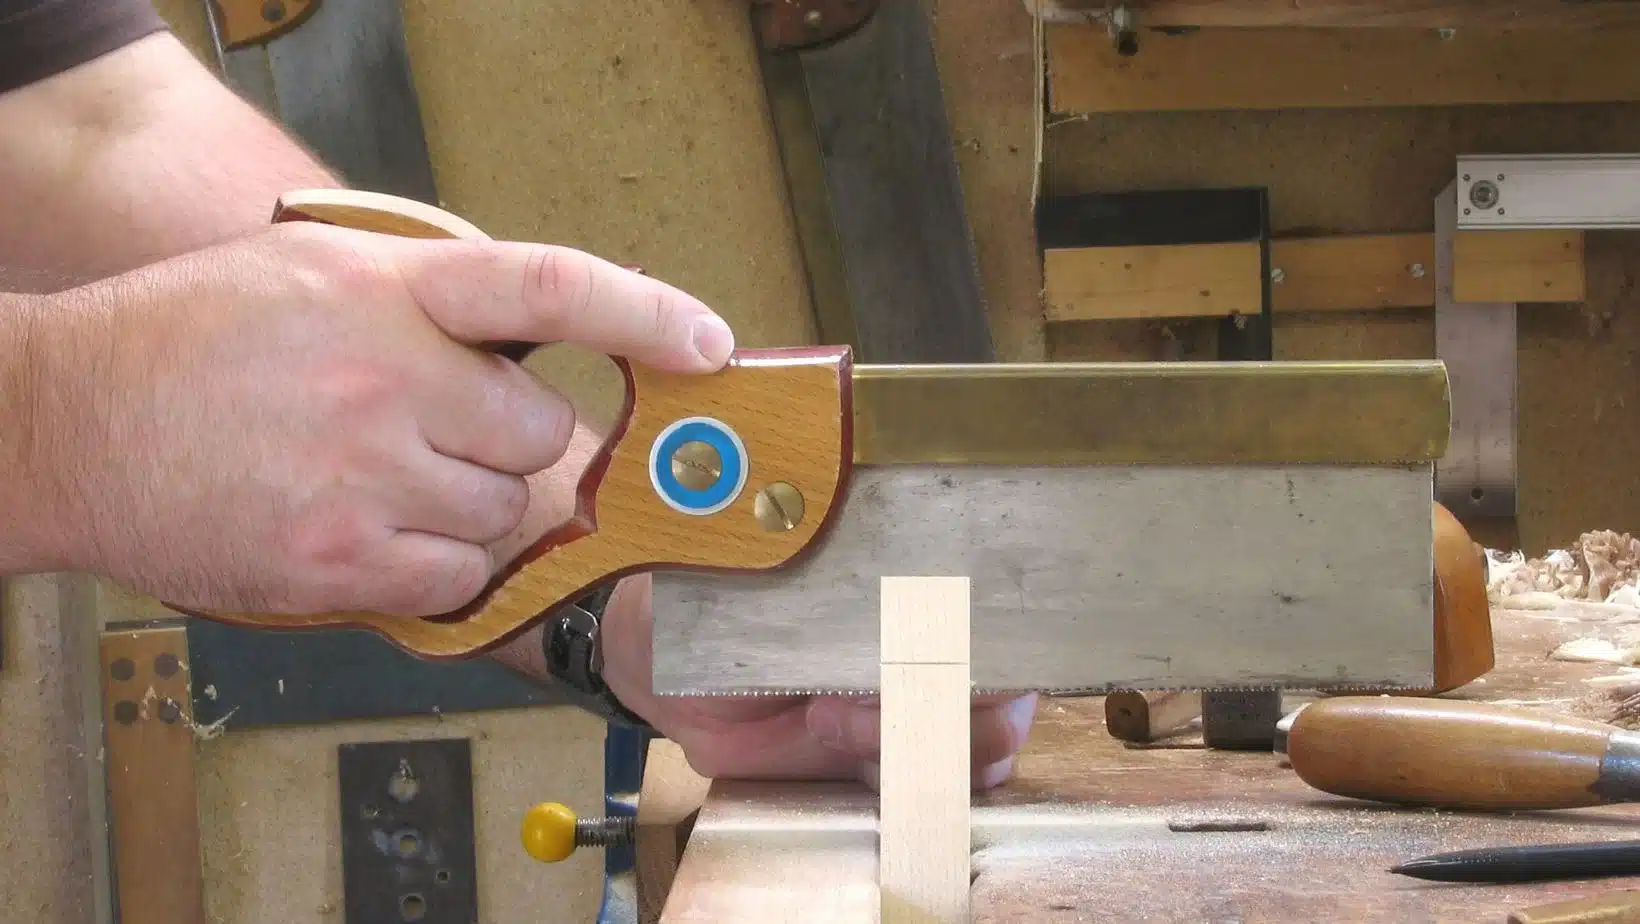
8. Use a lubricated backsaw to cut the tails to the depth indicated by your marks.
Pro Tip: Use a pencil to mark the tails you need to cut off. This helps you keep track of which parts you’re removing and prevents accidentally cutting the wrong section.
9. Use a coping saw to finish cutting off the bottom of the dovetails.
10. Using the board you just worked on, create a dovetail jig that will transfer the “C Tails” to the “C Pins” on the pin board. Align the tailboard perpendicular to the top of the pinboard, ensuring the backside is flat and secure. Use a square to check that both boards are level.
11. On the horizontal edge of the pin board, use a marking knife to mark out the tails.
12. Use the dovetail marker to cut grooves for the tails on the vertical edge of the second board.
13. Lubricate the backsaw as in step 8 and cut out the tails.
14. After cutting the necessary number of tail boards and pin boards, use a chisel to remove any residual bits in the cuts. Start from the backside of the board and use a mallet and chisel to go approximately ¾ deep. Flip the board over to the “show side” to clean up the horizontal cuts. For vertical cuts, pare down in thin layers to avoid exceeding the depth of the marked lines.
15. Using a square, double-check each interlocking piece to ensure it is level and see that no material is sitting out of the joint, which would prevent the dovetails from seating completely. Remove any excess material with a chisel and recheck with the square.
16. Once all the pieces fit together perfectly, apply glue to all the interlocking surfaces and fit the tail and pin ends together.
Mastering hand-cut dovetails is a journey of patience, practice, and precision. The satisfaction of creating a perfectly fitted dovetail joint by hand is unparalleled. By following this expert guide and honing your skills, you’ll be able to produce stunning and durable joints that stand the test of time.