Wood is a timeless, versatile material that can bring warmth and elegance to any space. However, without proper care, wood can suffer from moisture damage, leading to rot, mold, and warping. Waterproofing your wood is essential to maintain its beauty and longevity. Whether you’re working on outdoor furniture, indoor flooring, or a deck, this ultimate guide will walk you through the steps to effectively waterproof your wood projects.
How to Prepare Wood for Waterproofing
- Remove Old Paint
Use sandpaper or chemical strippers to remove any existing paint, varnish, or other coverings. This step is crucial to expose the bare wood.
- Clean the Surface
For outdoor wood like decks, fences, or railings, use a power washer with a broad spray setting to thoroughly clean the surface. This will remove dirt, grime, and any loose particles.
- Sand the Wood
Sand the surface starting with coarse-grit sandpaper and gradually move to finer grits. This process smooths the wood and opens up the grain, allowing the waterproofing product to penetrate more effectively.
- Remove Sanding Dust
After sanding, use a vacuum, tack cloth, or a cloth soaked in mineral spirits to remove all sanding dust. Ensuring a clean surface is essential for proper adhesion of the waterproofing product.
- Remove Stubborn Contaminants
If there are stubborn compounds such as grease, use mineral spirits to clean these areas. This will ensure that no residue interferes with the waterproofing process.
How to Waterproof Wood
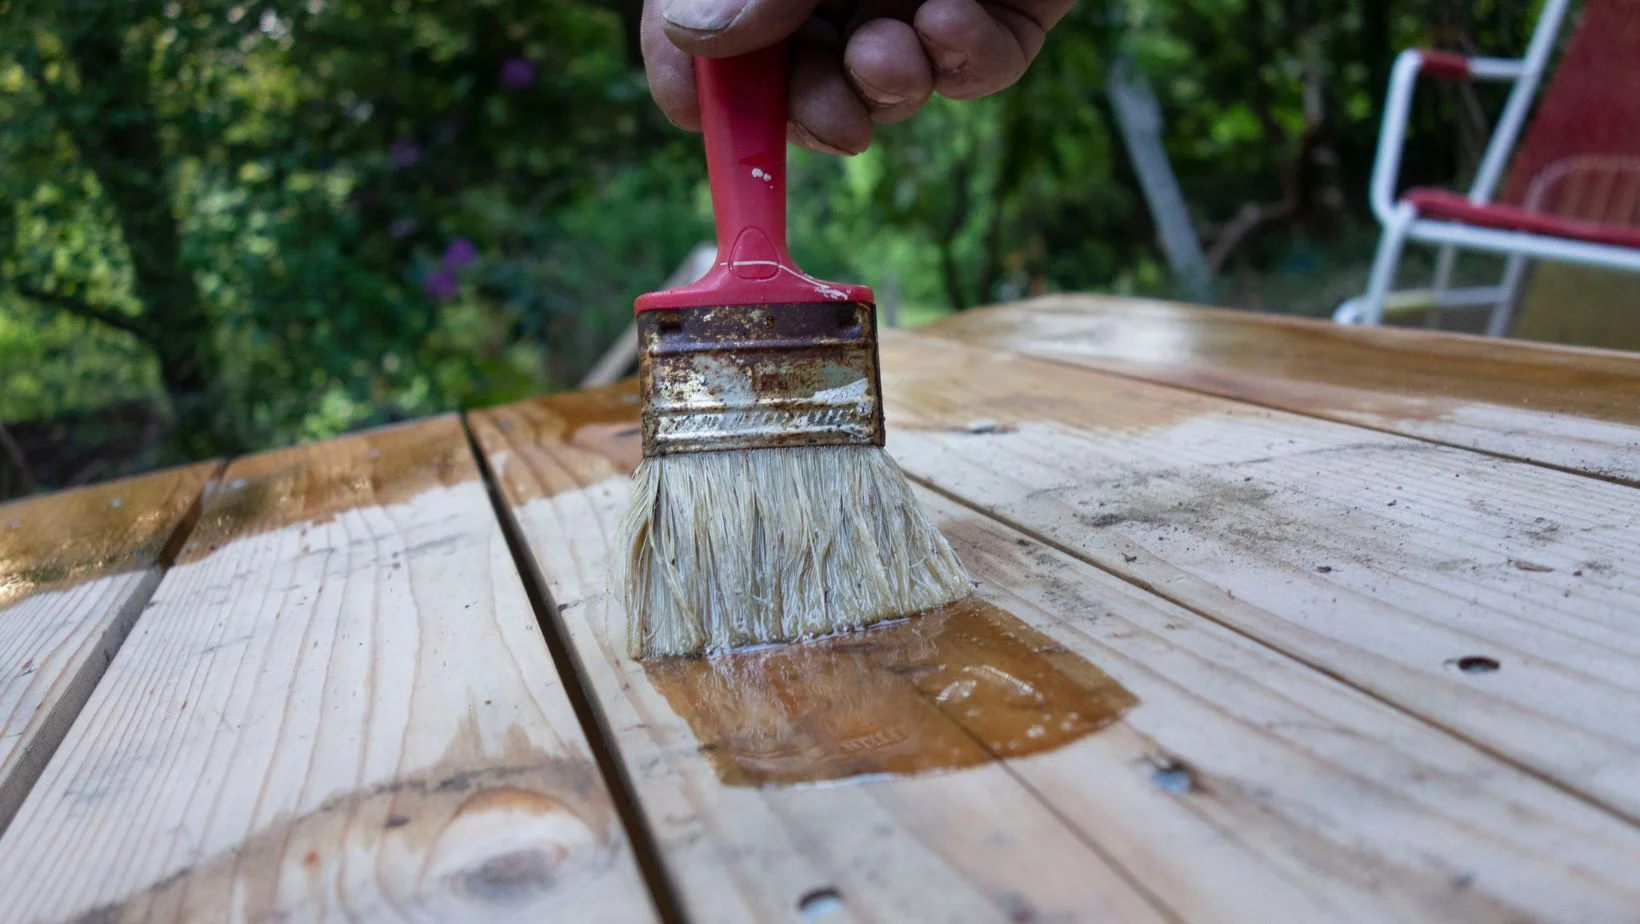
- Varnish: Varnish creates a robust, shell-like coating on the wood, offering excellent protection against yellowing and making it perfect for outdoor use by blocking harmful UV radiation.
- Lacquer: Lacquer enhances the wood with a rich, lustrous tone, but it tends to yellow over time.
- Polyurethane Sealants: Available in both water-based and oil-based forms, polyurethane sealants are popular for their easy application and resistance to yellowing, providing durable and clear protection for wood surfaces.
- Natural Oils: Natural oils, when applied to the wood’s surface, penetrate deeply and solidify within the wood’s cells. These oils are known as penetrative sealers because they integrate into the wood rather than forming a layer on top. This method preserves the wood’s natural appearance and texture, maintaining its authentic feel. Examples of natural wood waterproofers include linseed oil, tung oil, and Danish oil. Danish oil is a blend of tung oil and varnish. These oils can be applied using a brush or cloth and typically have a quick recoat time, often ready to be handled almost immediately.
- Stain/sealer combination: Stain/sealers are external wood stains that also include a wood sealant. They come in a variety of wood-friendly hues, such as browns, tans, and reds. These products are commonly used for outdoor applications, including decks, fences, siding, shingles, outdoor wood furniture, and railings. Stain/sealers can be applied by brushing or wiping, but using a roller or sprayer is more time-efficient. The latter method also ensures even coverage and efficient application over large areas.
Waterproofing wood is an essential step in protecting and preserving its beauty and functionality. By choosing the right method and following proper application techniques, you can enjoy wood’s natural charm for many years to come. Whether you’re working on a cozy indoor project or an expansive outdoor deck, this guide will show you how to waterproof your wood to keep it stunning and strong.


