Do you have cabinets in need of sprucing up, but don’t want to spend a fortune or take on an enormous task? Refinishing cabinets can be a great and affordable way to upgrade the look of outdated cabinets without breaking the bank. But sanding down your cabinet doors is not always necessary; there are several other ways to restore them that involve some ingenuity! In this blog post, we’ll show you how to refinish kitchen cabinets without sanding, so that you can achieve professional results with minimal effort.
How to Refinish Kitchen Cabinets Without Sanding
1. Explore the Painting Approach
Paint is typically added to both sides of cabinet doors, encompassing both the front and back of drawer fronts, as well as the outer surfaces of cabinet boxes—excluding the tops and bottoms. Determine in advance whether you intend to paint the interiors of cabinet boxes or drawers, or if you’ll focus on only the outer parts of the cabinets.
2. Set Up Your Painting Space
Find a spacious, shaded area suitable for a paint job, like a garage with an open door or a covered patio. Spread out plastic sheets on the ground and secure them with tape. For elevated painting surfaces, consider using foldable tables covered with plastic or plywood sheets, supported by sawhorses—these provide an excellent setup for your painting tasks.
3. Remove the Hardware
Take off all cabinet door and drawer knobs, along with any other hardware, except for the hinges. Utilize a Phillips head screwdriver to detach the pulls from the backside.
4. Organize all the Pieces
For optimal reinstallation, it’s important to identify each piece correctly—drawer fronts, cabinet doors, handles, and hinges should go back exactly where they were. Swapping pieces could lead to misalignment. Place hardware in individual plastic bags and use a permanent marker to note its contents. When removing a door or drawer front, jot down the location on a piece of painter’s tape and affix it to the item.
5. Take out the Cabinet Doors
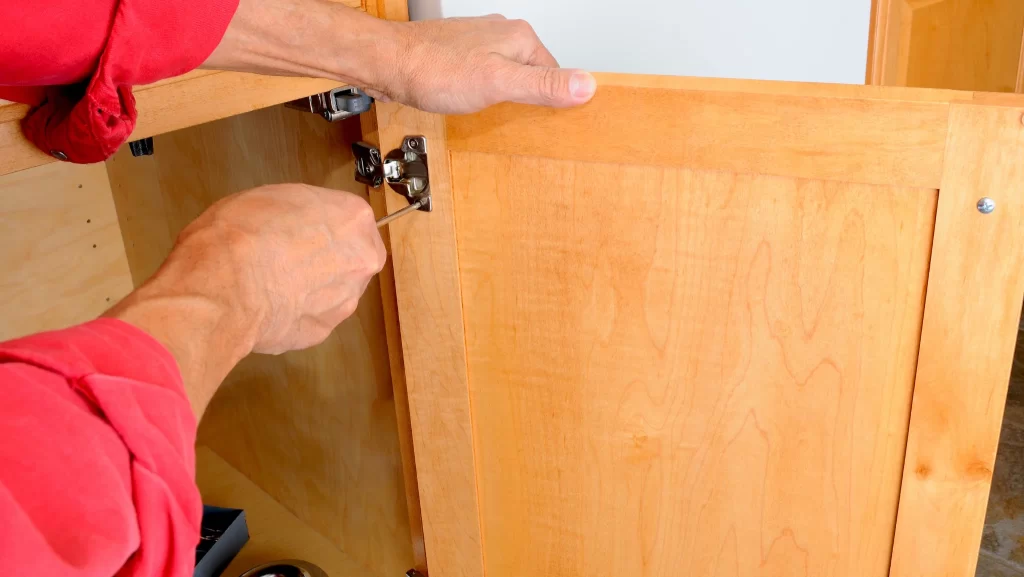
Using a Phillips head screwdriver, detach the cabinet hinges from the cabinet boxes. For older hinges, a flat-head screwdriver might be necessary.
Commonly, cabinets have concealed two-part European hinges. To eliminate these hinges, rotate the screw on the cabinet side counter-clockwise, and then gently slide the door forward. As a result, one part of the hinge will stay attached to the door, while the other part will remain on the cabinet box.
6. Remove the Drawer Fronts
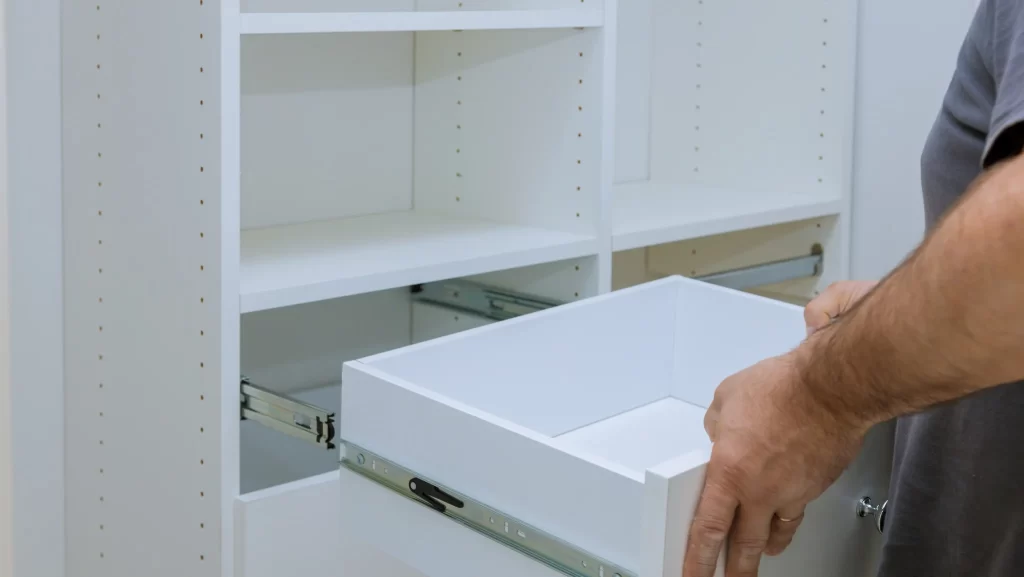
Several drawers have decorative fronts that can be taken off to simplify painting. Start by taking the drawer out of the cabinet and emptying its contents. Look at the back of the drawer’s front; if you see two or more screw heads, it’s likely removable without affecting the drawer’s structure. Carefully remove these screws and keep them in a labeled bag.
7. Use TSP to clean the surfaces
All cabinet surfaces that will be painted should be cleaned with TSP or a TSP equivalent dissolved in clean, warm water. Wall and base cabinets near burners, ovens, and exhaust fans are greasier and need more maintenance. To remove dried food bits, you can use lukewarm water, gentle soap, and a scouring pad made of non-metallic material.
8. Use Tape on the Cabinets
For cabinets and components that can’t be taken to the work area, painting can be done in their current positions. Use tape to shield the walls surrounding both the base and wall cabinets. Apply masking film to safeguard significant surfaces like countertops, sinks, appliances, and walls that require protection.
9. Gather Your Painting Materials
Set up the painting area and organize the cabinet doors and drawer fronts. Consider using painter’s pyramids, which are small plastic tripods designed to elevate items for painting. Aim to work within a temperature range of 50 to 90°F for optimal painting conditions.
10. Degloss
While wearing safety eyewear and waterproof gloves, pour undiluted sander/deglosser onto a microfiber cloth. Start rubbing the cabinet surfaces with a circular motion, and remember to frequently refold the cloth to utilize a clean area. Dispose of used clothes as necessary.
11. Use Bonding Primer
Apply the bonding primer to the edges and bevels of the doors and drawer fronts using a brush made of nylon or polyester. For flat surfaces, utilize a foam roller.
When working indoors, employ a 4-inch foam roller for the larger cabinet sides. For facial frames, opt for a 2-inch foam roller.
12. Use the Cabinet Paint
After waiting for at least an hour from priming, you can proceed to applying the cabinet paint. To ensure the piece is properly dried, place a piece of painter’s tape down and then peel it off to test. The tape should lift off without any primer residue.
Follow the same method as you did with the primer: use a brush to paint the intricate details, and employ foam rollers for the larger surfaces.
Ensure to apply at least two coats of cabinet paint. Allow a gap of at least two hours between each coat for proper drying and optimal results.
Materials for Painting Cabinets Without Sanding
Cabinet Primer
Every cabinet needs a good primer. Those universal wall primers won’t cut it when it comes to making sure your cabinet paint sticks. What you need are bonding primers. These special primers have resins that create a strong bond between your cabinet surface and the paint, keeping it from peeling, flaking, or chipping. Just keep an eye out for primers with “bonding” in their name. They should be suitable for multiple surfaces or specifically designed for wood.
Tri-Sodium Phosphate (TSP)
TSP, short for tri-sodium phosphate, is a commonly used cleaner when prepping cabinets or trim for painting due to its user-friendly nature. It proves highly efficient as a degreaser, effectively removing ingrained grease and oils from cabinet surfaces.
Liquid De-glosser
De-glosser, sometimes referred to as “liquid sandpaper,” is a water-based solution with a milky appearance, designed to prepare painted or previously coated surfaces for a fresh coat of primer or paint.
In terms of its effectiveness, liquid sander/deglosser falls somewhere between traditional cleansers and paint strippers. It’s essential to note that it alters the surface permanently and should not be employed solely for cleaning purposes. However, it is not a paint remover in the traditional sense because it lacks the ability to strip paint. Instead, it works by dulling and de-glossing the top layer of paint or coating, making it ready for the application of a new primer or paint.
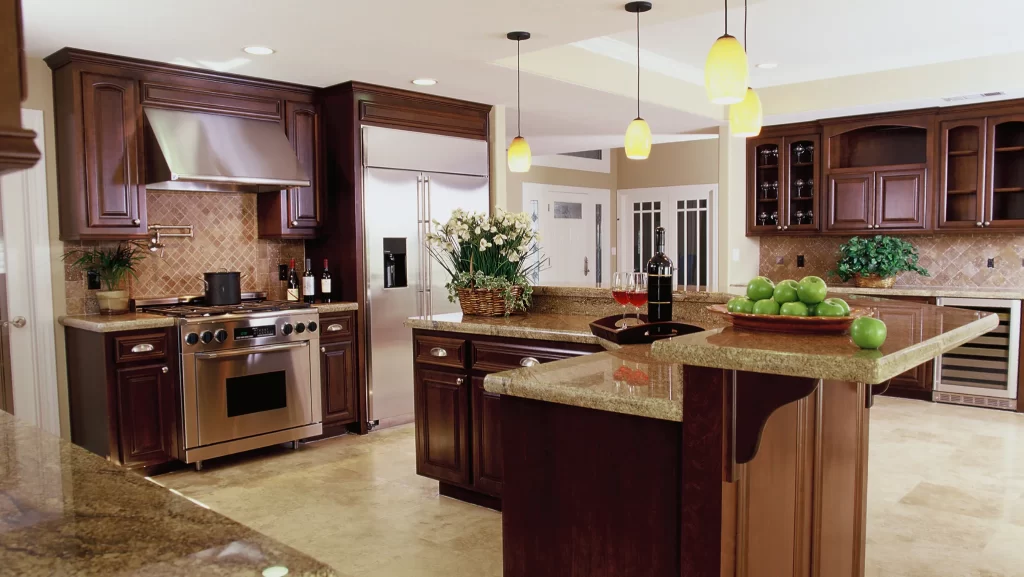
The process of refinishing kitchen cabinets without sanding opens up a world of possibilities for homeowners seeking to refresh their kitchen spaces with less effort and mess. By following the steps and tips outlined in this guide, you can achieve remarkable results with minimal fuss. So, don’t let the prospect of sanding deter you from your cabinet refinishing project; with the right tools, techniques, and a touch of creativity, you can transform your kitchen into a stunning and inviting space without the hassle of sanding.


