Wood finishing is an art form, a process that enhances the natural beauty of the wood while protecting it from damage. However, one common challenge that woodworkers face is grain raising. This phenomenon can disrupt the smooth finish you aim to achieve, but with the right techniques, you can master wood finishing and tackle grain raising effectively. In this blog post, we’ll explore what grain raising is, why it happens, and how to manage it to ensure your wood projects have a flawless finish.
What is Grain Raising?
Grain raising occurs when the wood fibers swell and lift as they absorb moisture, leading to a rough surface. This often happens during the finishing process when water-based products are applied, such as stains, dyes, or finishes. The result is a raised grain that can be felt and seen, marring the smoothness of your work.
Understanding Wood Cells
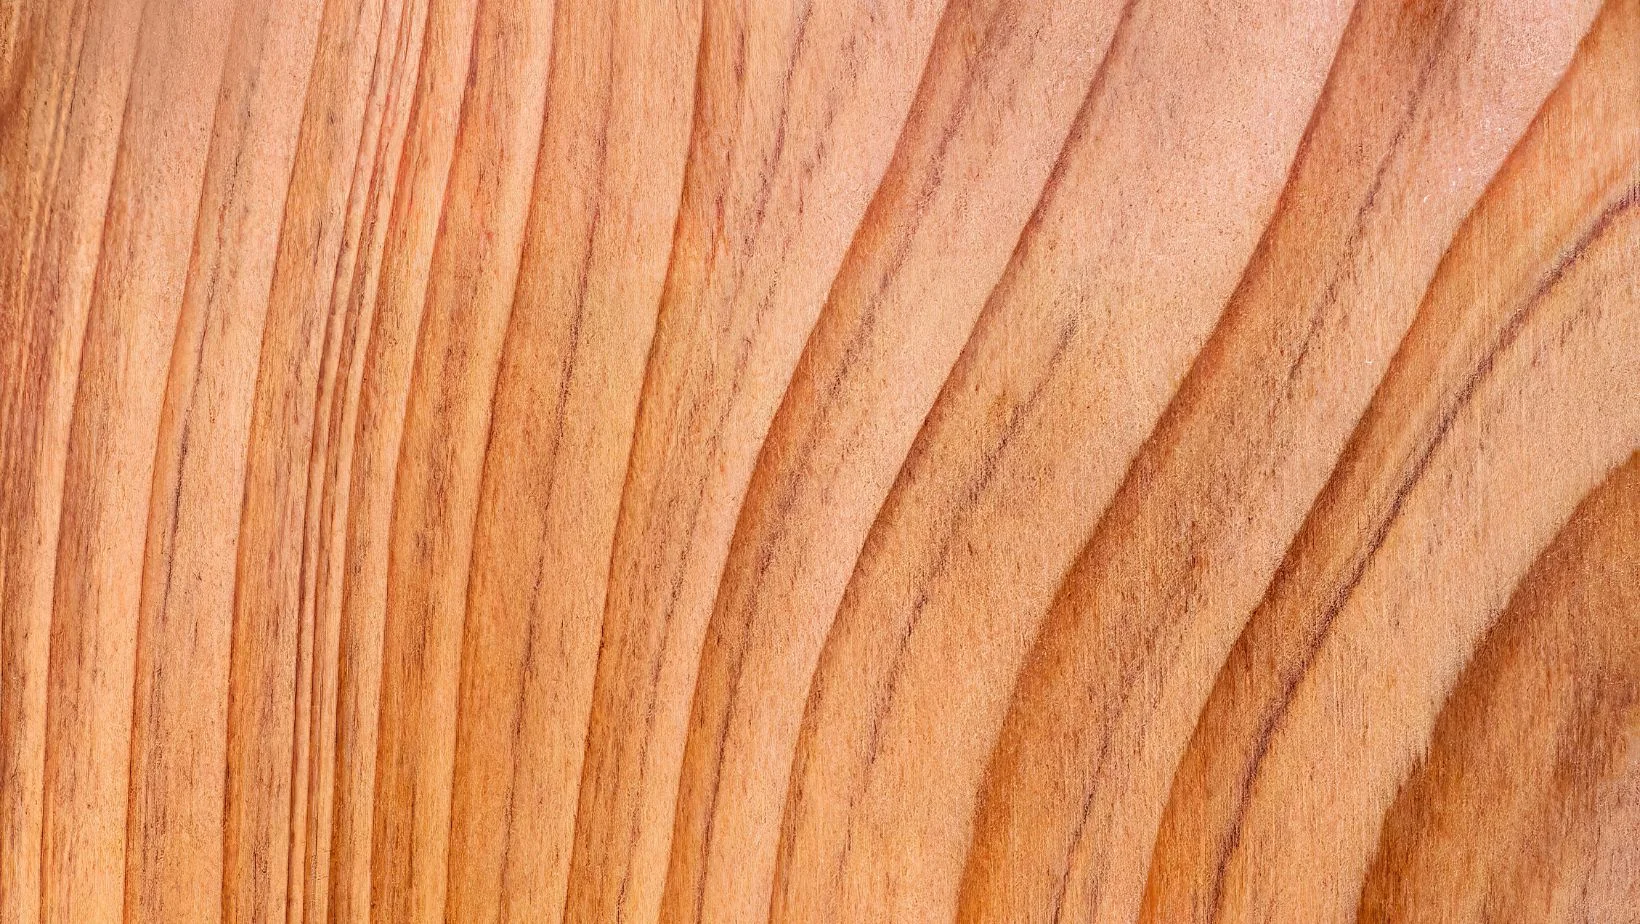
The term “grain raising” can be a bit confusing. Typically, when woodworkers refer to “grain,” they mean the visible lines or boundaries between the wood’s growth rings. For example, in a plain-sawn oak board, these boundaries are broad and prominent.
However, the grain raising that results in a fuzzy texture on wood is different. In this context, “grain” refers to the tiny cells or fibers that compose the wood. These fibers are so small that they cannot be seen with the naked eye. But by using a magnifier, one can see that these fibers resemble bundles of tiny soda straws.
Wood cells are “cemented” together by lignin, a natural polymer is responsible for the wood’s color.
The average wood cell is about 3 mm long, with softwoods ranging from 3 to 5 mm and hardwoods from 1 to 3 mm. The diameter of a typical wood cell is roughly one-tenth of its length.
As mentioned earlier, wood cells are extremely small; a 1-inch cube of wood contains about 5 million of them. These cells run vertically up the tree, and their primary function is to transport liquids from the roots to the leaves.
How Does Woodworking Machinery Affect the Cell?
Woodworking machinery can significantly impact wood cells, particularly if the tools are not in optimal condition. When cutting or planing the end grain, the sides of the cells can break and collapse unless the blade is exceptionally sharp. Similarly, cutting or planing the long grain with dull blades or using worn sandpaper can rip the cell walls and force the damaged fibers into the cells beneath them, rather than cutting them cleanly. When wood with damaged cells is exposed to moisture from humidity or water, the crushed areas swell and rise to the surface, creating a rough, fuzzy texture known as “grain raising.” To minimize grain raising, it is crucial to use sharp tools, replace sandpaper regularly, and apply proper techniques during woodworking.
Woodworkers should be aware that while machining under certain conditions, the cutting knife may push wood fibers out of the way or crush them down to the surface rather than cut them off. Some of these conditions are:
- A dull knife
- High moisture content in the wood
- Lower-density woods (lower lignin concentration)
- Slower feed rates while machining
- Wood fibers that are less strong, such as tension wood
How Much Should You Sand Once the Grain Has Been Raised?
When dealing with raised wood grain, it’s important to sand just enough to remove the damaged fibers without exposing new wood, which can be equally prone to grain raising. The crushed and torn cells or fibers caused by machining or dull sandpaper are typically only a few cells deep. If you sand too deeply, especially with dull sandpaper, you will expose young wood that is susceptible to grain raising.
How to Sand Raised Grain
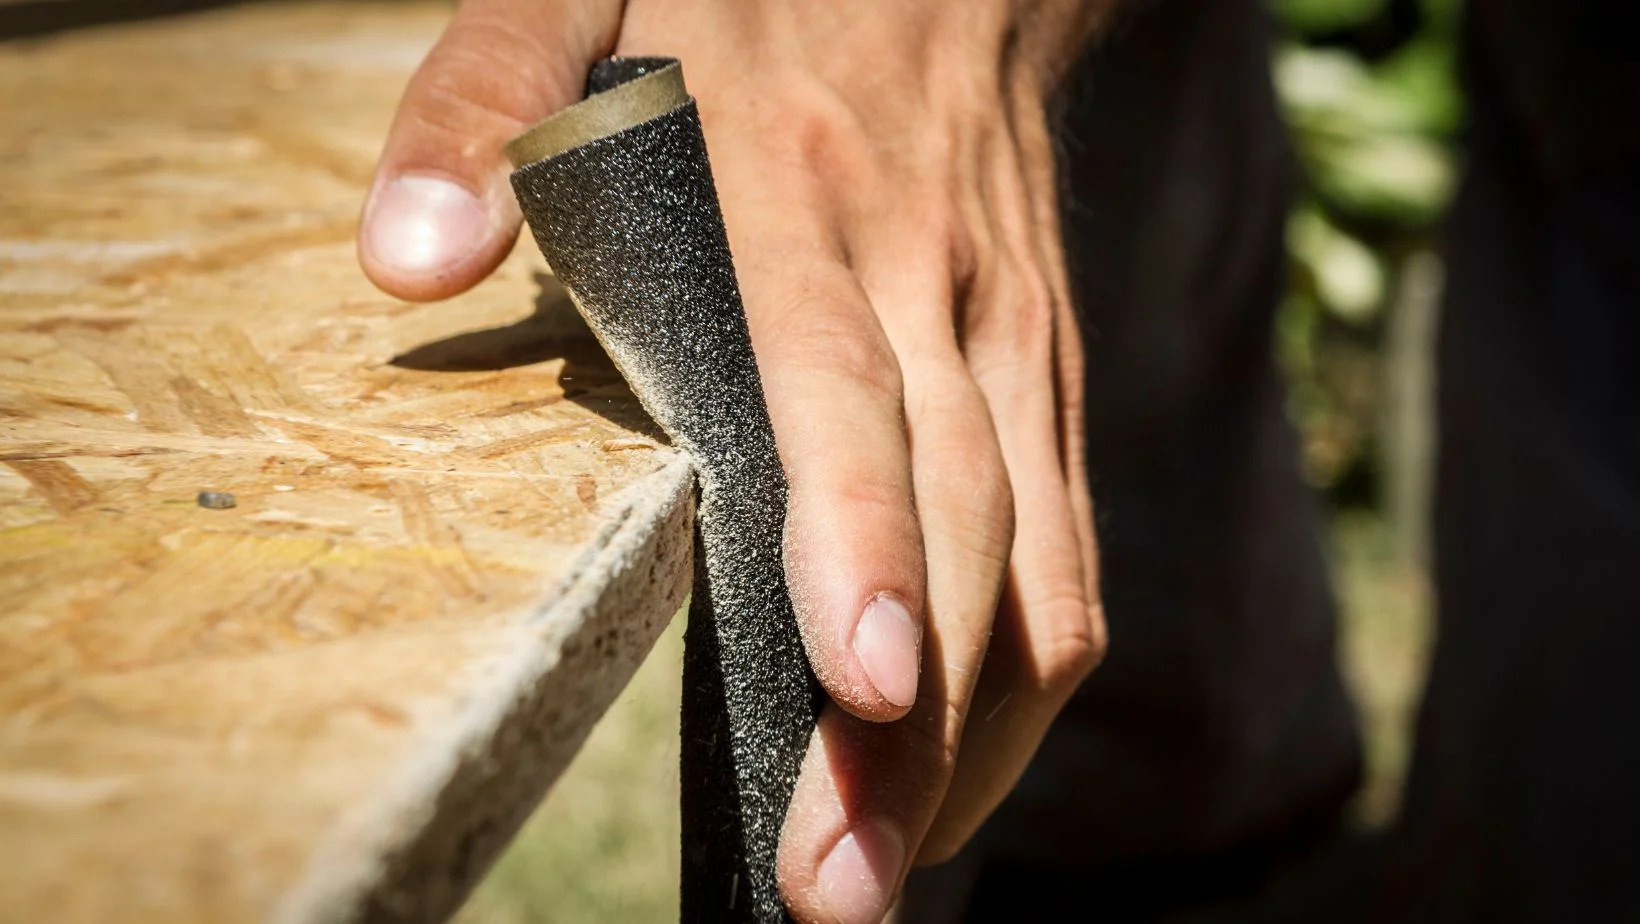
- Use New, Fine-Grit Sandpaper: Sand the wetted wood with fresh fine-grit sandpaper (320 to 400 grit) to ensure a smooth surface.
- Ensure Smoothness: Make sure the board feels smooth before proceeding to the next step.
- Applying Wood Finish: To help conceal the raised grain, use a wood finish such as shellac, lacquer, alkyd, polyurethane varnish, or a water-based finish.
- Sand After the First Coat: Once the first coat has dried, sand it smooth before applying additional coats.
Tackling grain raising is a crucial step in mastering wood finishing. By understanding why it happens and following these steps, you can achieve a smooth, professional finish on your wood projects. Remember, patience and attention to detail are key. With practice and the right techniques, you’ll be able to overcome grain raising and create beautiful, polished wood surfaces that showcase your craftsmanship.


