Wooden sidings can add a timeless and natural beauty to any structure, but over time, they may develop holes or damage that requires repair. One crucial aspect of patching these holes is ensuring that the texture and grain pattern of the patched area match seamlessly with the surrounding woodwork. Failure to achieve a consistent texture and grain can result in a patch that stands out and disrupts the overall aesthetic appeal.
In this article, we will provide you with essential guidelines and expert tips to help you successfully learn how to patch a hole in wood siding. By following these instructions, you will be able to achieve a professional-looking repair that seamlessly blends with the existing woodwork.
Assessing the Hole and Surrounding Woodwork
Examining the Size and Shape of the Hole
Before diving into the patching process, take a good look at the hole you need to fix. Consider its size and shape, as these factors will affect the approach you take. Smaller holes can be easily filled, while larger ones may require more extensive repairs or even the replacement of the damaged section.
Evaluating the Condition of the Surrounding Wood
While you’re at it, examine the surrounding woodwork. Is it in good condition or showing signs of wear and tear? If the surrounding wood has weathered or aged differently, you might need to consider additional steps like sanding or staining to achieve a consistent appearance after patching the hole.
Identifying the Wood Species and Grain Direction
Techniques for Identifying Wood Species
To ensure a successful texture and grain match, you need to identify the wood species you’re working with. While it may be challenging to identify wood species accurately, you can start by comparing the characteristics of your siding with those of known species. Online resources and woodworking books can be helpful references in this process.
Determining the Direction of the Wood Grain
Next, determine the direction of the wood grain. You can achieve this by examining the existing woodwork or using a magnifying glass to observe the grain patterns up close. Knowing the grain direction is crucial for replicating a seamless patch that aligns with the natural flow of the wood fibers.
Selecting the Right Wood Filler or Patching Material
Understanding Different Types of Wood Fillers
Now that you’ve assessed the hole and identified the wood species and grain direction, it’s time to select the appropriate wood filler or patching material. There are various types available, such as epoxy fillers, cellulose-based fillers, and even custom-made fillers using wood shavings mixed with adhesive. Consider the characteristics of each filler, such as its compatibility with your wood species and its ability to replicate texture and grain pattern.
Factors to Consider When Choosing a Patching Material
When choosing a patching material, keep in mind factors like color, density, and workability. You want a filler that closely matches the color of your siding and possesses similar hardness and density. Additionally, ensure the material is easy to shape and sand, allowing you to achieve a seamless blend with the surrounding wood.
Preparing the Surface and Applying the Patching Material
Cleaning and Preparing the Damaged Area
Before you can start patching that unsightly hole in your wooden siding, you need to make sure the area is clean and prepped for repair. Grab your trusty brush or cloth and remove any dirt, grime, or loose debris from the damaged section. A clean surface will ensure better adhesion and a more seamless repair.
A Step-by-Step Guide to Applying the Chosen Filler
Now that your surface is nice and clean, it’s time to apply the chosen filler to fill the hole in. Whether you’re using wood putty, epoxy filler, or another patching material, follow these steps for a successful application:
1. Read the instructions: Don’t be hasty and skip the instructions. Take a moment to familiarize yourself with the recommended application techniques and drying times.
2. Prepare the filler: Mix or apply the filler as instructed. Make sure to get the consistency right for a smooth and easy application.
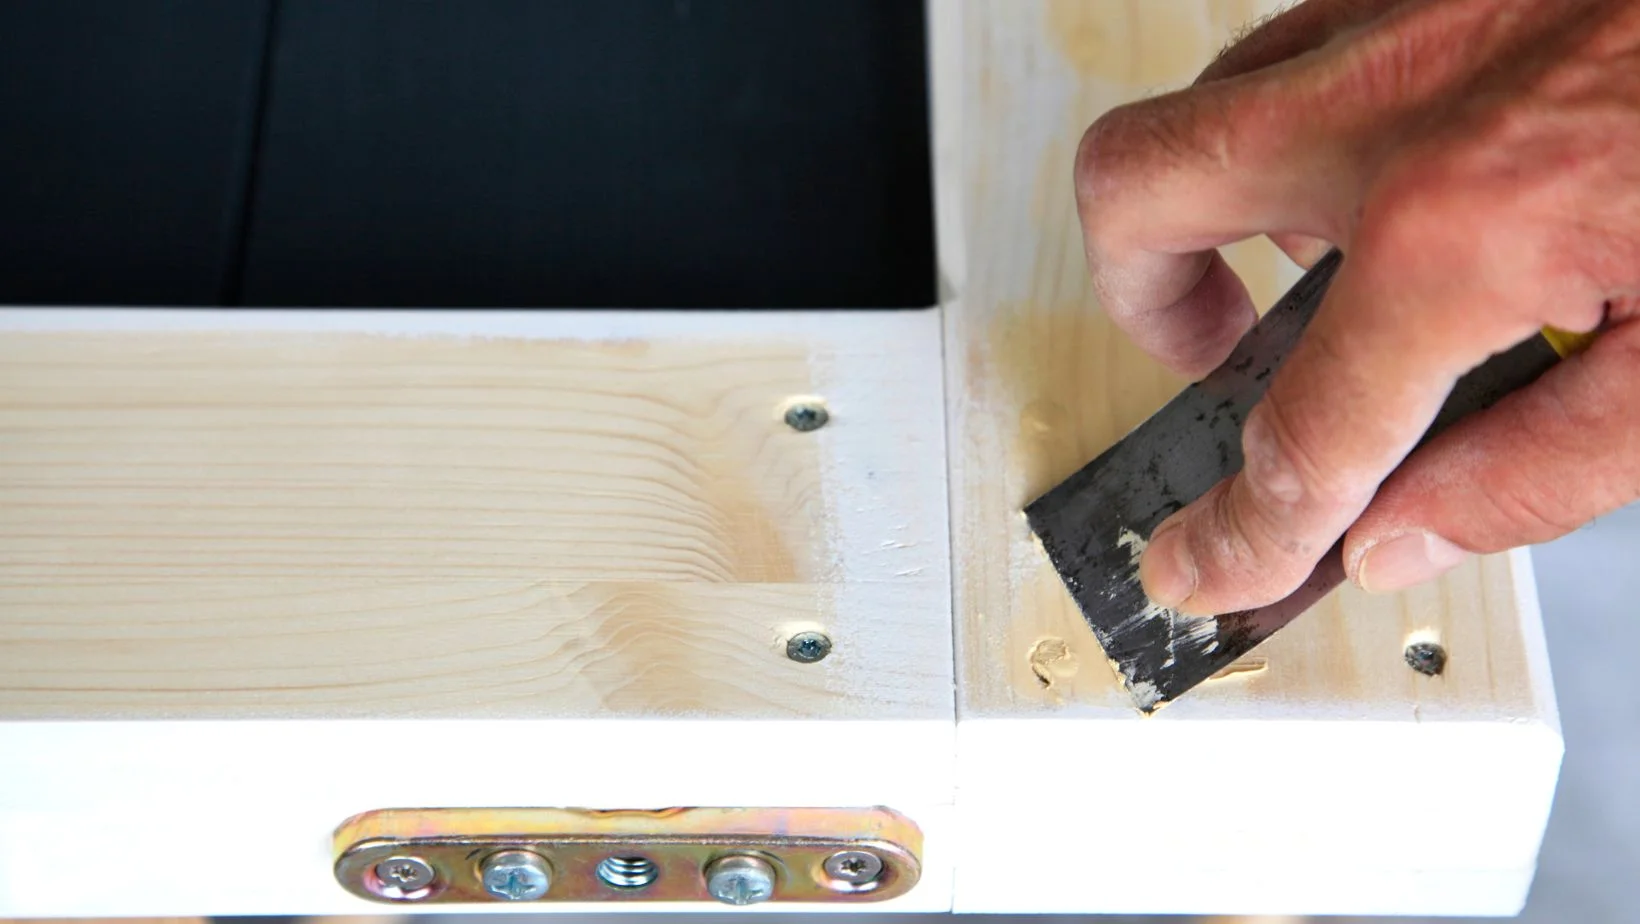
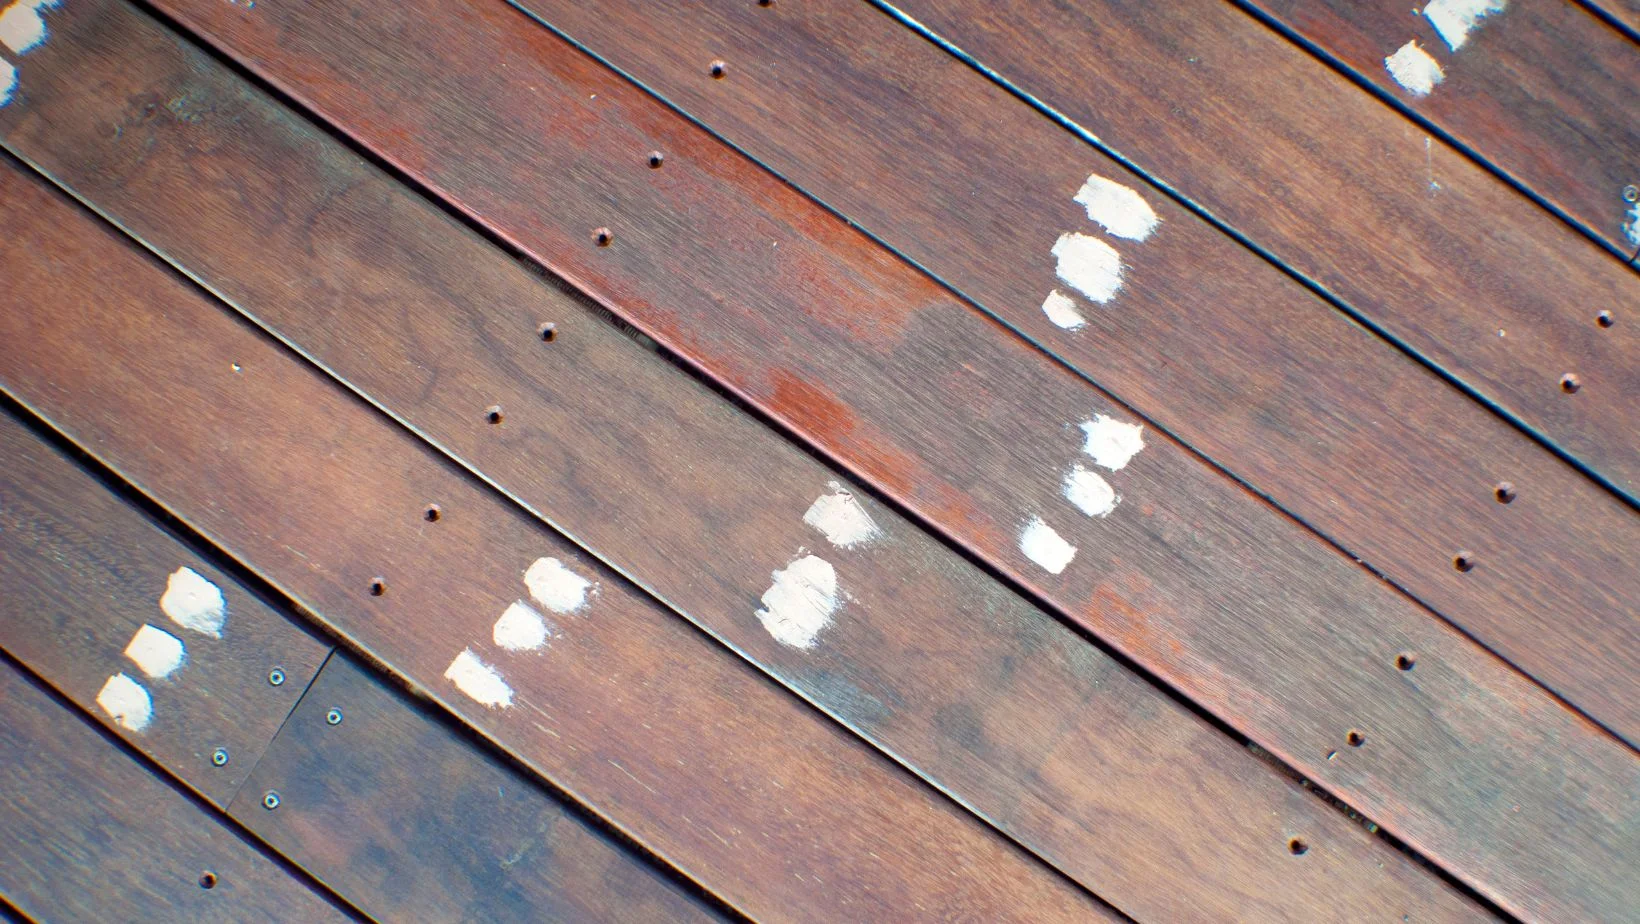
3. Fill in the hole: Using a putty knife or another suitable tool, carefully fill the hole with the chosen filler. Spread it evenly, and make sure to fill any gaps or irregularities.
4. Smooth it out: Once the hole is filled, use the putty knife or a damp cloth to smooth out the surface. This will help create a more seamless repair.
5. Let it dry: Follow the manufacturer’s instructions on drying times. Avoid the temptation to rush this step, as a properly dried filler will ensure a solid and long-lasting repair.
Blending the Texture and Grain Pattern for Seamless Repair
Now that the hole is patched, it’s time to work some magic and blend the texture to make it look like it was never there. Here are a few techniques you can try:
Use a texture matching spray. There are texture matching sprays available that can help replicate the texture of your wooden siding. Test it in a small, inconspicuous area first to ensure a good match.
Mimic the texture with a brush. If you’re feeling artistic, try using a brush to recreate the texture. Dip the brush in paint or stain that matches your siding, then lightly dab or drag it across the patched area to replicate the texture.
Using stain or paint, age the repair with the correct hues and applications to match the wood’s coloring and age. Finally, match the texture and grain pattern to mend siding with precision.
In summary, to achieve a seamless repair that preserves the wood’s natural beauty, assess the hole and surrounding woodwork, identify the wood species and grain direction, choose the right patching material, and use proper preparation, application, and finishing techniques. For a long-lasting, appealing effect, be consistent and investigate aging methods. With these steps, you can confidently repair wood siding holes and finish your structure beautifully.


