The Ultimate Installation Guide to Mobile Kitchen Islands
Table of Contents
Looking for extra kitchen workspace and style? Say hello to the mobile home-kitchen island! This versatile piece of furniture not only provides additional storage and workspace but also adds personality to your kitchen. Best of all, it’s mobile, so you can easily move it wherever needed. One side offers room for kitchen essentials like mixers and cutting boards, while the other side provides extra seating options for guests or a cozy dining spot. When you’re done, it tucks away neatly, keeping your kitchen organized. If you have limited space, this mobile kitchen island is a must-have game-changer! Now for the installation process.
1. Attach the Legs and Rails
Secure one of the long rails between two legs, making sure the tapered edges are facing each other. Attach the rail so that it’s level with the tops of the legs, using wood glue and 1¼-inch pocket-hole screws. Repeat this step with the other pair of legs and the corresponding long rail.
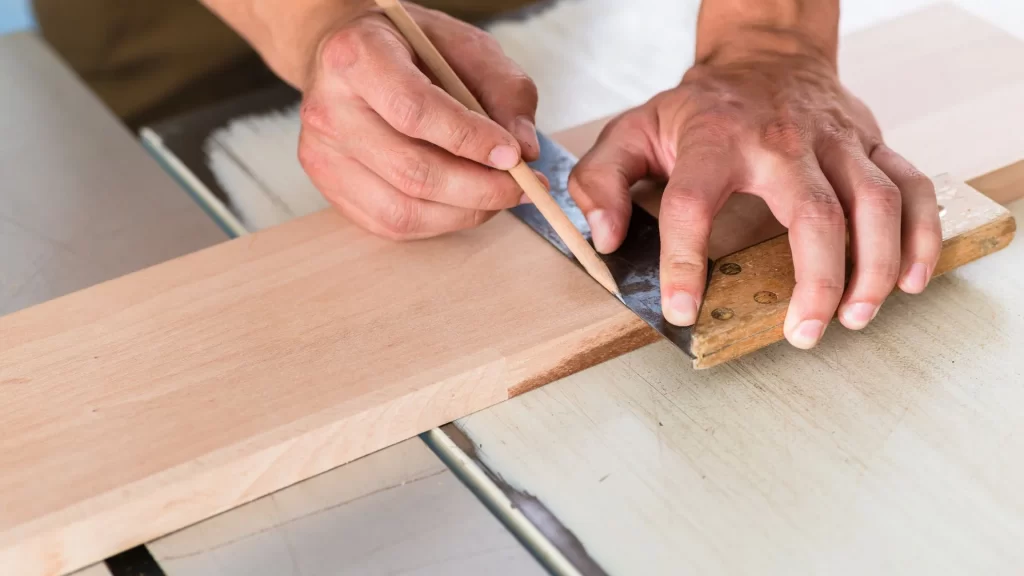
2. Install the Long Stretchers
Take a measurement and make a mark on each leg, 3 inches from the bottom. Next, position one of the long stretchers beneath a leg assembly so that its bottom edge aligns with the marked line, and trace the miter angle onto the stretcher. Cut the stretcher to the appropriate size along the marked line, then create pocket holes and securely attach it to the legs. Repeat this process on the other side of the assembly.
3. Install the Short Stretchers
Join the short rails and stretchers to the leg assembly by applying glue and securing them with pocket-hole screws. Ensure the edges are in line with the boards already in place. Once this is done, flip the unit over and repeat the process, attaching the rails and stretcher to the remaining leg assembly using the same method. This will help ensure the stability and symmetry of your project.
4. Connect the Cleats
Cut the cleats to fit, then stick them onto the stretchers with glue and 1¼-inch nails. Make sure to use a spacer to keep the shelf boards even with the stretchers.
5. Attach the Shelf Slats
Start by adding the outer-edge slats. Begin by using a jigsaw to shape the outermost slats to fit around the legs. Afterward, dry-fit the slats to ensure they have the right spacing, aiming for 3/4-inch gaps. Then, secure them in place by gluing and nailing them to the cleats.
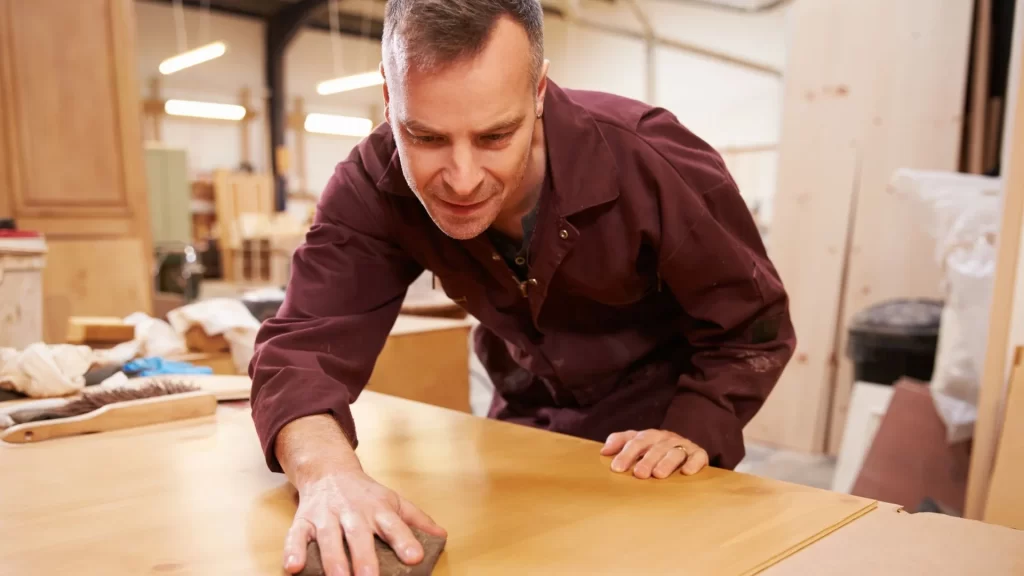
6. Finish the Base
To complete the project, start by filling the screw holes, sanding the base until smooth, and giving it a fresh coat of paint. On one end, attach a towel bar, and add hooks along the front of the cabinet. To make it mobile, drill a hole in the bottom of each leg, then insert a tee nut flush with the wood surface before screwing in the casters.
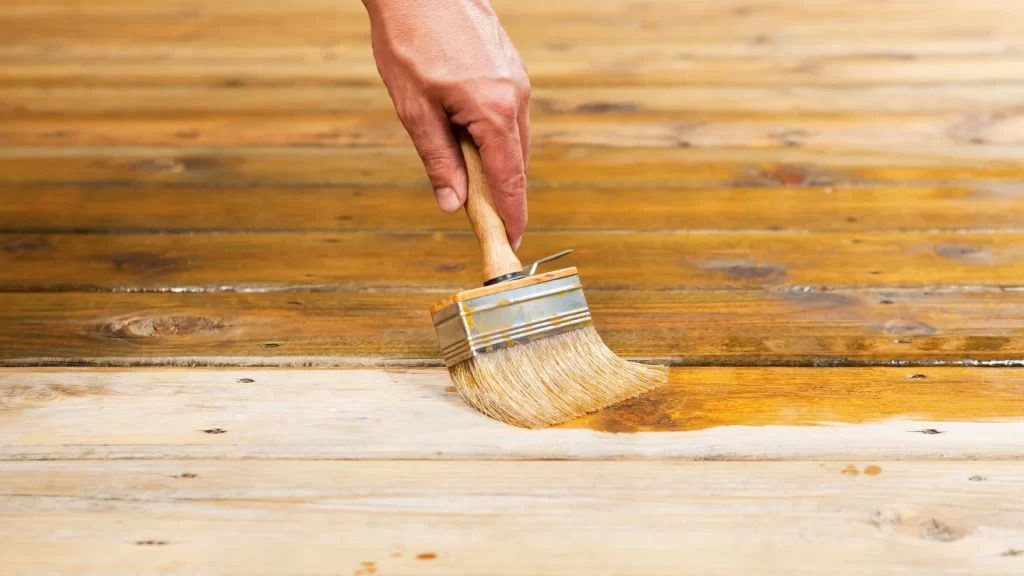
7. Apply a Stain
First, apply a single layer of stain followed by two coats of polyurethane to the butcher block. After allowing it to dry completely, turn the butcher block upside down on a cloth to prevent any scratches.Then use a drill to create recesses in the rails for the fasteners. Ensure the fasteners are set at a depth that aligns them flush with the top edge. Once this is done, center the base on top of the butcher block and secure it in place using 3/4-inch screws. Finally, flip the cart around, and you’re all set to use it.
The mobile home kitchen island is a key element in optimizing your kitchen layout for both functionality and aesthetics. By prioritizing easy-to-clean surfaces and selecting the right materials, you can transform your kitchen into a welcoming and efficient space. Whether you’re in need of extra storage or a cozy breakfast nook, investing in a well-designed mobile kitchen island can greatly enhance your cooking experience and the overall appeal of your home. So, take the leap and elevate your kitchen with this versatile addition that promises lasting satisfaction.