Search
Close this search box.
Search
Close this search box.

How to Remove Burn Marks from Wood

How to Remove Burn Marks from Wood
Table of Contents

Are you trying to remove burn marks from wood? This can be a tricky task, as many products on the market can do more damage than good. Don’t worry though; with a little bit of time and some simple tools, you can easily learn how to get rid of these pesky blemishes! In this blog post, we’ll take a look at the best techniques on how to remove burn marks from wood so you can go back to admiring your like-new wooden furniture.

What Leads to Heat Stains on Wood?

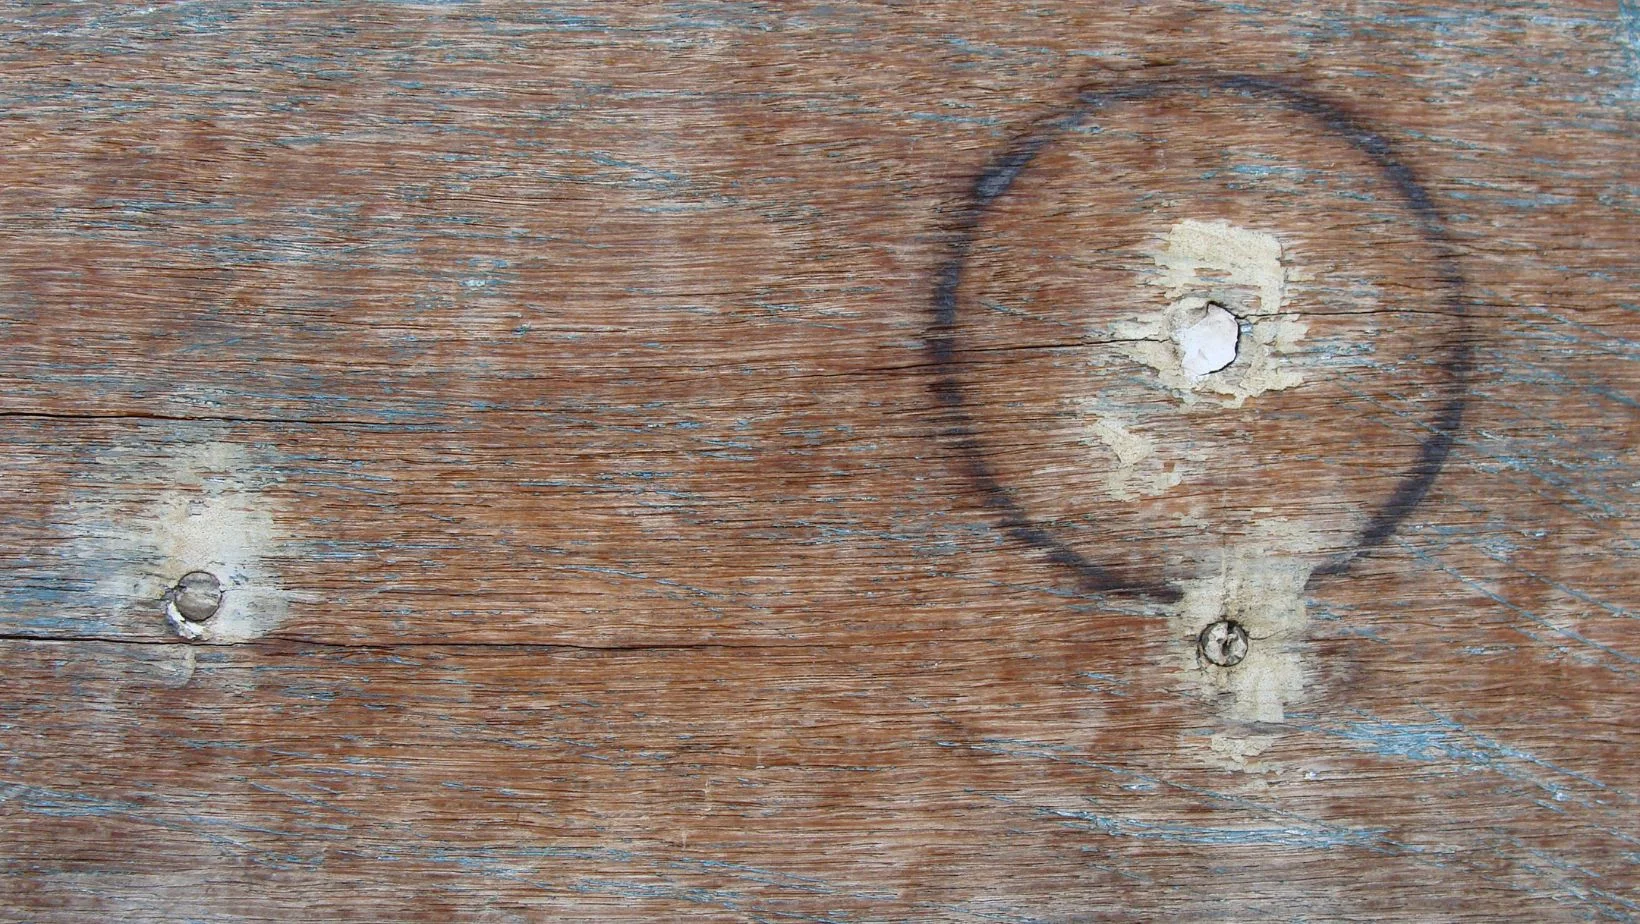
These burn marks can arise from various sources, with the most common culprits being cigarette ash and using a dull blade for cutting. If there’s regular smoking indoors, cigarette burns become quite likely, especially when ashes accidentally make contact with wooden floors or tabletops.

Similarly, when working with a table saw, a dull blade can leave unsightly burn marks on the wood, giving your final product an unprofessional appearance. Regardless of the type of burn mark you’re dealing with, there are simple do-it-yourself methods to effectively eliminate heat stains from wood.

How to Remove Burn Marks from Wood

1. Prepare the Affected Area

 – Start by sanding the space around the burn mark using 150-grit sandpaper. Follow the wood grain until the burn mark is gone and you see the wood underneath.
 – Don’t forget to sand a bit more around the mark to keep the floor even.

2. Finishing Touch with 220-grit Sandpaper

   – Use 220-grit sandpaper on a sanding block to really get that surface looking great.

3. Give It a Good Clean

   – Wipe away any dust with a cloth to clean and prep the area.

4. Time for the First Polyurethane Layer

   – Pour some polyurethane into a paint container.               
   – Use a paint brush to gently apply the polyurethane. Start in the middle and work your way out.

5. Let It Sit

   – Wait around an hour for the first polyurethane coat to dry and set well.

6. Smooth Things Out Again

   – When it’s dry, take that 220-grit sandpaper and give the floor a light sanding. Make it as smooth as possible.

7. Clean Up and Coat Number Two

   – Wipe away any dust.
   – Put on the second layer of polyurethane as before.

8. Repeat with the Third Coat

   – Repeat the process for a third coat of polyurethane. Make sure you cover everything evenly.

Just remember, you’ve got to be patient and take your time for the best results. Let each layer of polyurethane dry properly before moving on to the next step. That’s how you’ll end up with a floor that looks like it’s been fixed by a pro!

How to Get Rid of Black Burn Marks on Wood

Nail polish remover, commonly referred to as acetone, isn’t just for taking off nail polish. This versatile and affordable product serves as a multipurpose solvent available in most beauty and medical stores.
Soak a cotton swab or a clean cloth in acetone, squeeze out any excess, and gently rub it over the burn mark. Follow the wood grain initially, and then go against it. Let the acetone dry between attempts, and repeat the process until the burn mark disappears.

Getting Rid of Minor Burn Marks on Wood Surfaces

Steel wool, a gentle abrasive made up of fine metal strands, is a valuable tool for eliminating small heat marks from wood surfaces. To enhance its effectiveness, generously pair it with moisturizing mineral oil.

Apply a proper amount of mineral oil to the steel wool and gently rub it back and forth over the blemish. This will help lift the mark from the wood and restore moisture to the burned area. Make sure to follow the direction of the wood grain while working.

Getting rid of those unsightly burn marks on wood surfaces is entirely achievable with a few simple yet effective techniques. Whether it’s using nail polish remover to gently erase the marks, employing steel wool and mineral oil to restore the wood’s luster, or even applying heat strategically to lighten the scars, you now possess a toolkit of methods to reclaim the natural beauty of your wooden items. Remember, patience and careful execution are key, as each method requires a delicate touch to ensure the best results. So, armed with these insights, you can confidently embark on your journey to rejuvenate your wooden pieces and enjoy their timeless charm for years to come.

Recent Posts
Share article: