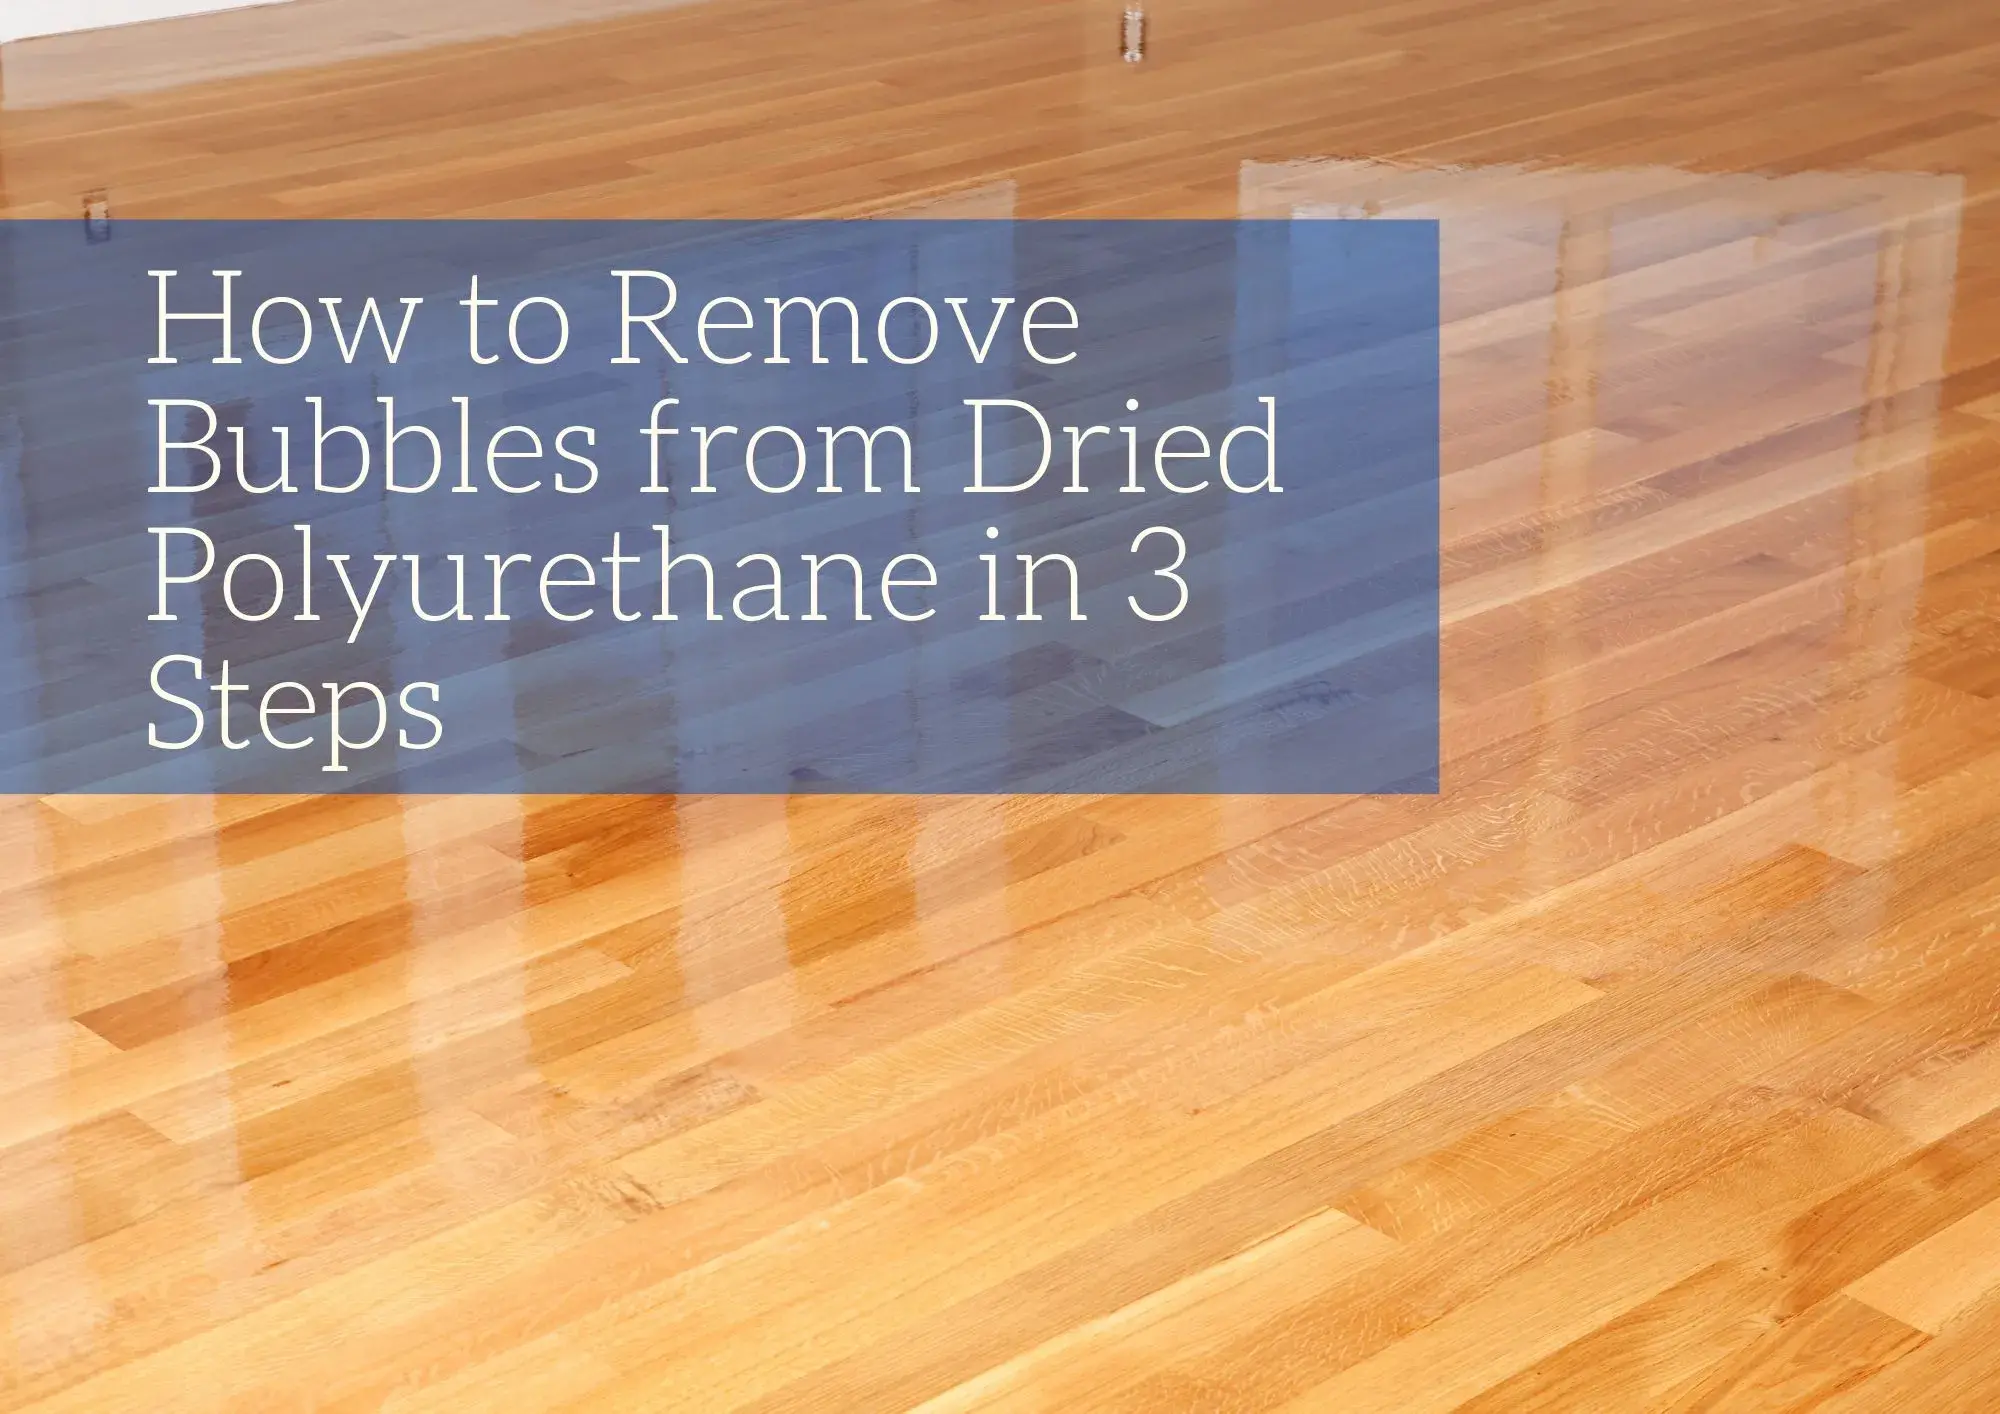
Polyurethane is a popular finish for woodworking projects, offering durability and a beautiful, glossy sheen. However, one common issue that can occur during the application process is the formation of bubbles in polyurethane finishes. These bubbles can come in the way of the flawless finish you desire. In this blog, we’ll show you how to get rid of polyurethane bubbles and achieve a smooth, professional-looking result.
How to Remove Bubbles from Dried Polyurethane?
If you didn’t notice those sneaky bubbles while the polyurethane finish was still drying, you might find your finish marred with hardened bubbles. For all the floor finishers who were a bit too enthusiastic with their applicator, here’s a tip: give the finish time to dry without walking on it. If you’ve got these unwanted craters or bubbles, your best bet is to sand them away and then apply another layer of finish, but this time, go easy and be more careful by heeding to the following instructions:
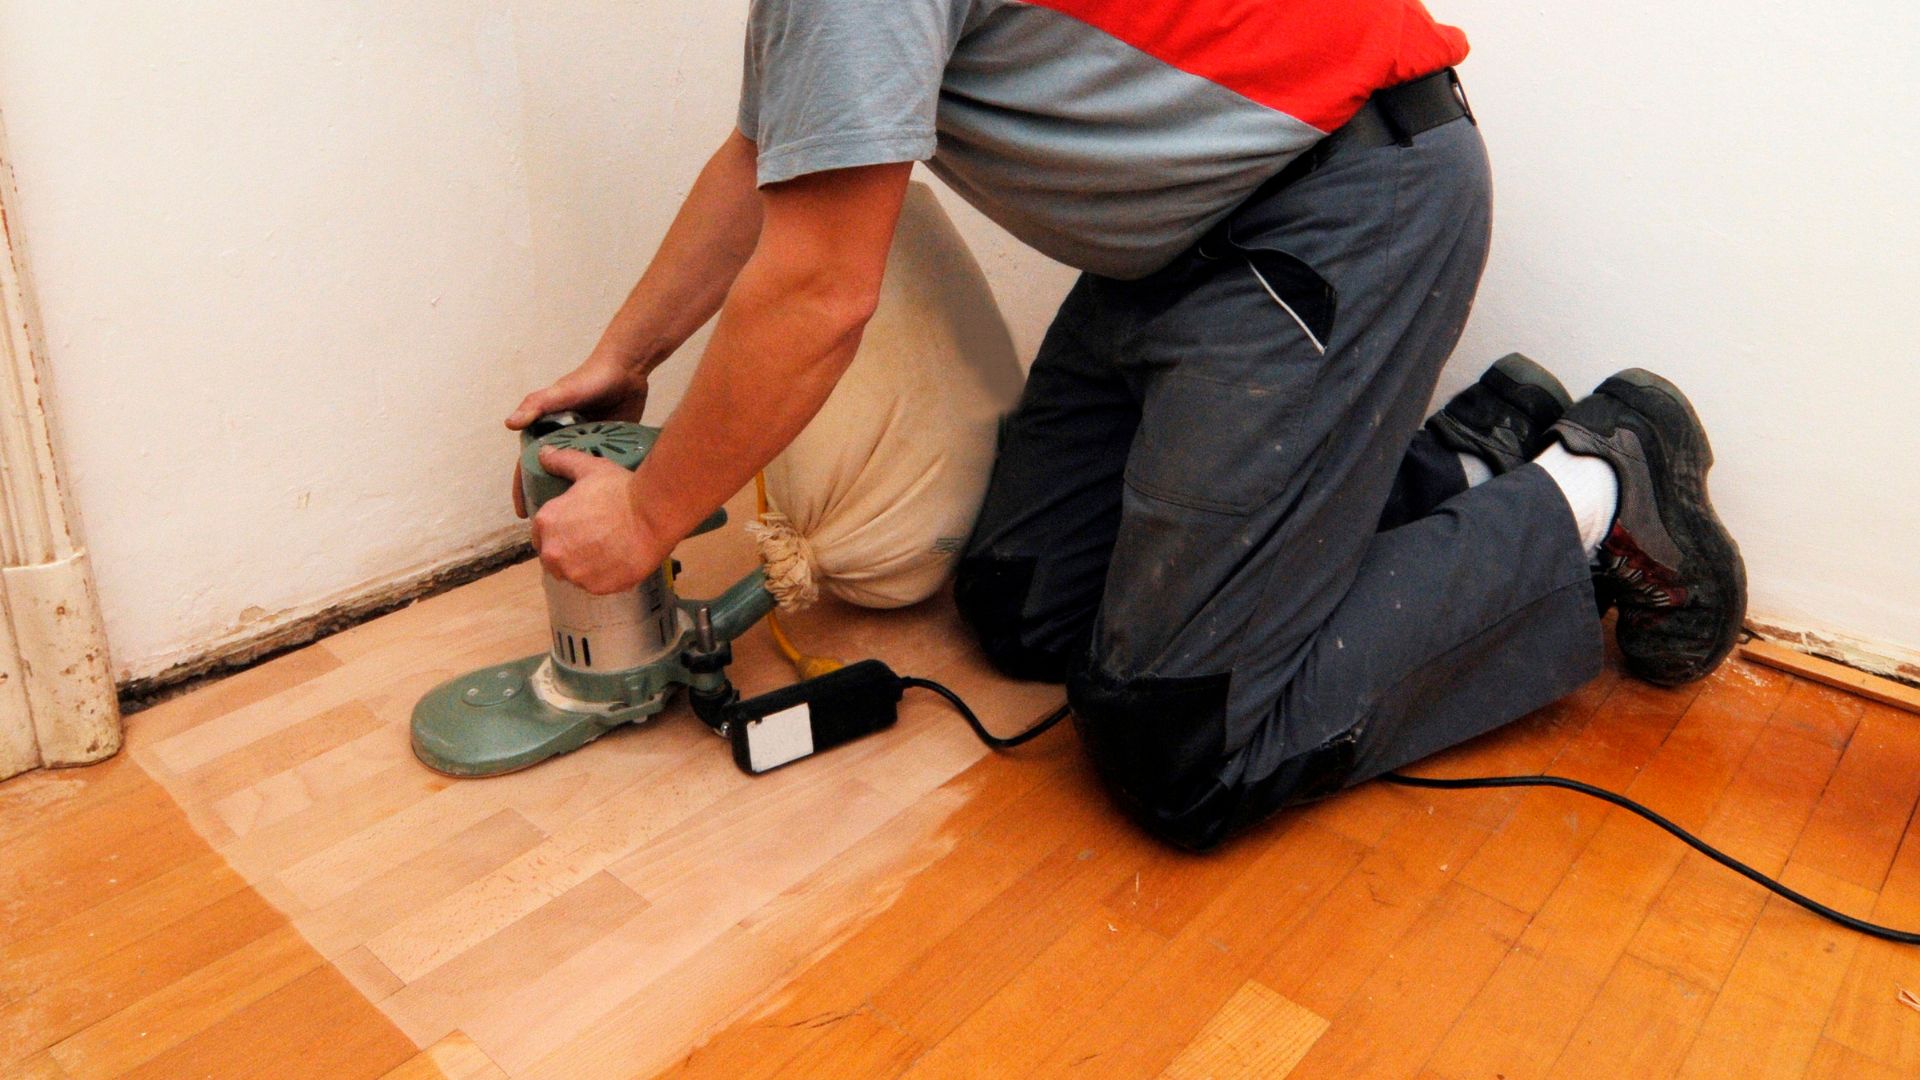
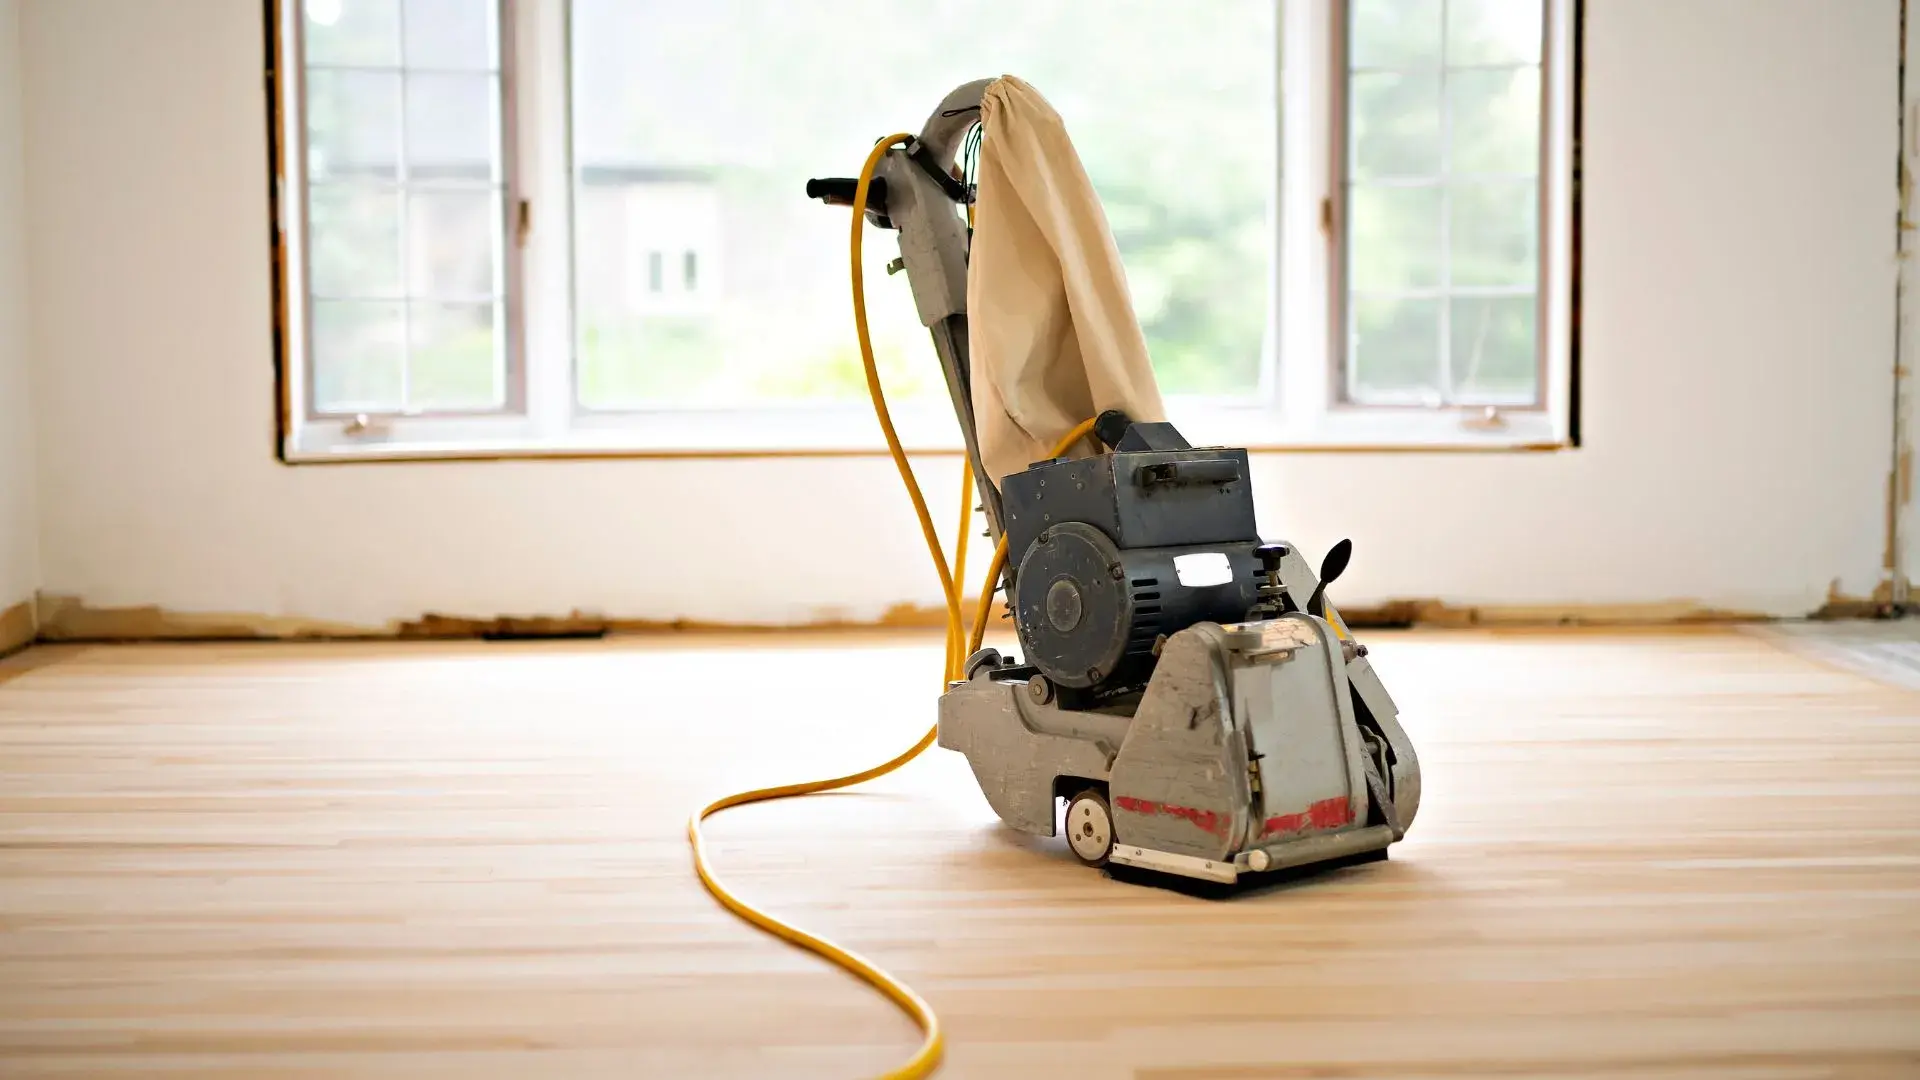
- Depending on the surface you’re working on, use 120-grit or finer sandpaper to scuff-sand the bubbles. Coarser paper is suitable for scuffing a floor compared to a tabletop. For floors, you can use a palm sander, or if the bubbling is severe, opt for a floor buffer and a sanding screen.
- Once you’ve sanded away the bubbles, take a damp cloth and wipe off the sanding dust.
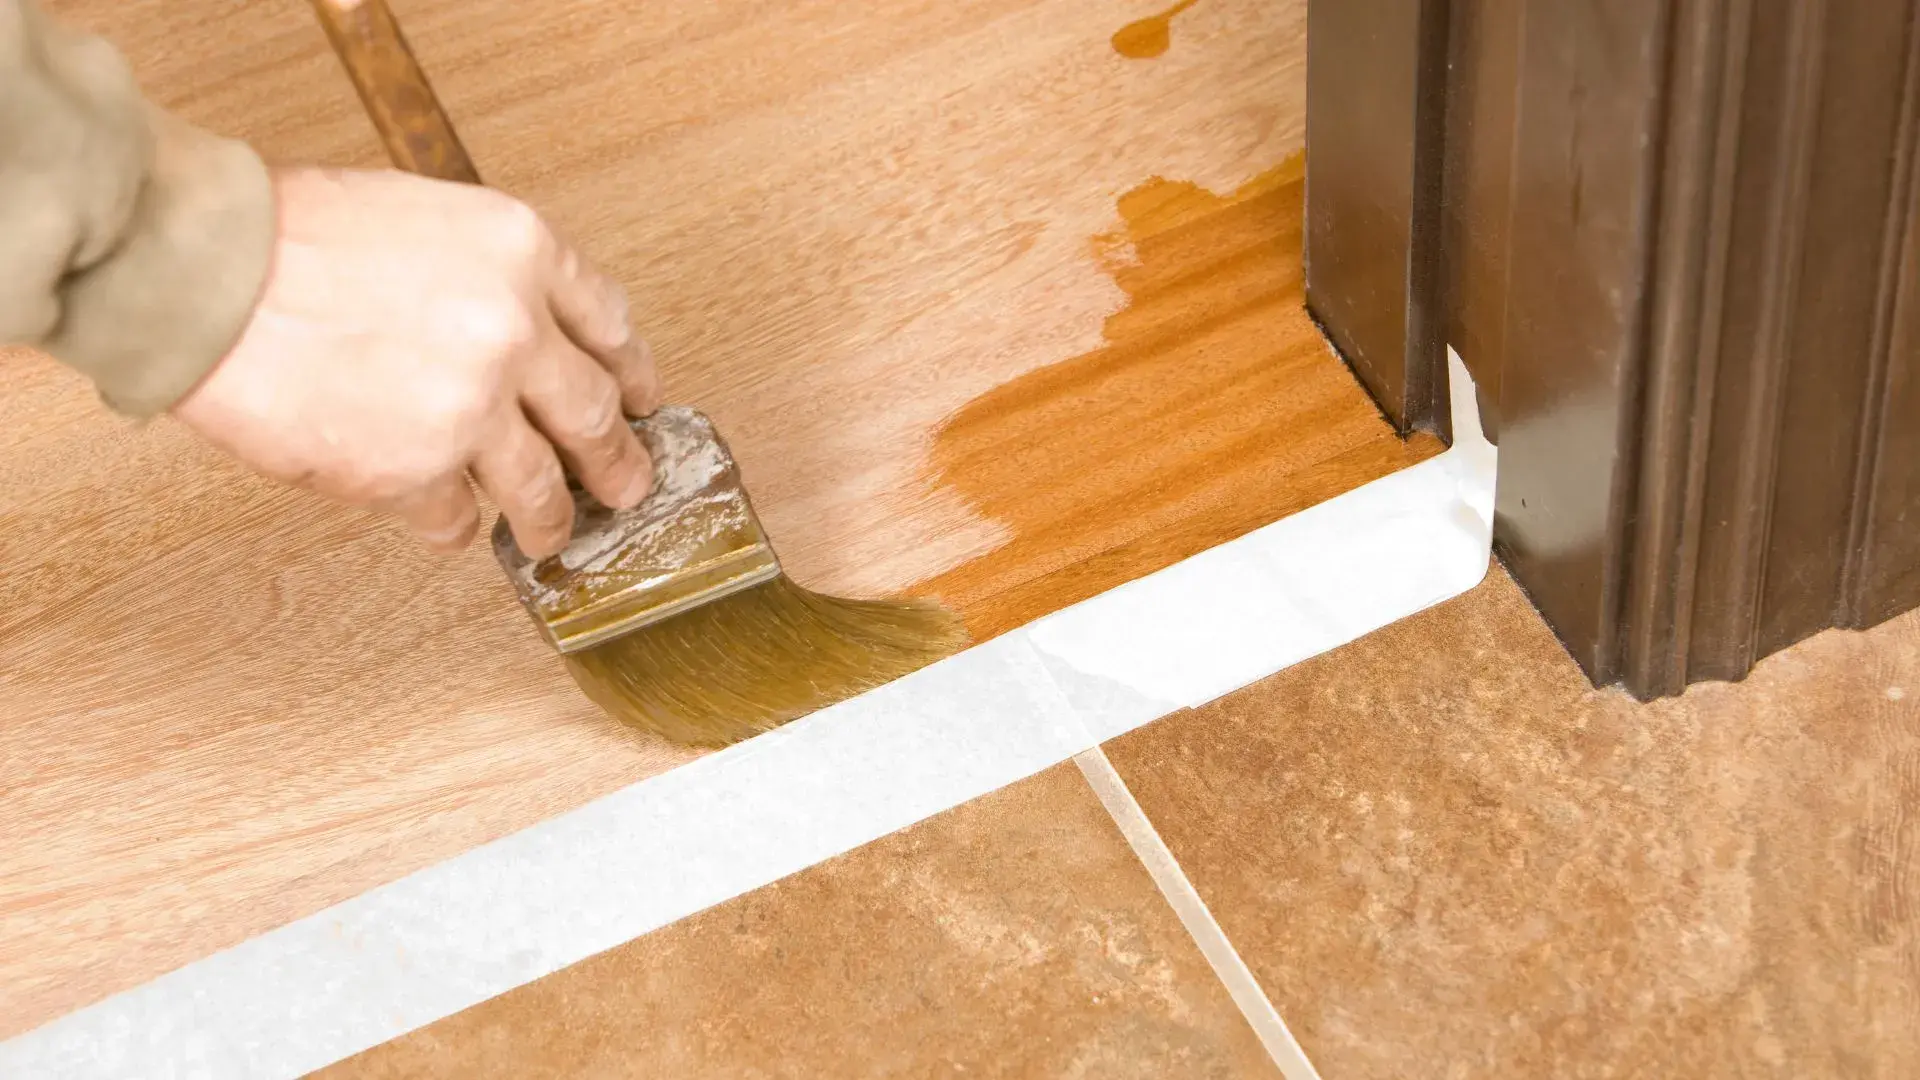
- Now, it’s time to apply a fresh coat of finish. Be sure to move your applicator with care to minimize turbulence and prevent the formation of new bubbles.
How to Prevent Polyurethane Bubbles?
- Gentle Mixing: Before you use polyurethane, give it a gentle stir. Don’t shake it hard, as this can create air bubbles.
- Ideal Work Area: Find a place with good airflow and keep the temperature and humidity steady. Big changes in these conditions can lead to air bubbles in your finish.
- Right Tools: Use high-quality brushes, foam applicators, or sprayers to apply polyurethane. Cheap brushes can make bubbles in the finish.
- Thin It Out: Depending on what the manufacturer suggests, you might want to thin the polyurethane with the right kind of thinner. This can help you get a smoother finish without bubbles.
- Take Your Time: Be patient when applying polyurethane. Rushing can lead to uneven application and bubbles.
- Pop and Smooth: If you see bubbles forming, gently pop them with a pin or sharp blade while the finish is still wet. Then, smooth the area with your brush or applicator.
- Let It Settle: Give the polyurethane a few minutes to settle after stirring but before applying it. This can help air bubbles introduced during stirring go away.
In just three simple steps, you’ve learned how to effectively remove those pesky bubbles from dried polyurethane, giving your woodworking projects a professional, flawless finish. By following these techniques, you can ensure that your hard work and craftsmanship shine through without the distraction of imperfections. Armed with this knowledge, you can confidently tackle your future projects, knowing that a bubble-free polyurethane finish is well within your reach. Say goodbye to those frustrating bubbles and hello to a smooth, polished, and beautiful surface that you can be proud of.


