Your home’s doors serve as more than just functional barriers; they are a canvas waiting to be transformed into a stunning piece of decor. Whether you’re seeking to refresh your space’s appearance or looking to add a pop of color to your home, painting a door is an excellent way to achieve both. From giving your front entrance a welcoming facelift to reviving tired interior doors, the art of door painting can breathe new life into your living spaces. In this comprehensive guide, we’ll show you how to paint a door like a pro while exploring the ins and outs of door painting. We hope to help you get started by offering you expert tips and techniques to ensure your project’s success.
How to Paint a Door
1. Prepare the Door
Professionals often paint doors while they’re still hanging on their hinges. But for better DIY results, consider taking the door down.
Once you’ve removed the door, follow these steps:
– Clean the door with a household cleaner – any cleaner that cuts through grease will work. Pay extra attention to the area around door knobs, which can accumulate oil.
– Take off all door hardware to achieve a cleaner paint finish and save time.
– Remove any built-up paint around hinges and latches.
– Use a sandable filler to repair dents and holes.
– Remove old paint from the hardware. Start with a paint spatter remover. While paint strippers can be used, be cautious as they might remove clear coatings or harm certain finishes on the hardware.
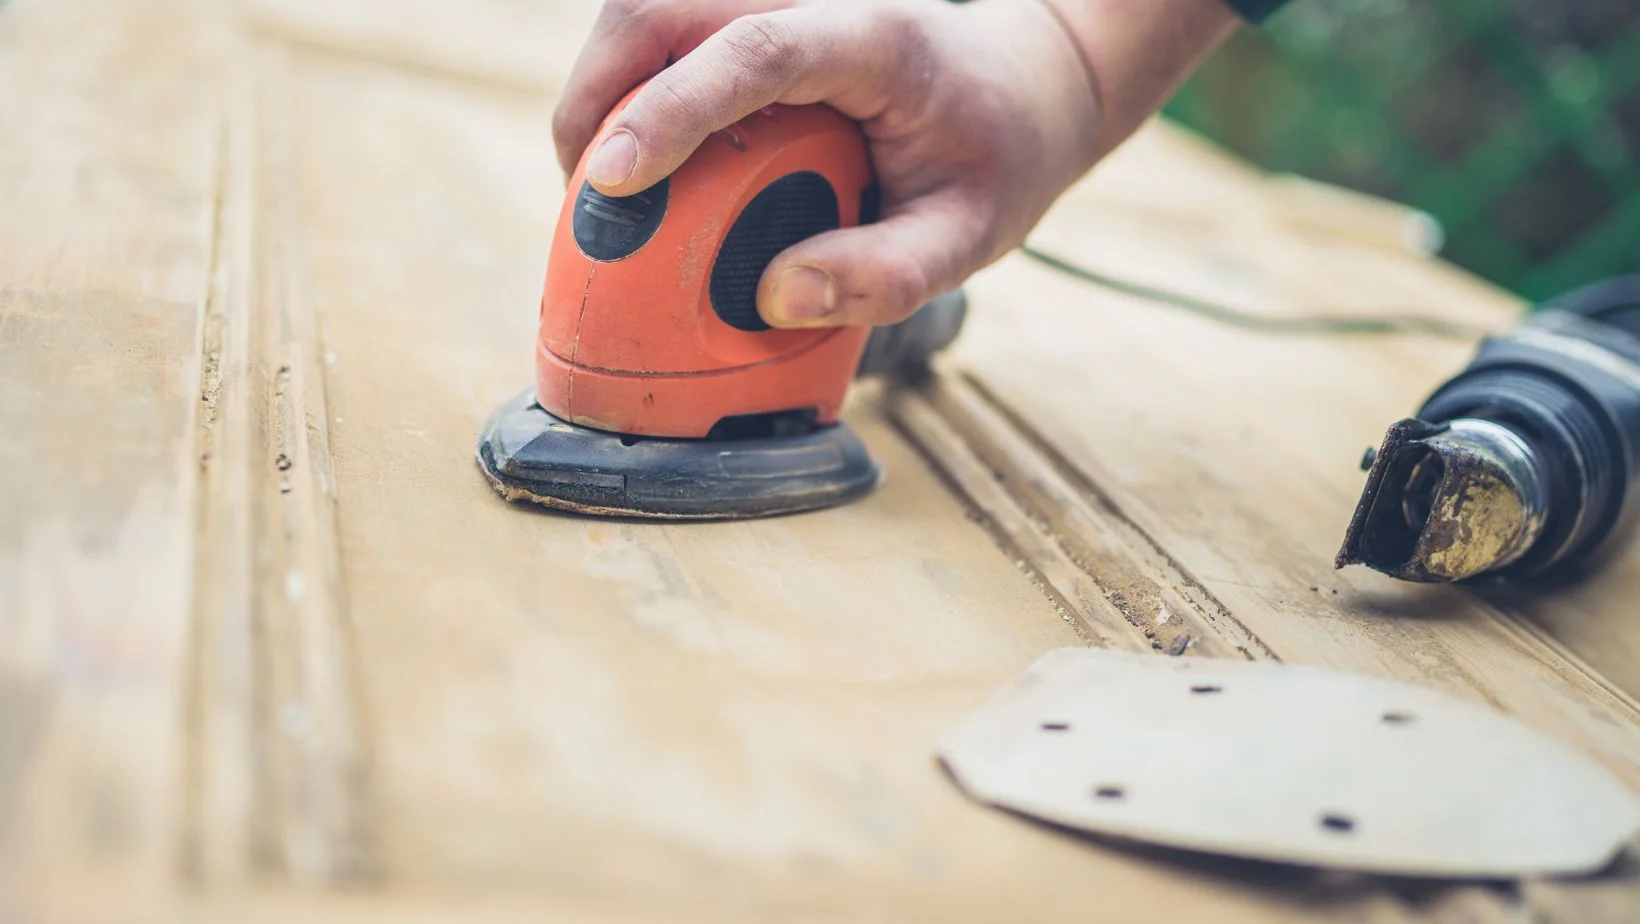
2. Sand
Start by sanding the surface with fine sandpaper or a sanding sponge (180 or 220 grit). This will create a slightly roughened surface that will improve primer adhesion.
Next, take the time to remove any chipped paint and imperfections from previous paint jobs.
For flat surfaces, use a firm sanding block to level out old paint runs and brush scratches. When dealing with contoured profiles, employ a combination of sanding pads, sponges, and sandpaper scraps to achieve the desired results.
3. Fix Imperfections
Smooth out any imperfections in the primer layer by sanding. To spot imperfections more easily, shine a light over the surface at a low angle. If you come across any areas that require additional filler, mark them with masking tape.
4. Choose the Right Paint
Opt for a paint that offers a sleek, polished finish. These types of paints are commonly referred to as “enamel” or “trim and door” paints.
Water-based alkyd paints are particularly noteworthy for their smoothness. They have the advantage of a slower drying time, providing you with more flexibility during application, and they level out almost as effectively as doors painted with oil-based paints.
Clean-up is equally simple, although you should anticipate a longer waiting period before re-coating (usually around 16 to 24 hours) and a somewhat higher price point.
5. Ensure a Perfect Paint Job
Make the door flip-ready by securing one end with screws and the other with two screws. This arrangement enables you to paint both sides of the door without the need to wait for the first side to dry.
Dampen the floor to prevent dust from being kicked up, which can prevent dust particles from marring your finish. Damp floors also enhance the humidity, giving you extra time to smooth out the paint and allowing it to level properly.
Always have a pair of tweezers on hand and use them to remove paintbrush bristles or free any trapped insects without ruining the paint.
6. Priming
You have the option to “spot-prime” a door by covering only the fixed dents or areas sanded down to bare wood, but it’s advisable to prime the entire door for better results.
The choice of primer is just as crucial as your paint selection. When at the paint retailer, ask for a primer that is compatible with your paint, levels well, and can be sanded easily.
Apply two coats of primer for an exceptionally smooth finish. After applying, lightly sand the primer with 220-grit sandpaper, inspecting your progress along the way. It usually only takes a few quick passes.
Allow the primer to cure overnight before sanding. The longer it dries, the easier it will be to sand.
When it’s time to paint, start by painting the edges and removing any excess paint. Use a brush or roller to paint all four edges of the door. If any paint spills onto the front of the door, quickly wipe it away with a towel or foam brush.
7. Paint It
To ensure a proper paint job, adhere carefully to the following guidelines:
– You must apply and smooth the paint quickly before it becomes too sticky or hard, making it challenging to eliminate brush strokes.
– Consider using a paint additive to aid in drying and leveling.
– Begin by ensuring the door is free from dust by gently cleaning it with a moist cloth prior to painting.
– To achieve a smooth finish without fibers in the paint, opt for microfiber, mohair, or foam roller sleeves, and use a smaller roller.
– Begin by painting all four corners of the door.
– Apply a thin coat of paint. While a thicker layer may provide better coverage and occasionally level out more effectively, it’s more prone to running and can leave deeper brush marks.
– Rollers cover surfaces more quickly than brushes, giving you a few extra minutes to work with the paint before it starts to set.
– Remember to brush out rolled paint. Brush marks are often less noticeable than roller stippling and tend to level out better.
– Apply at least two coats of paint and lightly sand between coats with 220-grit sandpaper to remove any imperfections.
8. Roll the Rails and Stiles of the Door
Divide the door into portions and apply paint to each section, ensuring that only a quarter is covered each time. Then, use a brush to smooth out the paint, being careful not to paint over the edges of the panels.
9. Stick to the Direction of the Grain
Brush the joints where the door components come together, and then use your brush to create a straight line at the junction.
Any visible brush marks will display a unique wood grain pattern rather than indicate poor brushwork.
10. How to Achieve a Smooth Finish
The quality of a sprayed-on finish surpasses the capabilities of even the most skilled painter. Sprayers fall into two categories: “airless” and “HVLP” (high-volume, low-pressure).
Both methods can quickly create a perfect coat, but HVLP is more lenient. It produces a finer spray, reducing the risk of applying excessive paint and causing runs.
Beyond the superior final result, using a sprayer can save you hours of brushwork, especially if you have multiple doors to paint.
Learning how to paint a door is a skill that can significantly enhance the overall aesthetics of your home. By following this step-by-step guide and paying attention to the details, you can achieve a flawless finish that looks impressive and withstands the test of time. With the right tools, techniques, and a little patience, you’ll have your doors looking professionally painted in no time, adding a touch of elegance and charm to your living spaces. So, roll up your sleeves, grab your paintbrush, and get ready to transform your doors into a work of art that leaves a lasting impression. Happy painting!