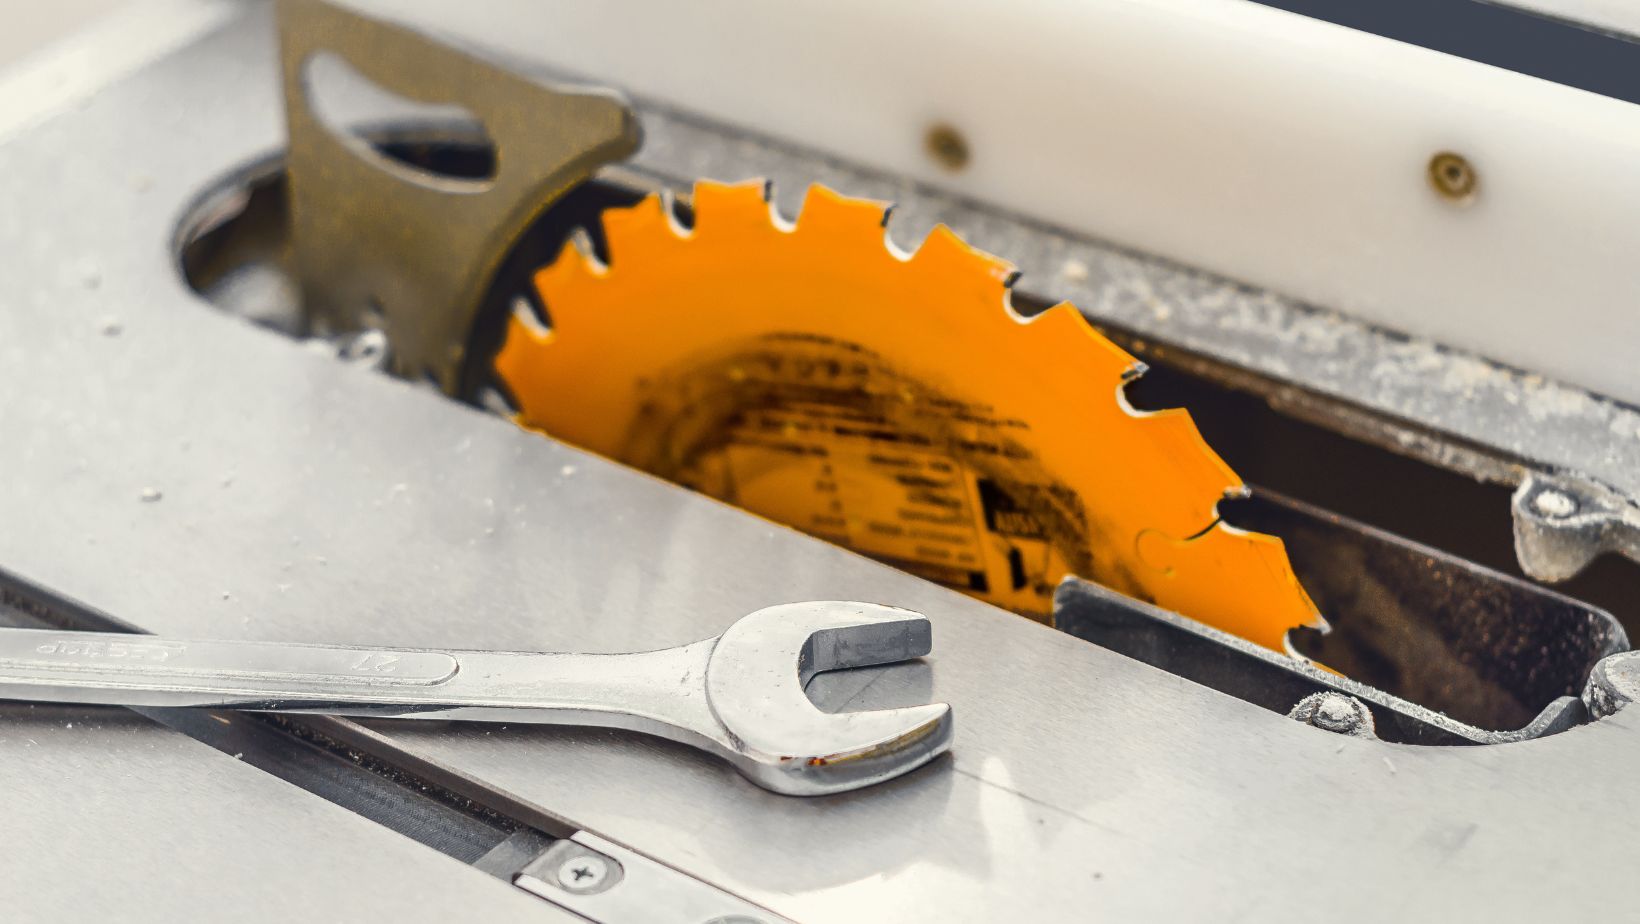
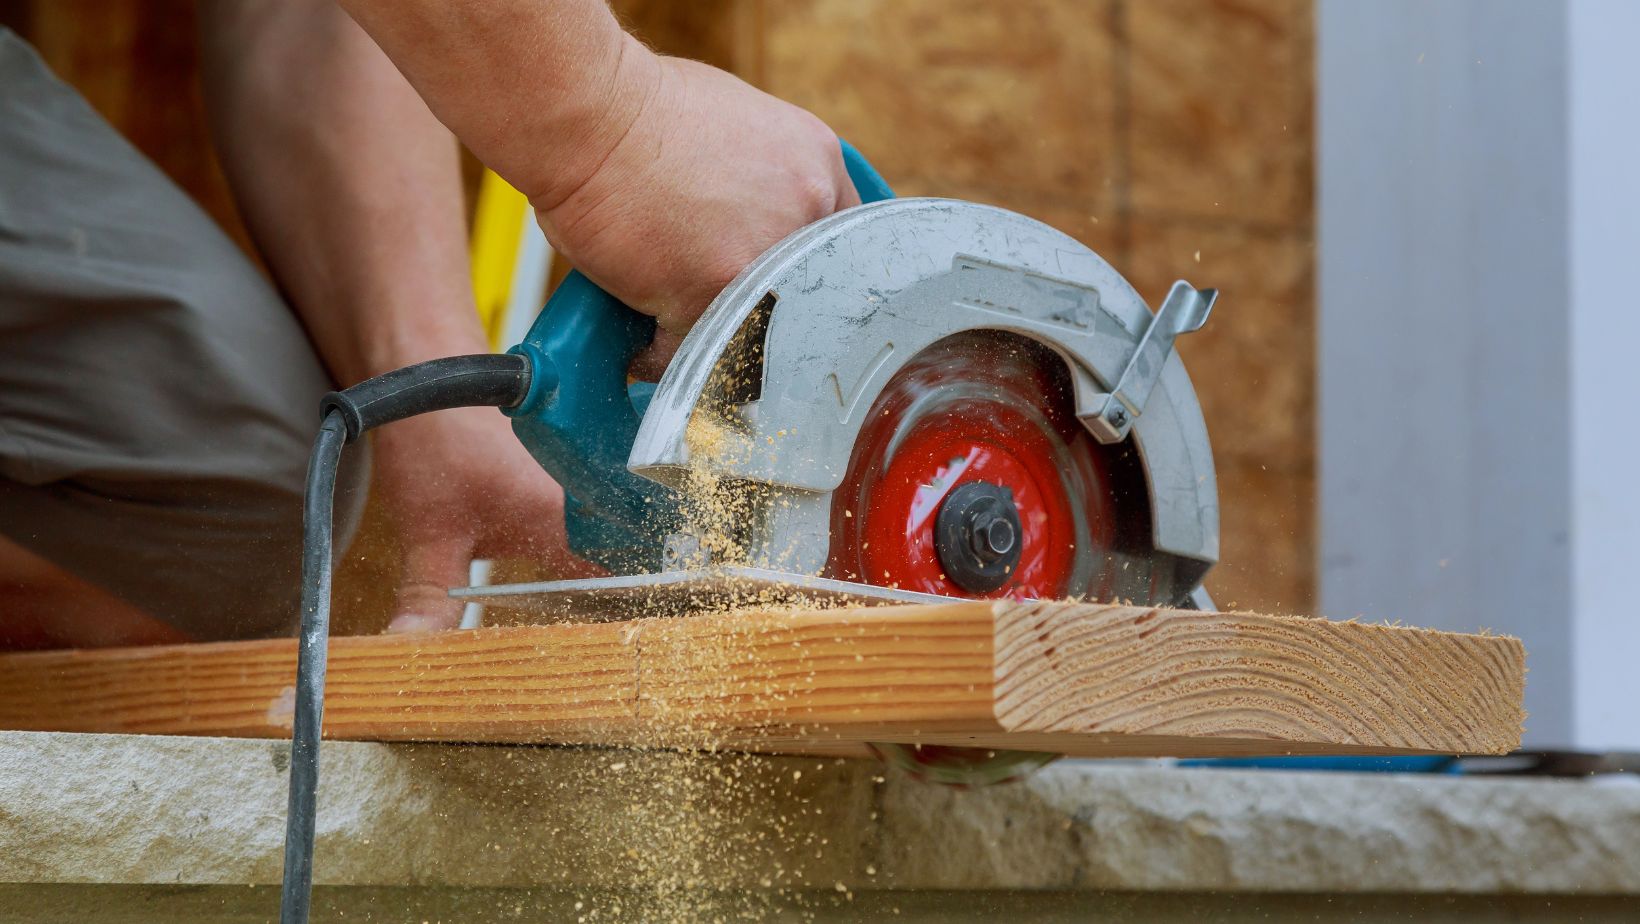
Wanting cleaner cuts with your saw? Don’t forget what your dad taught you… you can’t work with dull tools. It’s foundational, and you know the solution already, but we often forget the basics after moving on to advanced woodworking. It’s likely all you need to do is change out your saw blade. Everything in this blog is in the manual, but you likely threw that away a long time ago, haha. In this blog are the quick easy refresher steps on how to change out your saw blade to get back to those 5 star cuts you used to make.
Step 1: Disconnect the Power Source
Removing a circular saw blade is a relatively simple process, but it does require some caution. First, make sure to unplug the saw’s cord or battery to avoid any risk of accidental activation while changing the blade.
Step 2: Put the saw on the table in a horizontal position with the blade pointing upward
You’ll need to release the lever on the rear of the shoe, which is the horizontal guard at the saw’s base. Make sure the shoe is pushed down as far as it can go and the saw is above it. Reinsert the shoe and lock it in place using the lever.
If you raise the saw’s blade, you’ll have easier access to the blade itself. Alternatively, the shoe could have gotten in the way when you tried to remove it.
Step 3: Depress the Blade Spindle Lock
A spindle lock, often a button on the saw’s body, disables the motor and prevents the blade from rotating when the saw is in use. If the spindle-lock button isn’t pushed, the bolt keeping the old blade in place will spin when you try to remove the bolt, making it difficult to replace the blade. This button’s primary function is to secure the blade in position while the bolt is being removed or reinstalled. Put in some serious time and pressure by pressing it.
Step 4: Loosen the Blade Bolt with a Wrench
Use the circular saw’s wrench that came with your saw to loosen the bolt that holds the blade in place. This can be done by turning the bolt counterclockwise, which is usually in the same direction as the saw blade’s rotation. It is important to ensure that you are using enough torque when loosening so that you don’t accidentally strip or damage the head of the bolt.
Step 5: Push the Guard Away to Remove the Old Blade
In order to push the blade guard away from a circular saw, you should grasp the guard firmly with one hand and hold it in place. The other hand should then be used to carefully slide the guard away from its original position toward the back of the saw. It is important to pay careful attention during this process, as the guard can slide quickly and can cause injury if not held in place securely.
Step 6: Clean the Inside of the Blade’s Guard
It’s important to use a clean cloth to remove any dust or debris that has become trapped within the guard or around the spindle. By doing this, you can help prevent buildup that could lead to clogging or other issues.
Step 7: Place the New Blade into Position
Carefully position the new blade on the saw, ensuring that the wording is facing outward and that the center hole is aligned over the spool hole. Securely place the bolt back on and use a wrench to tighten it in place. Once done, release the spindle-lock button and check to ensure everything is secure before proceeding with any cutting activity.
Changing a circular saw blade may seem like a daunting prospect, but with the right tools and knowledge, it doesn’t have to be! Taking the time to research how to properly change a saw blade will ensure that you get the job done correctly and avoid any dangerous accidents or damages. But be sure not to rush when making your cuts; if you do, that’s when mistakes can happen. With cautiousness and proper procedure in mind, you’ll be ready to take on the challenge of changing your circular saw blade in no time! Just remember: safety first, always. So hop on this journey of becoming an expert at swapping out those blades – you might even find a new hobby in it!


