Search
Close this search box.
Search
Close this search box.

All About Screening Hardwood Floors

All About Screening Hardwood Floors
Table of Contents

Hardwood floors are timeless and add a touch of elegance to any space. However, over time, daily wear and tear can leave these beautiful surfaces looking dull and scratched. Before you consider a complete refinishing project, there’s a lesser-known technique that can breathe new life into your hardwood floors: screening. In this blog, we’ll explore why screening hardwood floors might be the perfect solution to give your home a fresh and revitalized look.

What Does Screening Hardwood Floors Entail?

Screening is a method that involves selectively removing the top layer of polyurethane from hardwood floors while leaving the underlying wood untouched. This cost-effective procedure eliminates the mess and inconvenience typically associated with the more abrasive process of floor sanding.

Signs Your Hardwood Floors Need Screening and Recoating

Minor Visible Scratches and Dents

The appearance of scuff marks and scratches on your hardwood floors serves as an early indicator that screening and recoating may be necessary. Everyday wear and tear, such as furniture dragging, claw marks from pets, and increased foot traffic, contribute to visible imperfections on the surface. Thankfully, many of these scratches only affect the polyurethane coat, making it a straightforward process for a floor repair specialist to screen off the damaged layer and apply a fresh coat.

Loss of Gloss

A once-glossy hardwood floor that has lost its sheen is another sign that it’s time for a new coating. The diminishing shine suggests that the top layer of polyurethane is deteriorating, reducing its ability to provide effective protection against deeper scratches and scuffs. If you notice a decrease in the apparent luster of your hardwood floors, prompt action is key. 

Tips for Screening Hardwood Floors

  • Prepare the surface before installing the screen by using 100-grit sandpaper with a palm sander to smooth out any elevated areas on the disk. This ensures that the polisher, when initially activated, won’t penetrate too deeply into the finish.
  • When screening the majority of the floor with the floor polisher and screens, employ a comprehensive approach by utilizing four screening grits, progressing from rough to smooth (60, 80, 100, and 120 grit). For corners and edges, opt for a palm sander or a sanding pad with sandpaper.
  • Upon completion, thoroughly brush down the walls and vacuum any dust from all surfaces.

Screening Process

Screens are like sandpaper that doesn’t get clogged. To smooth the floor, use a large floor polisher (16-inch or larger). These are not as tricky to handle as a drum sander, and you don’t need to apply much power. The weight of the floor polisher and a pad made of synthetic wool keeps the sandpaper (screen) in place.

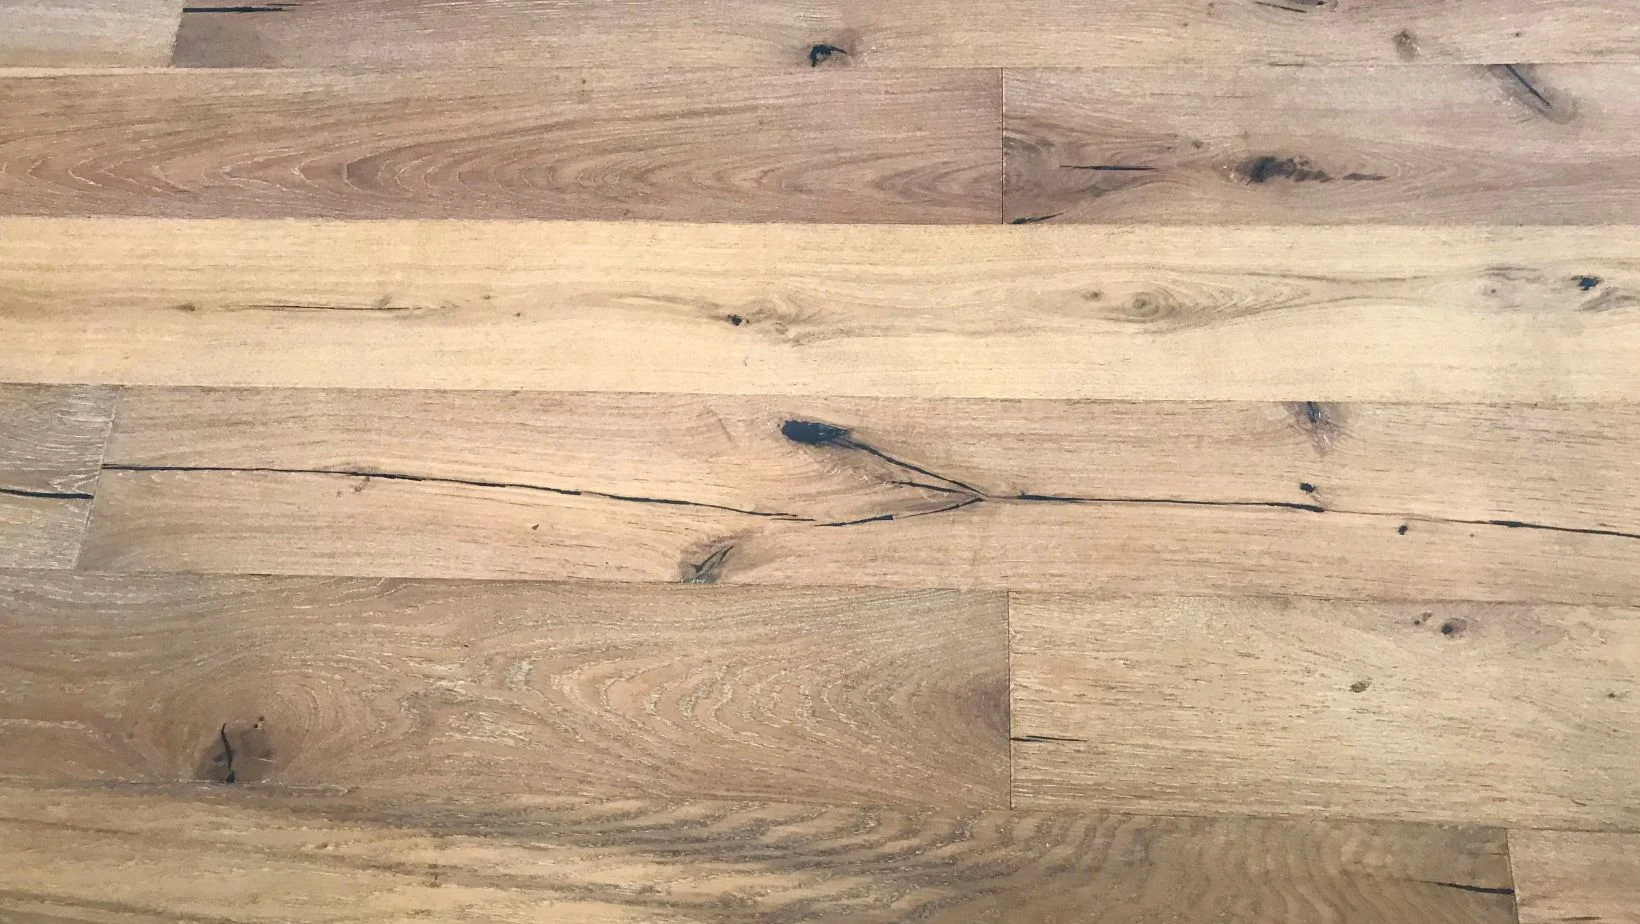
This sanding process, called screening, helps get rid of the floor polish without harming the wood underneath. It works best for floors with a plastic polyurethane coating. You should only use screening if the polyurethane finish looks worn, scratched, or dull. Make sure the wood underneath is still in good condition and not discolored or damaged.

In wrapping up our exploration of screening hardwood floors, it’s clear that this process offers a practical and effective solution for rejuvenating the beauty of your wooden surfaces. Keep in mind the importance of assessing the condition of both the finish and the wood beneath. With this newfound knowledge, may your hardwood floors shine with renewed life and enduring elegance!

Recent Posts
Share article: