Welcome to the world of DIY home decor, where a simple project can transform your entryway into a stylish and welcoming space. In this step-by-step guide, we’ll walk you through the process of creating your very own wood-slat doormat. Get ready to roll up your sleeves and add a touch of handmade charm to your doorstep.
Step 1: Cut the Wood
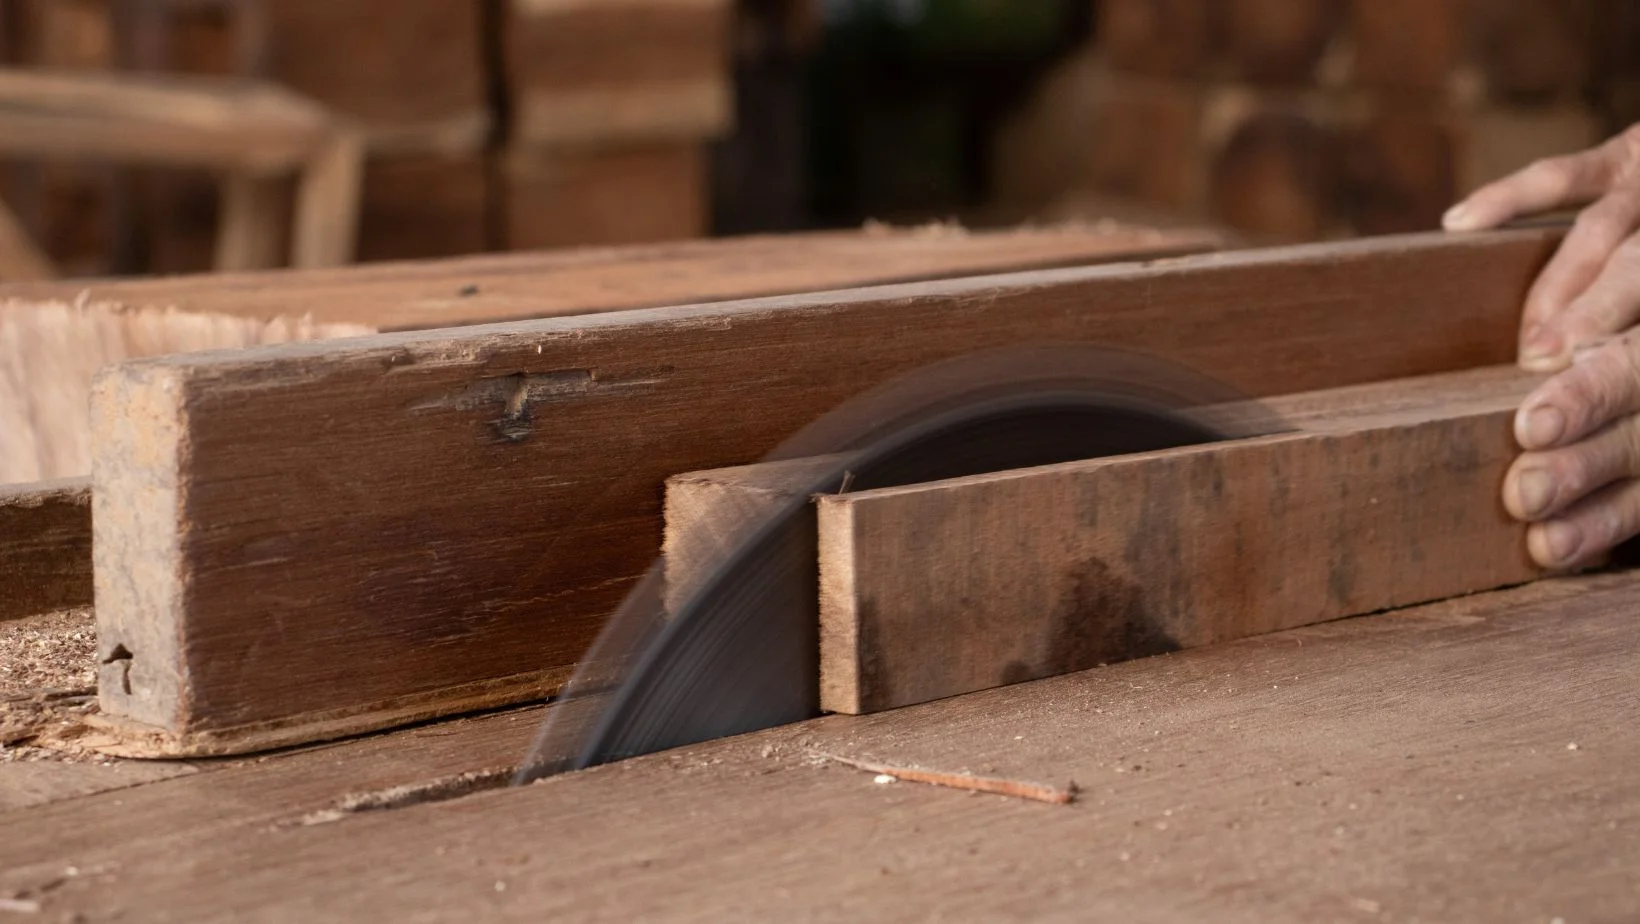
Begin by cutting your wood into eight equal pieces, each approximately two feet in length. Next, mark three inches from both ends. Proceed to drill a hole in the center of each marked point. The drilled holes will serve as the anchor points for the rope that will bind the mat together. Ensure that the drill bit you use matches the thickness of the rope to create a secure and uniform assembly.
Then proceed to sand down the panels to eliminate any splinters around the openings.
Step 2: Stain the Wood
Enhance the aesthetic appeal of the hardwood slats by staining them in a tone that complements your outdoor surroundings. In our case, we opted for a medium brown stain to achieve a warm and inviting look. Be sure to adhere to the recommendations on the staining product packaging regarding the required dry time before moving on to the next steps. This ensures a well-finished and durable result that harmonizes seamlessly with your exterior elements.
Step 3: Choose a Design
Select your preferred pattern or phrase and print it out. Arrange the wood pieces horizontally, ensuring there’s no gap between the slats. Center the paper containing the desired shape on the wooden rectangle. With precision, trace the shape onto the wood using a pencil. This step sets the foundation for accurately transferring your chosen design onto the wooden surface, ensuring a well-aligned and neatly executed result.
Step 4: Start Painting
Use a small brush to carefully paint along the lines that correspond to the pencil markings created in Step 3. This technique will define the area to be painted, allowing you to center the design within the designated space. Taking a meticulous approach at this stage ensures precision and clarity in bringing your design to life on the wooden surface.
Step 5: Add Varnish
After the paint has thoroughly dried, take the next step in weatherproofing your outdoor mat by applying two coats of varnish to each slat. This protective measure not only enhances the longevity of your creation but also provides a barrier against the elements, ensuring that your DIY wood-slat doormat can withstand various weather conditions. Allow each coat to dry completely before reapplying. This step, while often overlooked, is essential to ensure a durable and weather-resistant finish for your outdoor masterpiece.
Step 6: Assemble the Doormat
Once the varnish has dried, it’s time to move on to constructing the doormat. Begin by cutting two lengths of synthetic rope, each approximately 2 feet long. Tie a knot at the end of one rope and thread it through the bottom left hole in the mat’s bottom piece of wood. Repeat this process with the second rope, threading it through the opposite hole on the bottom right.
Step 7: Finish up Your Doormat
Create knots in each rope and feed them through the corresponding holes in the next slat up. Repeat this knot-and-slat sequence until you reach the last wooden piece. Once you’ve reached the final slat, tie two knots securely and trim any excess rope length. If you’re not comfortable burning the rope ends, you can apply silicone glue around them to reinforce the knots. With these finishing touches, your DIY wood-slat doormat is ready to make a welcoming statement at your front door. Place it outside and consider scheduling a summer gathering, allowing your cherished creation to greet your next guests with style and charm!
Place your DIY wood-slat doormat at your front door and revel in the sense of accomplishment that comes with creating a welcoming entrance for your home. Every guest who crosses your threshold will be greeted by a piece of your craftsmanship, making your entryway truly one of a kind. Enjoy the compliments and the satisfaction of a job well done!


