Search
Close this search box.
Search
Close this search box.

A Comprehensive Guide on How to Scribe Wood

A Comprehensive Guide on How to Scribe Wood
Table of Contents

Woodworking is an intricate craft that demands practice and precision. Mastering the art of scribing is essential for achieving seamless joints and a professional finish. Whether you’re a seasoned carpenter or a DIY enthusiast, this comprehensive guide will show you how to scribe wood like a pro.

What Is Scribing?

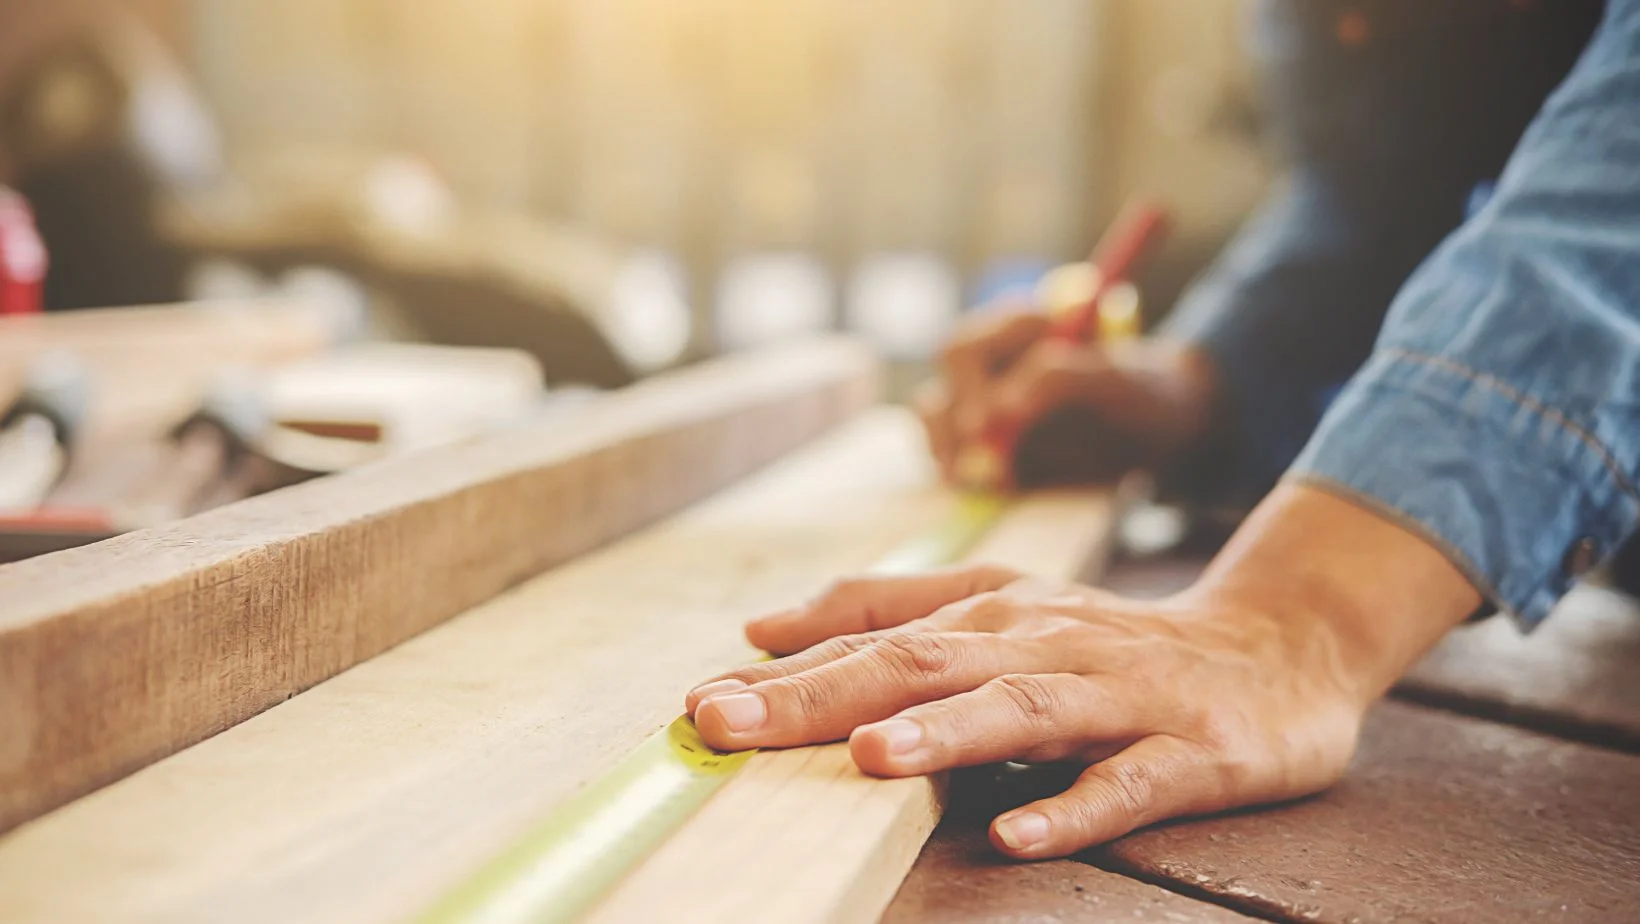
Scribing offers a straightforward approach to fitting cabinets, countertops, moldings, and various items into irregular walls. With a simple drawing compass and a sharp pencil, you can easily replicate intricate shapes or the undulating contours of a wall onto your project. Once the scribed line is in place, refining the fit becomes a matter of filing, planing, or sanding away any excess material, resulting in a near-perfect match.

While effective scribing requires a few techniques, they are easy to grasp. With a bit of practice, you’ll become proficient in the art of scribing, achieving precise fits with ease.

Tools and Materials Required

  • Belt sander and 100 grit sandpaper
  • Scribing tool
  • Block plane
  • Compass
  • File
  • Rasp
  • Level
  • Carpenter’s pencil
  • Jigsaw

What to Avoid When Scribing Wood

Achieving flawless scribing involves adhering to a few key guidelines. It’s crucial to carefully position your workpiece before marking the scribe line. Mastering the art of scribing ensures that you won’t need to conceal unsightly gaps with excessive caulk in the future.

Scribing Techniques

Cabinets

To achieve a perfect installation of your cabinet, start by sliding shims under its base until it is perfectly level on top and vertically aligned on the sides. Once the cabinet is in this position, carefully position it as close to its final location as possible before proceeding to draw a line. Use your carpenter’s pencil to scribe a precise line along the wall, marking the cabinet’s intended placement. This method ensures an accurate and well-aligned installation for your cabinet.

  • Sanding the line

Sand the line using a belt sander. Bend the wood slightly for a better fit by rotating the belt sander while sanding. Remove the additional lumber from the non-visible side.

Countertops

Gently slide the countertop snugly against the wall, paying careful attention to align the front edge parallel to the front of the cabinets. To accurately capture any irregularities between the wall and the countertop, make adjustments to the compass. Extend the distance between the compass point and the pencil tip to match the largest gap between the wall and the countertop, then securely tighten the thumbscrew. By running the compass point along the wall, you’ll seamlessly transfer any curves or contours to the countertop, ensuring a precise fit.

  • Sanding the line

Sand the line using a belt sander equipped with 100-grit sandpaper. Test the fit of the countertop, then repeat the sanding procedure, and scribe a fresh line as needed. Continue scribing and sanding until you get a flawless fit.

Wainscotting

When fitting boards or moldings to out-of-square corners, begin by leveling the workpiece. Adjust the compass to match the largest gap, and then carefully mark the line. Proceed to cut or plane the wood, making sure to remove material on the outer side of the marked line. This technique accommodates the irregularities, resulting in a customized fit that seamlessly conforms to the specific dimensions of your space.

Shelving

Install a shelf seamlessly into a corner by carefully sliding it into place, ensuring the extended rear edge remains flush against the wall. If the shelf is situated between two walls, cut it slightly longer (about 1/2 inch) and mount it at an angle. Use a pencil to mark the line along the wall, then proceed to saw along the marked line. Repeat this process at the opposite end of the shelf for a precise fit.

Irregular Edges

Scribing provides a solution for fitting cabinet sides, paneling, or molding to uneven surfaces like brick. Begin by ensuring the paneling or molding is supported in a plumb position. Next, set the compass slightly wider than the largest gap and carefully trace the line. It’s essential to maintain the compass perpendicular to the surface being scribed.

Maintaining a right angle between the compass and the scribing surface is crucial, especially when dealing with wide spaces or highly uneven surfaces. Consistently holding this angle while drawing the line ensures an accurate and precise fit.

Learning how to scribe wood is a skill that elevates your woodworking projects to new heights. With this comprehensive guide, you’re equipped with the knowledge and techniques to scribe wood effectively, creating seamless joints and professional-looking finishes in your woodworking endeavors. 

Recent Posts
Share article: