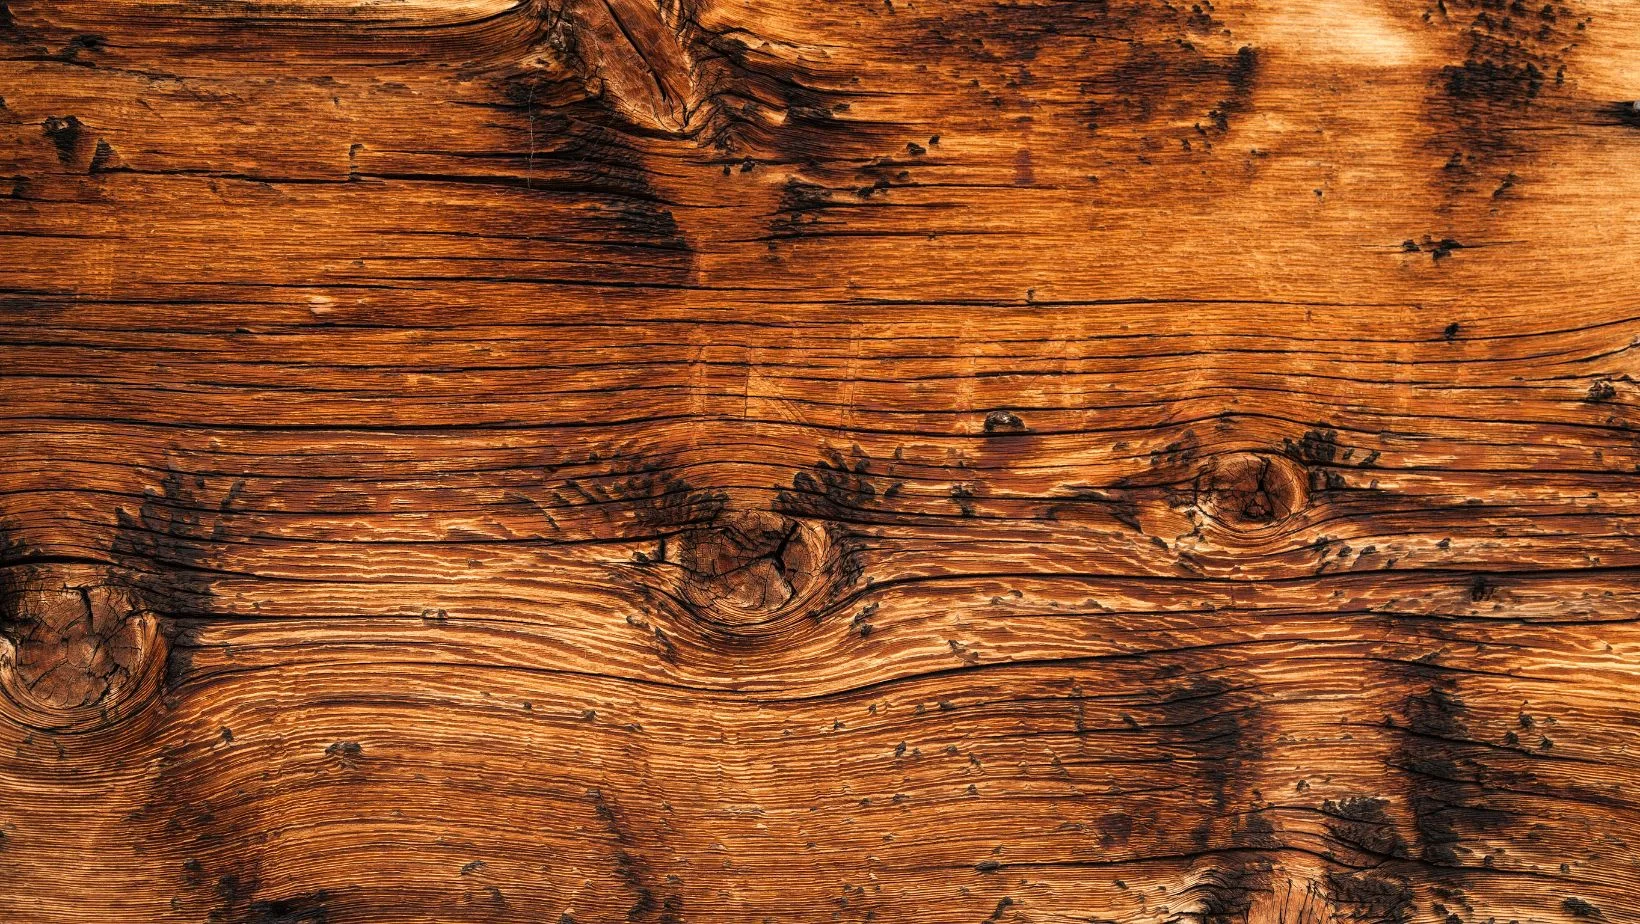
Distressed wood has a unique, rustic charm that can add character and warmth to any space. Whether you’re upcycling old furniture or giving new pieces a vintage feel, distressing wood is a fun and creative project. Here are three easy ways to achieve that weathered, well-loved look on your wooden surfaces.
1. Manual Methods of Distressing Wood
Dull Objects
- Create Dents with a Chain
Gently strike the wood in various places with a chain to create a series of shallow dents. This method helps to mimic the natural wear and tear that occurs over time.
- Tap with a Hammer
For precise control, use the side of the hammer rather than the face. Lightly tap the wood to create small indentations without leaving circular marks. This technique adds subtle, realistic distressing.
- Round Off Edges
Use a sander to smooth out angular corners and edges. Rounding off these areas is essential, as naturally weathered wood rarely has sharp edges or corners. This step ensures a more authentic, aged appearance.
- Add Grooves Sparingly
Tilt the sander and gently press it against the wood’s surface to create deep grooves. Be cautious and do this sparingly to avoid over-distressing. These grooves add depth and character to the wood, enhancing its weathered look.
Sharp Objects
- Enhance with a Nail Set
Use a nail set, which is blunter than nails, to tap shallow indentations in the wood at various locations. This adds further marks that resemble insect damage, enhancing the overall distressed look.
- Create Unique Marks with Screws
Lightly hammer a few screws into the wood. Be careful not to hit too hard to avoid leaving a clear imprint of the screw’s shape, which looks unnatural. This technique adds random, unique marks to the wood.
- Add Scratches with a Saw Blade
Use an old saw blade to make scratches of varying lengths and depths across the wood surface. This adds a layer of realistic wear and tear, giving the wood a more authentically distressed appearance.
2. Liquid Methods
Stains and Water
- Mist the Wood with Water
Lightly spray the wood with water using a spray bottle. Staining dry wood often results in a uniform color, which doesn’t mimic natural aging. Misting the wood ensures a more varied absorption of the stain, creating a more authentic, worn appearance.
- Stain the Wet Wood
While the wood is still damp, use rags to apply the stain. The water causes the wood to absorb the stain unevenly, resulting in color variations that look realistic and naturally aged. This technique highlights different areas and enhances the distressed look.
Vinegar and Steel Wool
- Prepare the vinegar mixture: Fill a spray bottle halfway with white vinegar.
- Prepare the steel wool: Tear a piece of steel wool in half and fray the ends. Drop the steel wool into the vinegar.
- Let the mixture settle: Leave the container with the vinegar and steel wool mixture in the sun for one day. This allows the steel wool to react with the vinegar and create a staining solution.
- Spray the wood: Spray the vinegar and steel wool mixture onto the wood. After the spray dries, the wood will take on an appealing gray-silver color, similar to old pallet wood, giving it a naturally aged look.
3. Paint Methods
- Apply the Base Coat
Without sanding the wood beforehand, apply a base coat of paint using a chip brush. Choose a light hue for this initial layer, ensuring it is thick and substantial.
- Apply the Top Coat
Once the base coat is dry, apply a top color coat with another chip brush. Don’t worry about being too neat, as you will sand this layer later.
- Allow the Paint to Dry Completely
Wait for the paint to dry thoroughly. It’s crucial to ensure the paint is fully dry; otherwise, sanding too early will cause the paint to peel and shred.
- Lightly Sand by Hand
Spot-sand key areas like edges and corners. Sand just enough to reveal the light base coat underneath the top color, creating a naturally distressed look.
Distressing wood is a fantastic way to give new life to furniture and decor, making them look like cherished heirlooms. Whether you prefer the subtle wear from sanding, the rugged texture from hammer and nails, or the vintage patina from a vinegar and steel wool mixture, these techniques are easy to follow and highly rewarding. Happy crafting!


