Your home’s subfloor might not be something you think about often, but it plays a crucial role in maintaining the structural integrity and stability of your house. Over time, due to water damage, pests, or simply wear and tear, subfloors can deteriorate and require replacement. While the task might seem daunting, with the right tools, materials, and know-how, it’s a manageable project that can be tackled by DIY enthusiasts or professionals alike. In this step-by-step guide, we’ll walk you through the process of replacing a subfloor, ensuring your floors remain strong, stable, and beautiful for years to come.
Signs You Need to Replace Your Subfloor
Subfloor deterioration is frequently attributed to moisture, which can come from various sources such as floods, burst pipes, leaks, or excessive humidity. Additionally, improper installation can exacerbate the problem.
Recognizing the replacement indicators is crucial. These signs include:
– Squeaky floorboards
– Uneven flooring
– A musty odor
– Sensation of flooring movement while walking
How to Replace a Subfloor
Step 1: Remove the Baseboards
Before proceeding with the subfloor removal, it’s essential to remove the baseboards and any quarter-round trim near the area. Using a flat pry bar, carefully pry off each baseboard and trim, setting them aside for later. This step will allow for easier access and ensure a clean removal of the subfloor.
Step 2: Remove the Floor Covering
To prepare for subfloor removal, start by carefully removing the floor covering directly above the targeted area. Cutting a few extra inches beyond the planned removal zone allows for easier maneuvering. The removal process varies depending on the type of flooring.
For laminate or luxury vinyl plank flooring installed parallel to the wall, lifting is typically straightforward. Self-adhesive vinyl tiles can be peeled away, while sheet vinyl may require dragging back. Ceramic and porcelain tiles must be cracked to chip away the thin-set cement. Solid hardwood and engineered wood flooring parallel to the wall may be pried off, although some boards may incur damage during removal.
Step 3: Remove Underlayment
Prior to subfloor removal, it’s essential to eliminate any thin underlayment present between the subfloor and the floor covering. Here’s how to do it:
Using a utility knife, carefully cut away any foam or felt underlayment from laminate flooring. Set the circular saw to the appropriate depth for a 1/4-inch plywood underlayment board, ensuring it does not go deep enough to cut the material underneath. This step ensures a smooth and controlled removal process, allowing for easier access to the subfloor.
Step 4: Cut the Nails
First, attach the metal-cutting blade to the oscillating multitool. It’s crucial to wear protective gear, such as eye and ear protection, before operating the tool. Once you’re ready, carefully position the blade beneath the bottom plate of the wall. Then, with the multitool running, gently remove any nails that extend downward from the bottom wall plate. This step ensures a smoother and safer removal process, allowing for easier access to the subfloor.
Step 5: Cut Away the Subfloor
Adjust the circular saw to the appropriate depth, ensuring it cuts solely through the subfloor and not the underlying materials. Keep in mind that circular saws typically cannot cut flush with the wall, so aim to cut as close as possible—most saws allow for a cut within an inch or two of the wall.
After making the initial cut with the circular saw, use a hand saw to continue cutting along the sides of the square cut-out until you reach the base plate of the wall.
Step 6: Remove the Subfloor from Under the Wall
When removing the subfloor beneath the wall, the method depends on the extent of decay:
If the subfloor is significantly decayed, gently pull back on the remaining portion and manually remove it.
Alternatively, if the decay is not severe, follow these steps:
Using a 3/4-inch auger bit attached to a drill, drill to a depth of 3 1/2 inches beneath the bottom plate of the wall on both sides of the deteriorated area. The auger bit functions similarly to a saw, cutting away at the wood.
If the edge of the subfloor contacts the joist, the section should come out easily. If not, proceed to the next step for further removal. This method ensures precise removal of the subfloor while minimizing potential damage to surrounding structures.
Step 7: Remove the Subfloor from the Other Side if Necessary
If the subfloor extends beyond the wall as a continuous sheet, repeat the removal process on the other side to ensure access to the targeted area.
Step 8: Inspect the Joists
Once the subfloor has been removed, take the opportunity to inspect the joists. If any are damaged or broken, it’s essential to address them promptly. Repair or replace damaged joists as needed to maintain structural integrity. In some cases, reinforcing damaged joists with an additional support joist using heavy-duty adhesives may be necessary to ensure stability and strength. Regular inspection and maintenance of joists are crucial for the long-term durability of your flooring structure.
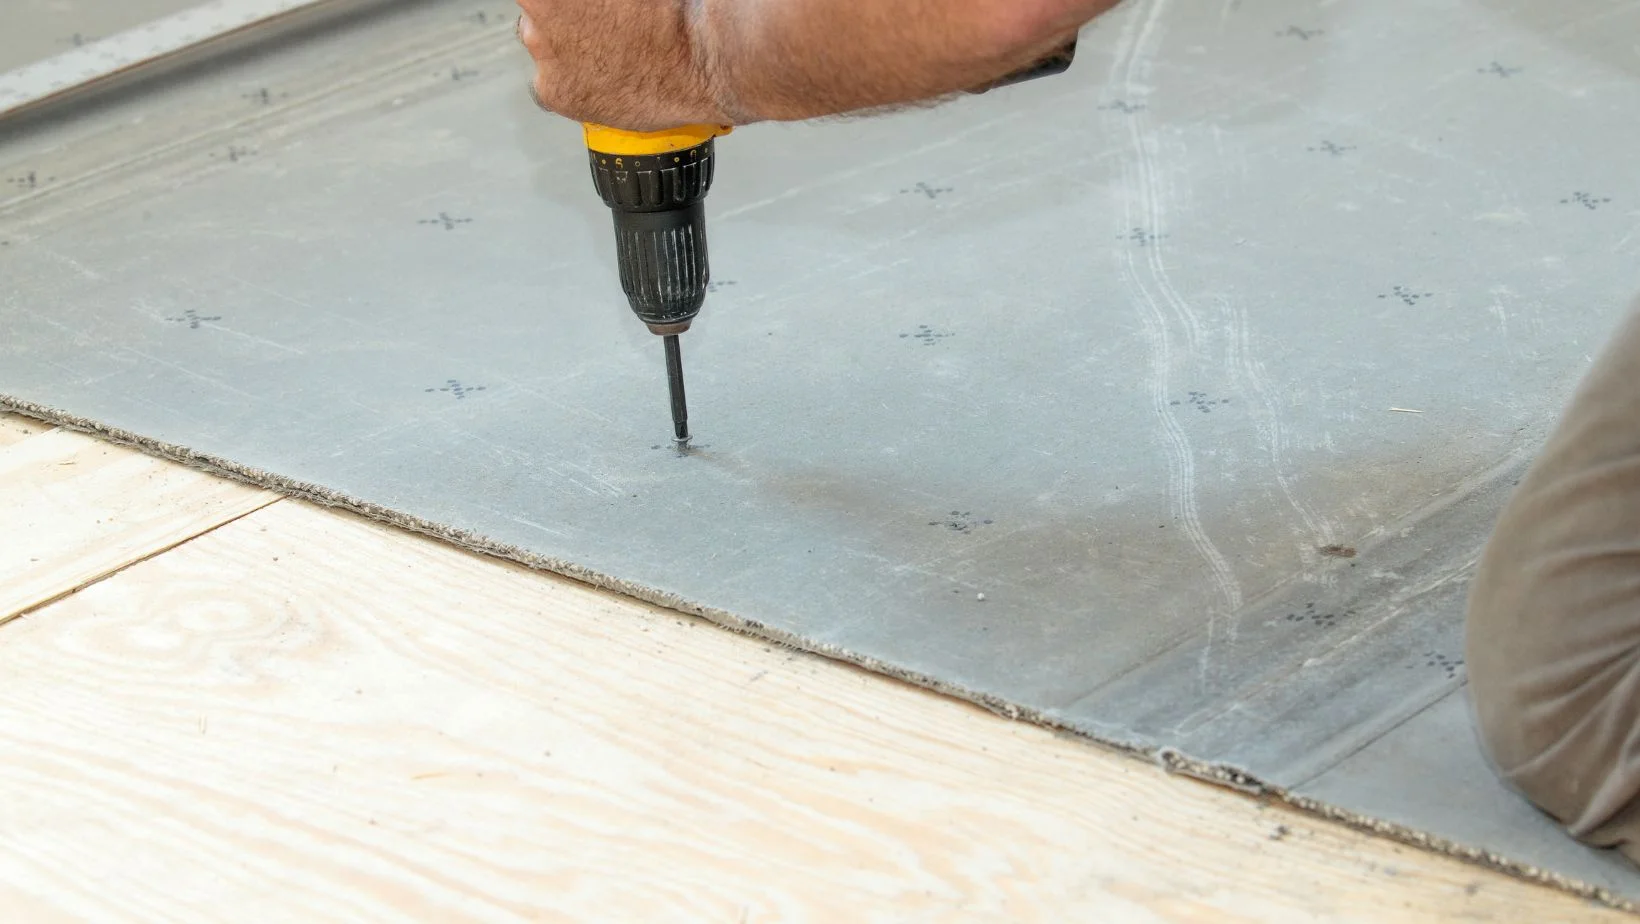
Step 9: Install the New Subfloor
To install a new subfloor, start by measuring and cutting a piece that fits the area precisely. Make sure the edges align with the joists for optimal support. When installing plywood or tongue-and-groove flooring, ensure that the joint connections are centered on a joist for added stability. Secure the new subfloor to the joists using screws, and consider using construction adhesive between the subfloor and joists to minimize squeaks or creaking noises.

Step 10: Install the Top Floor
Once the new subfloor is in place, you can proceed with installing the top floor. If the existing flooring is still in good condition, you may choose to reinstall it. This could include hardwood, engineered wood planks, or carpeting. Alternatively, if the old flooring is damaged or you prefer a new look, you can opt to replace it entirely. Choose flooring materials suitable for the area, considering factors like durability and moisture resistance. If the area is prone to leaks or moisture issues, consider implementing waterproofing measures to protect the new flooring and subfloor from damage.
Replacing a subfloor may seem like a daunting task, but with the right tools, materials, and know-how, it’s a project that can be tackled by DIY enthusiasts or professionals alike. By following this step-by-step guide, you can ensure that your floors remain strong, stable, and beautiful for years to come.