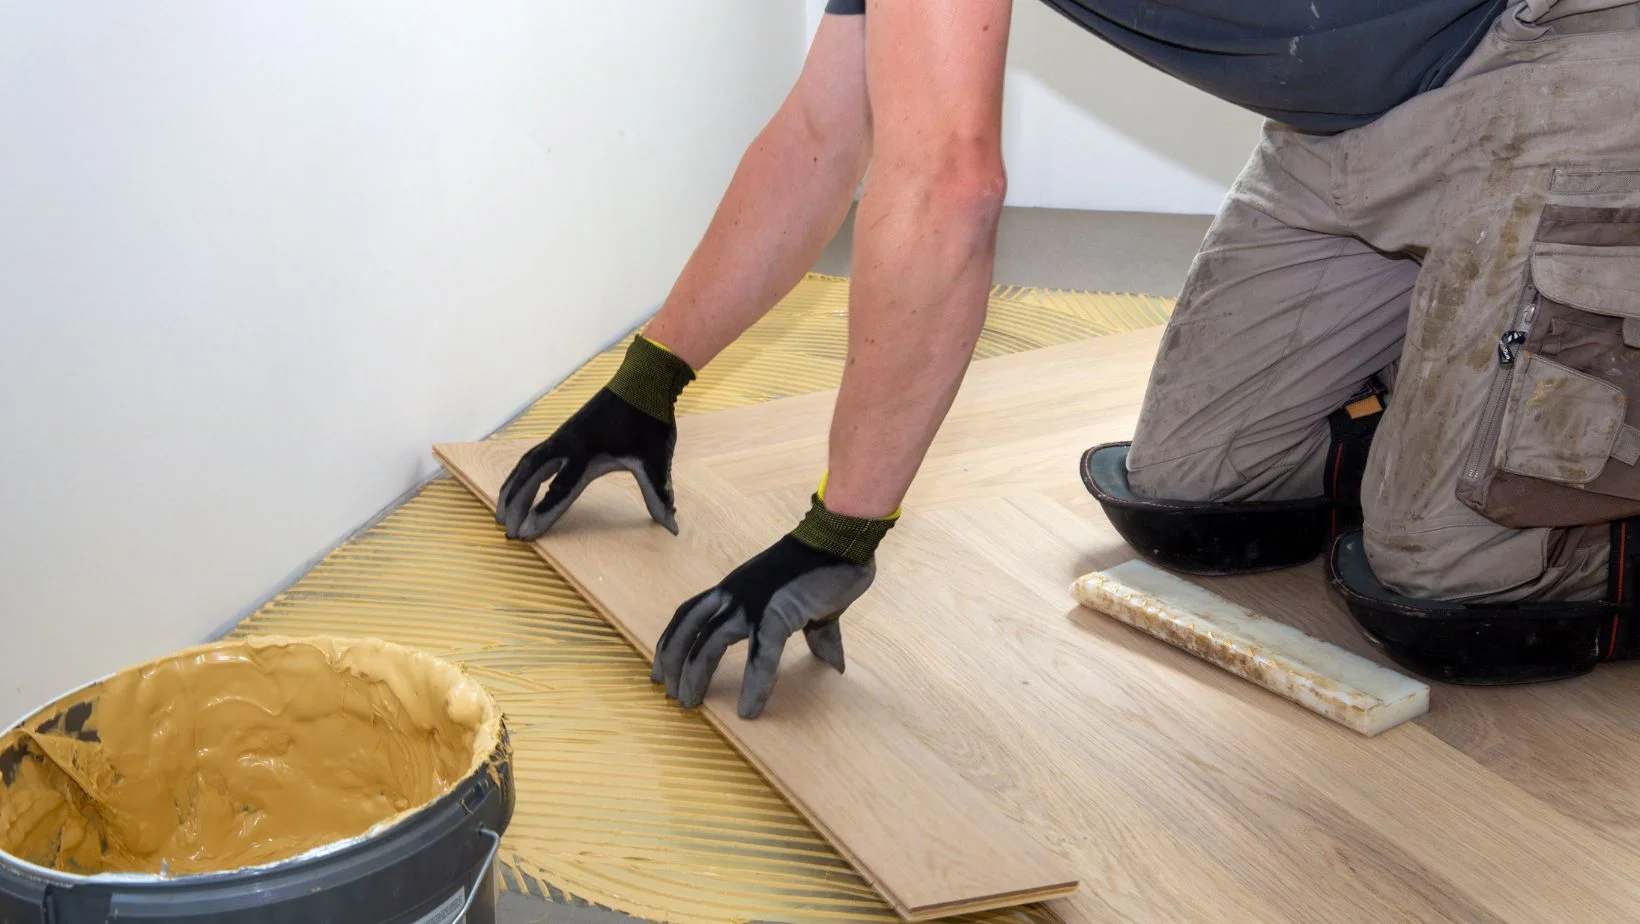
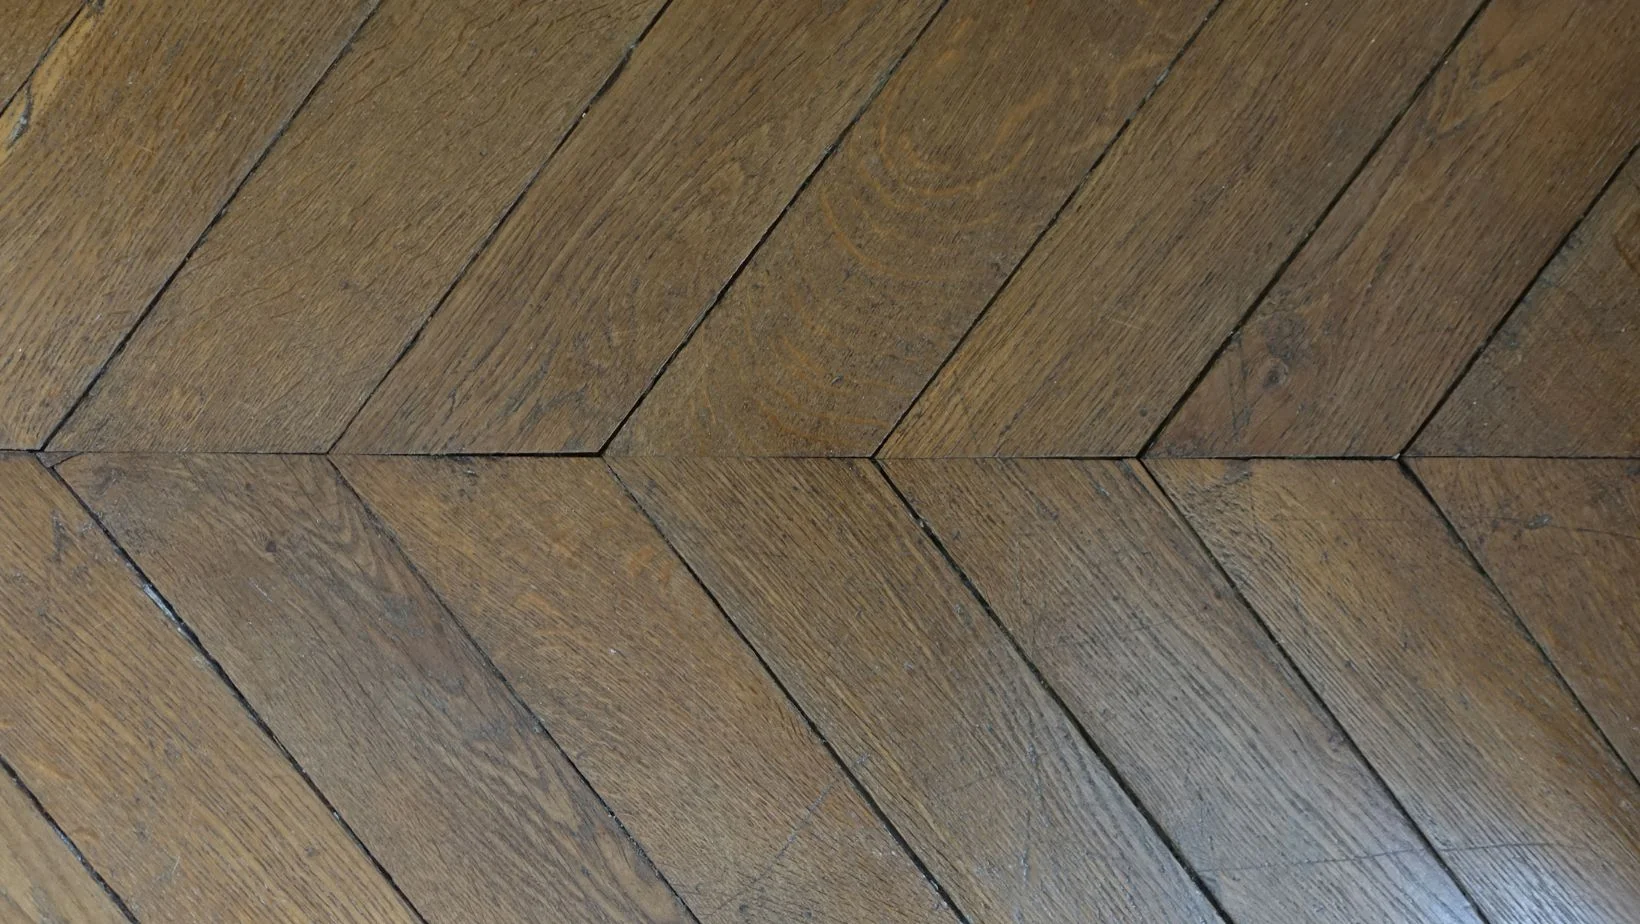
Transforming your space with a stunning herringbone floor doesn’t have to be a daunting task. With the right tools, materials, and a bit of know-how, you can achieve a professional-looking herringbone pattern right in your own home. In this guide, we’ll walk you through the step-by-step process of DIY herringbone floor installation, making it accessible and enjoyable for anyone looking to upgrade their flooring.
1. Mark the Centerline
To begin, create a chalk line running down the middle of the room. Then, employ a trammel to establish a perpendicular line intersecting at the midpoint. Use the trammel to outline a semicircle over the centerline, anchoring one end at the tip and marking intersecting arcs from the opposite end. Connect the points where these arcs intersect using a straightedge. These perpendicular lines now serve as the framework for the rectangular area where the herringbone pattern will be laid.
2. Determine the Length
When cutting herringbone slats, their length must be a precise multiple of their width. However, laying out the pieces to estimate the approximate length needed to fit within your designated area is advisable. The goal is to ensure that you have a full-length slat on each side. Utilize a rafter square to position the first piece at a 45-degree angle to the midline, then create a zigzag pattern outward. Overlap sections at 90-degree angles to compensate for length discrepancies. Once you’re done, establish the precise length and note it for future reference.
3. Create a Test Panel
Once you’ve established the length of your slats, measure and mark one strip. Cut it using a miter saw and set-aside any extra from the tongue end. Next, dry-fit the number of strips equal to the length of the test slat. Use a rubber mallet to ensure a snug fit, and wedge the tongue of the test slat into the panel’s end groove. This ensures that the ends of the slat are perfectly flush with the panel’s edges. If they’re not, measure and adjust accordingly until you achieve the desired fit.
4. Cut the Slats
Once you’re satisfied with the slat length, set up a stop block and proceed to cut the remaining slats accordingly. Remove any tongue ends.
5. Add Grooves to the Flat Ends
Herringbone slats require grooves at both ends for effective interlocking. Adjust the depth of the flooring router bit using a slat’s groove as a guide. Secure one slat to a workbench and cut the end accordingly. Test your work by inserting a tongue into the new groove. If everything fits correctly, cut the remaining slats to the exact specifications.
6. Find the Working Distance
To ensure the proper alignment of each slat, it is essential to draw parallel working lines on each side of the midline. Begin by establishing your first working line at a 45-degree angle from one corner of a slat using a rafter square. Next, determine the distance to the second working line by drawing a line from the opposite corner that intersects the first line. From the junction point, draw a perpendicular line to the border of the slat. Then, extend a line parallel to the top of the “T” to represent the centerline. This process ensures consistent and accurate placement of each slat within the herringbone pattern.
7. Mark the Floor
Position the slat so that the last line you drew intersects with the centerline. Proceed to mark each corner of the slat at regular intervals along the centerline. Using a straightedge to connect these markings and create two working lines that will guide the placement of subsequent slats.
8. Install the Nailing Blank
Use a circular saw to cut the factory corner of a ¾-inch plywood sheet into a right triangle, with two sides matching the length of your slats. Next, mark the centerline of this blank and align it with one of the working lines previously drawn. Secure the blank to the subfloor by screwing it in place, ensuring that the long edge is positioned along the upper boundary of your designated field.
Once secured, create a groove along the two front edges of the blank using an appropriate tool. This groove will facilitate the interlocking of the herringbone slats and ensure a seamless and uniform installation process.
9. Establish the Pattern
Begin by aligning the first slat with the side of the blank covering the centerline, ensuring the tongue is pointing outward. Lay the second slat down the opposite side of the blank, allowing it to overhang the end of the first slat. Align its corners with the working lines and ensure the tongue is pointing outward.
10. Nail the Wood into Place
Position a flooring nailer on the tongue edge of the first slat. Using a mallet, drive nails into the slat every 5 inches. Once the first slat is secured, double-check the alignment of the second slat before nailing it into place. This ensures a snug and uniform fit of the herringbone pattern.
11. Finish the Course and Reverse the Blank
Install the third slat, which will overlap the end of the second slat, followed by the fourth slat, which will overlap the end of the third slat. Continue in this way until the chevron’s tip hits the border. Unscrew the blank, flip it, and press it against the tongue of the last slat placed; keep level with the end, then screw it into the subfloor.
12. Begin the Second Course
Put the next slat against the plank, with the tongue extended. Check for tight joints and nail them in place. Continue until the chevron crosses the other border. Continue adding slats until the ends reach the side borders.
13. Backfill the Empty Triangles
Since nailing into the groove of a slat isn’t feasible, you’ll need to reverse the direction of the slats to cover the areas left by the blank. This requires using a flooring spline, which enables you to join two grooves together seamlessly. Start by applying a bead of wood glue into the groove of an installed slat.
Insert the spline into the glued groove and secure it with nails. From there, continue working off the “tongue” of the spline, adding slats until the border of your designated field is fully covered. This method ensures a cohesive and visually appealing herringbone pattern across your floor.
14. Mark the Overlap and Cut off the Excess
Trim the slats overflowing the field’s boundaries to ensure a straight line. Use painter’s tape to draw a cutline, as indicated. The tape will prevent splintering as you cut.
Screw a strip of molding or other material to a narrow piece of plywood, align the circular saw’s fence with the strip, then tear the plywood to produce a lengthy cutting guide for the saw. Line up the guide over the tape and use spacers to secure it to the subfloor, where it reaches over the installed flooring. Set the circular saw on the guide and the blade depth to just a bit more than the slat thickness. Trim the slats on the border.
With a bit of patience and attention to detail, DIY herringbone floor installation can be a rewarding and relatively straightforward project. By following these steps and taking your time, you can create a stunning herringbone pattern that adds style and sophistication to any room in your home. So roll up your sleeves, gather your materials, and get ready to enjoy the beauty of your newly installed herringbone floor!


