Welcome to a world of secrecy and creativity! Join us as we explore Hidden Door Ideas and delve into the art of building a hidden door right into your own space. If you’ve ever been intrigued by the notion of building a secret door or simply enjoy a good old-fashioned hideout, you’re in for a treat. In this blog, we’ll unlock a treasure trove of innovative ideas and practical tips for crafting your very own concealed entrances. From bookshelf doors to mirror doors and beyond, join us on a journey that combines imagination and craftsmanship, turning your home into a realm of wonder and surprise.

1. Remove Door Stops
If you’re working in an existing doorway, you’ll want to make sure the door can open and close both ways. To get rid of those door stops on a site-built frame, grab a utility knife and score along each one, then use a pry bar to pop them out. Don’t forget, before you dive into the project, to patch up any holes or cracks with wood filler and give the frame a good sanding for a smooth surface.
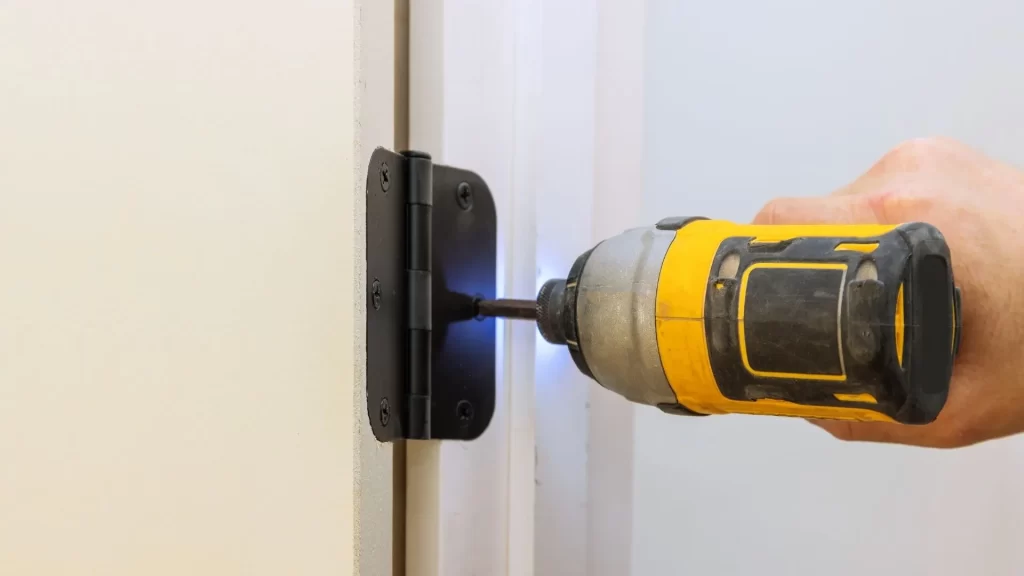
2. Install the Pin Hardware
To prevent the door from getting stuck, move it in by an extra ½ inch from the side jamb and set it back half the thickness of the door so that the door’s front is flush with the jamb. Use a Forstner bit to create overlapping holes, then insert the socket. Double-check its position and secure it with 1-inch wood screws. Attach the hinge pin to the door. Keep in mind that since the socket’s placement will shift your door by ½ inch, you might need to make adjustments to fit it into the jamb.
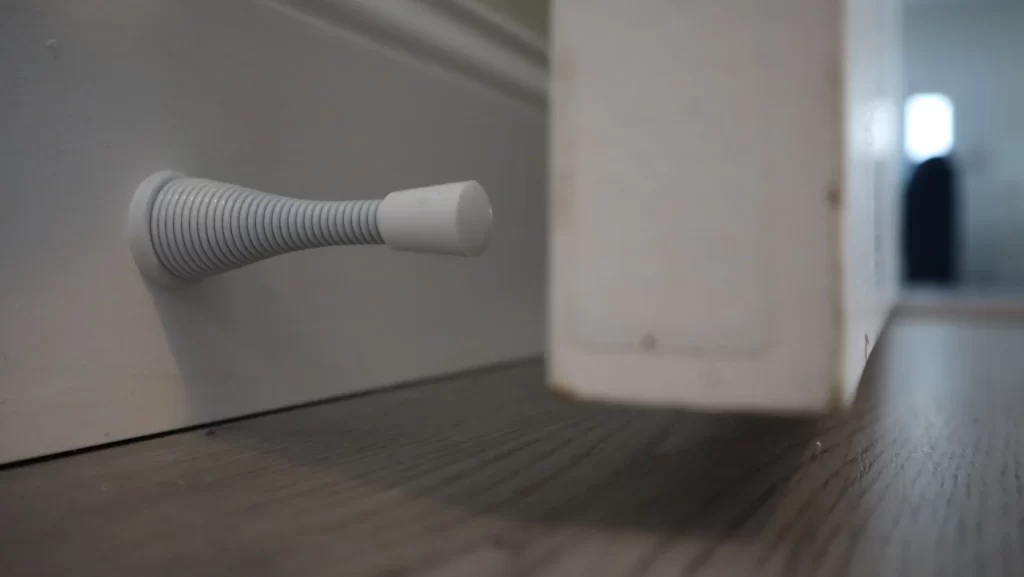
3. Fasten the Spring
To install the spring hardware for your door, begin by tracing an outline of the hardware’s placement in the bottom corner of the door and carefully cutting a corresponding notch using a jigsaw. Secure the hardware firmly in place using screws. Next, mark the floor by dropping a plumb bob from the socket’s pinhole. Insert the pin into the socket and position the spring hardware on the marked spot to align the door properly. Prop the door open, check for vertical alignment using a level, and then secure the spring hardware to the floor using 1-inch wood screws. This process ensures that your door swings smoothly and stays securely in place.
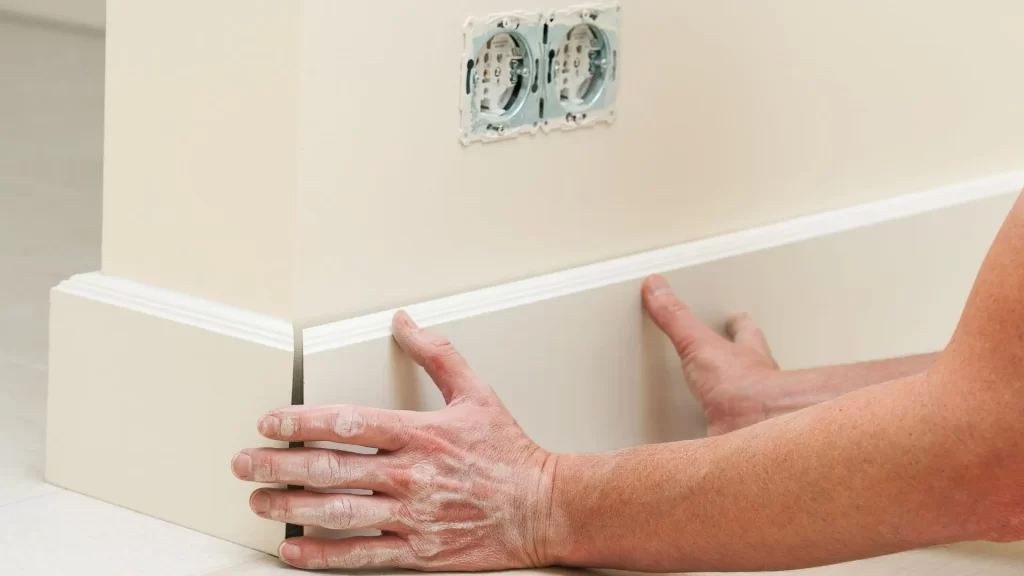
4. Attach the Baseboards at the Corners
Measure the space between the nearby baseboard and the door’s edge. Cut a 45-degree miter at the end of the baseboard to create a snug fit in the sizable gap between the door and the door jamb, ensuring that the miter faces the gap. Following the provided guidelines, apply wood glue to the back of the cut piece and affix it securely with a pneumatic brad gun using 18-gauge brads. Repeat the same process on the opposite side of the door for a consistent finish.
5. Mark the Baseboards
Measure the distance between the two previously installed baseboard pieces, and then use a miter saw to cut a new piece that fits snugly across the bottom of the door. Make straight cuts at both ends. Since the spring hardware on the door sticks out, you’ll need to create a recess in the back of the board to accommodate it. To mark the required recess, position the baseboard in place and gently tap it with a hammer, leaving an imprint on the back of the board.
6. Rout the Baseboards
Trace the recess shape you marked earlier and secure the baseboard face-down onto your work surface. Adjust your router’s depth to 1/4 inch and carefully rout along the outlined area, removing any excess material within it. Once the recess is prepared, fit the baseboard against the door, making sure it sits flush with the door and aligns with the neighboring pieces at the top edge. Apply wood glue and secure it in place with tacks or nails to complete the installation.
7. Cut and Scribe the Stiles
To ensure a snug fit for the side stiles against the baseboard, use a chisel or oscillating multitool with a flush-cutting blade to notch the base cap molding on adjacent walls. Use a 12-inch scrap as a cutting guide. Measure and cut the stiles from the top of the baseboard to the ceiling.
Make a mark to indicate where a stile should intersect the top of the door frame in order to cover the space but still enable the door to move easily. Scribe the stile by aligning a wider board vertically against the wall, marking points on the head jamb, and using a compass to create a precise shape with a jigsaw or circular saw. Repeat the process on the opposite side.
8. Mark the Rails and Rout the Edge
First, use a level as a straightedge to trace the paneling design, which includes a central stile and four intersecting rail sets, onto both the door and the wall. To ensure a smooth fit for the door rail ends against the side stiles, make 45-degree chamfer cuts at the points where they meet. Next, position one of the stiles beside the door and use a 1/4-inch piece to mark its edge. Then, securely clamp the marked stile face-down onto your work surface, aligning its edge with the table’s edge. Using a router with a 45-degree piloted chamfer bit, set the depth to stop just short of cutting through the stile’s face. Rout the chamfered notch between each pair of markings on the stile. Finally, repeat the same process to chamfer the second stile in the same manner.
9. Install the Side Stiles
Apply a line of wood glue to both the left-hand door jamb and the back of the stile. Carefully attach the stile in a way that conceals the gap at the jamb, then firmly press it into its designated position, following the provided markings. Proceed to set up the opposite stile in the same manner. Next, position the center stile board against one of the side stiles and measure the distance between it and the adjacent stile. Divide this length by two to determine the required length for each rail, and then use a miter saw to cut them to the appropriate size.
10. Add the Rails and the Center Stiles
Cut two furring strips to fit between the baseboard and the bottom rail line, and use them to push up the door rails while you work. Apply adhesive to the rear of the right railing, place it onto the strips, and secure it to the door. Install the top right rail of the door using the spacers once again.
To properly fit within the space between the bottom of the wall and the upper part of the door, determine the dimensions and trim the ½×4 central vertical support. Apply wood glue to the reverse side of the piece and push it onto the door, nestled against the two installed rails, and butted against the baseboard. Use 18-gauge brads to secure it.
11. Extend the Center Stile
Once you’ve applied glue and secured the middle stile to the door with nails, utilize the furring strips as spacers to attach the remaining two door rails. This will help maintain proper spacing and alignment.
For the area between the side stiles near the ceiling, measure, cut, and install a ½×6 rail. In this scenario, the top rail is fashioned into a newel post, with a notched piece connecting it diagonally to the right-hand side stile. Measure and trim the uppermost part of the center stile to ensure it extends just below the jamb, leaving enough clearance for the door to open smoothly. Following the demonstration, apply glue and secure it in place with tacks.
12. Finish the Door
To install the top right-hand rail, follow these steps:
- First, measure and cut the rail, ensuring it’s slightly longer than required.
- Begin by dry-fitting the rail with one of its corners slightly overhanging the diagonal board.
- Then, align a straightedge along the intersecting slope to guide your utility knife as you mark the cutline.
- After marking, trim the excess using a miter saw.
- Apply glue to the rail and secure it in place.
Hidden Door Ideas
- Closet Door: Create a hidden entrance behind a functional closet that seamlessly integrates with your interior design.
- Mirror Door: Install a full-length mirror that doubles as a hidden door, swinging open to reveal a concealed space.
- False Wall Panel: Construct a fake wall panel with a hidden latch or push mechanism that opens to reveal a hidden room or storage area.
- Hidden Cabinet Door: Hide the door within cabinetry or cabinets, which can open to reveal secret rooms or compartments.
- Under-Staircase Door: Utilize the space beneath a staircase and install a hidden door that leads to a hidden room or storage area.
- Bookcase door: Build a hidden room concealed behind a large, ornate bookcase that pivots open to reveal a concealed chamber.
Building a hidden door is a fascinating project that can add both functionality and intrigue to your home. Whether it’s a bookshelf or mirror door, with careful planning and creativity, you can create a captivating hidden entrance that will be both functional and conversation-worthy. So, unleash your DIY spirit, and enjoy the thrill of crafting your very own secret passage.