Want to update the look of your area by installing new flooring? The installation of flooring up against walls is a crucial part of finishing the floor professionally. Though perfecting this skill may seem difficult, you need not worry. In this detailed tutorial, we’ll show you how to do it properly so that your floors and walls match up perfectly. We’ll take care of everything, from laying out the boards to making sure they’re the right size. Get ready to roll up your sleeves and get to work transforming your place.
The Importance of Installing Flooring Against Walls
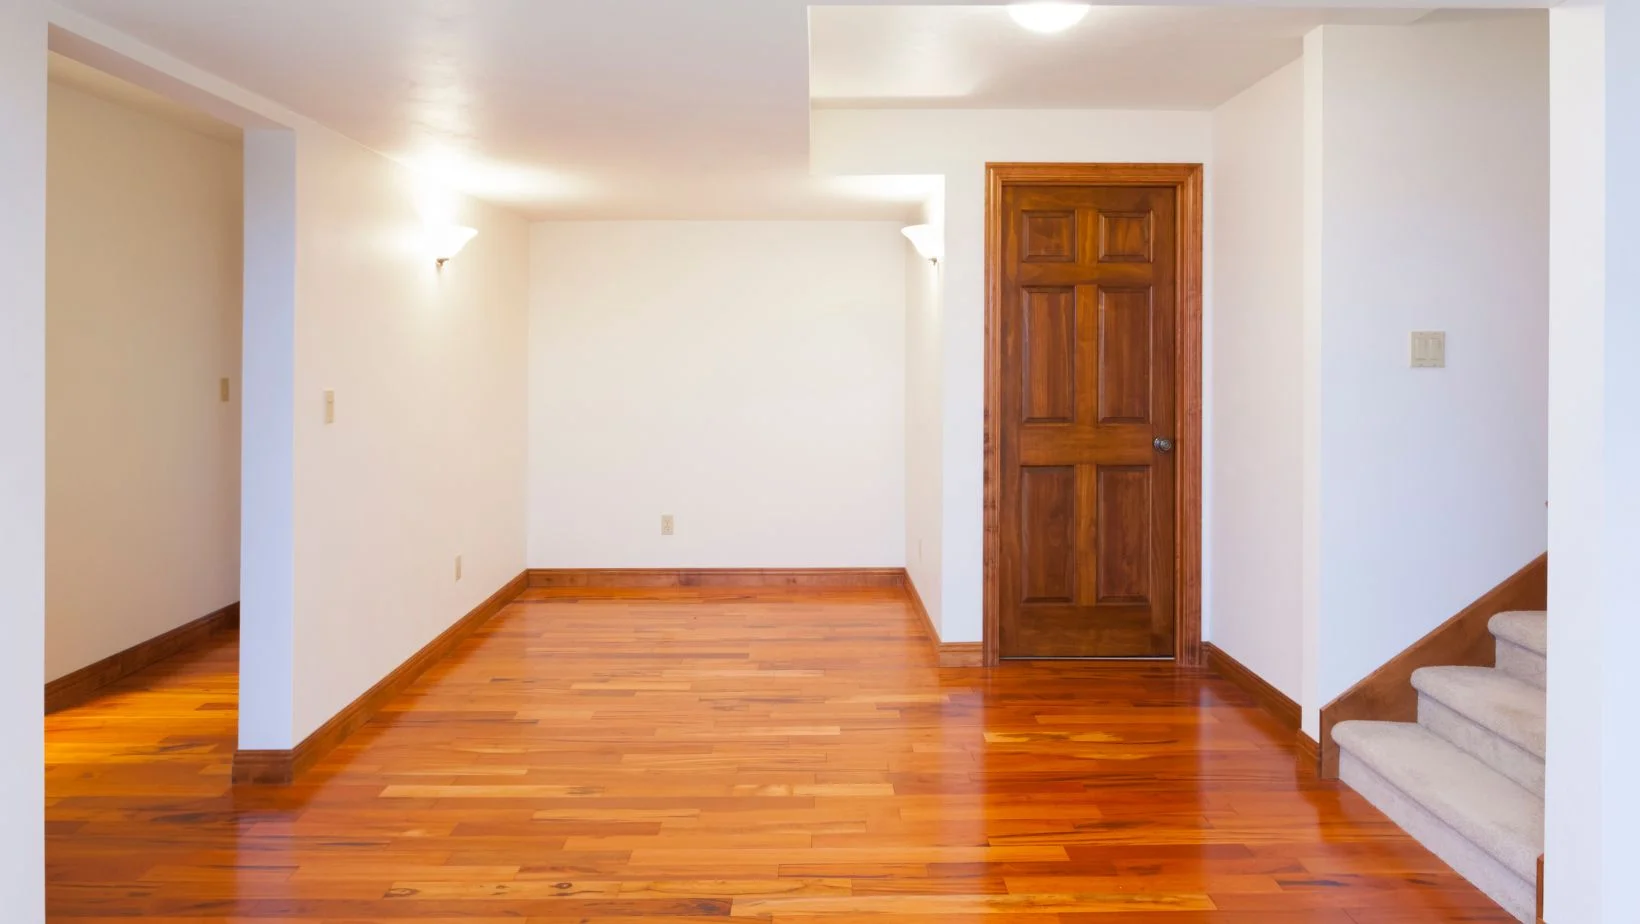
When it comes to flooring installation, fitting the flooring against the walls is a crucial step that can greatly impact the overall look and longevity of your flooring. Properly fitting the flooring against the walls ensures a seamless and professional finish while also allowing for the necessary expansion and contraction of the material. Whether you are installing laminate, hardwood, or any other type of flooring, mastering the art of fitting it against the wall is essential for any successful installation.
Tools and Materials Needed
Before you begin fitting your flooring against the walls, it’s important to gather all the necessary tools and materials. Here are the items you will need:
– Utility knife: A sharp utility knife will be your best friend throughout the installation process. It will help you accurately and efficiently cut the flooring to fit against the walls.
– Wall panel: If you are installing laminate flooring, you may need wall panels to create an accent wall or to match the flooring with the walls.
– Small plastic spacers: These helpful pieces, known as expansion gap spacers, are used to maintain a specified distance between a floor and a wall. This gap permits the floor to expand and contract in response to variations in humidity and temperature.
– Tongue and groove adhesive: If you are installing tongue and groove flooring, you may need adhesive to secure the planks together.
– Measuring tape: Accurate measurements are crucial when fitting flooring against walls. A measuring tape will help you ensure that your cuts are precise and your flooring fits snugly.
Preparing the Walls for Installation
In order to begin fitting your flooring up against the walls, you must first prepare the walls for the installation. The first step is to take away any obstructions, such as baseboards or trim. The floor can then be installed with minimal gapping between it and the walls. You can create an accent wall while laying laminate flooring by setting up the wall panels at this time. The panels can be sized and shaped to fit the area of installation, and then adhesives can be used to keep them in place.
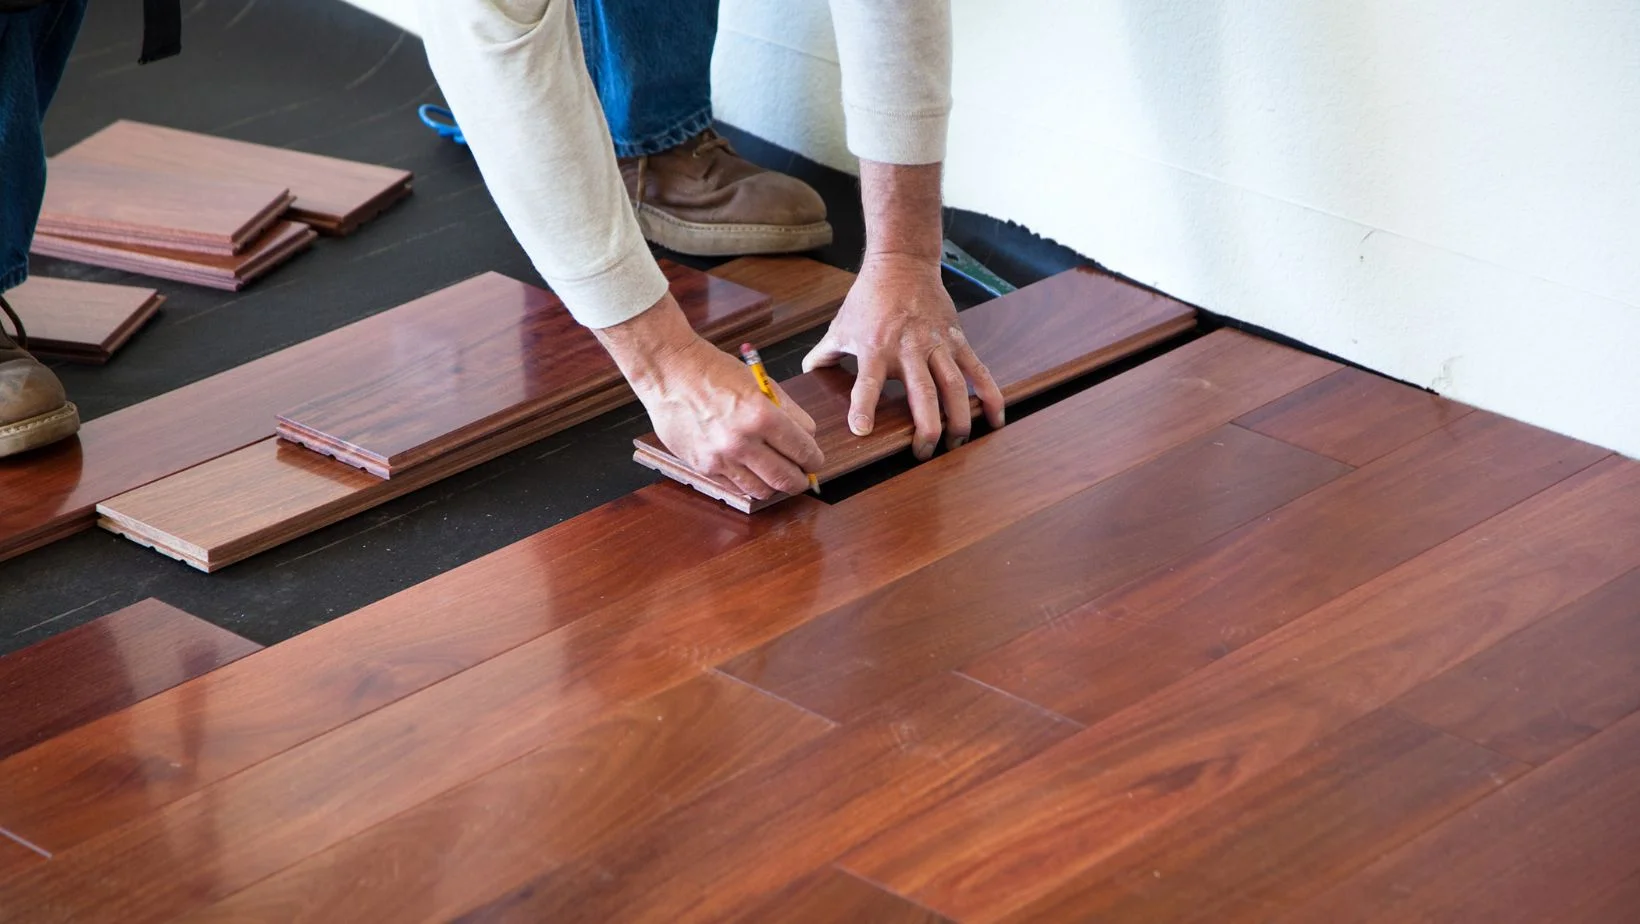
Measuring and Cutting the Flooring
When installing flooring next to walls, precise measurements are essential. First, make sure you account for all of the room’s odd angles and dimensions by measuring its length and width. Laminate flooring requires an expansion gap of 1/4 inch, so be sure to measure twice before cutting. Make clean, accurate cuts with a straightedge and utility knife. For efficiency, check your measurements twice before cutting so you don’t waste any materials.
Installing the First Row
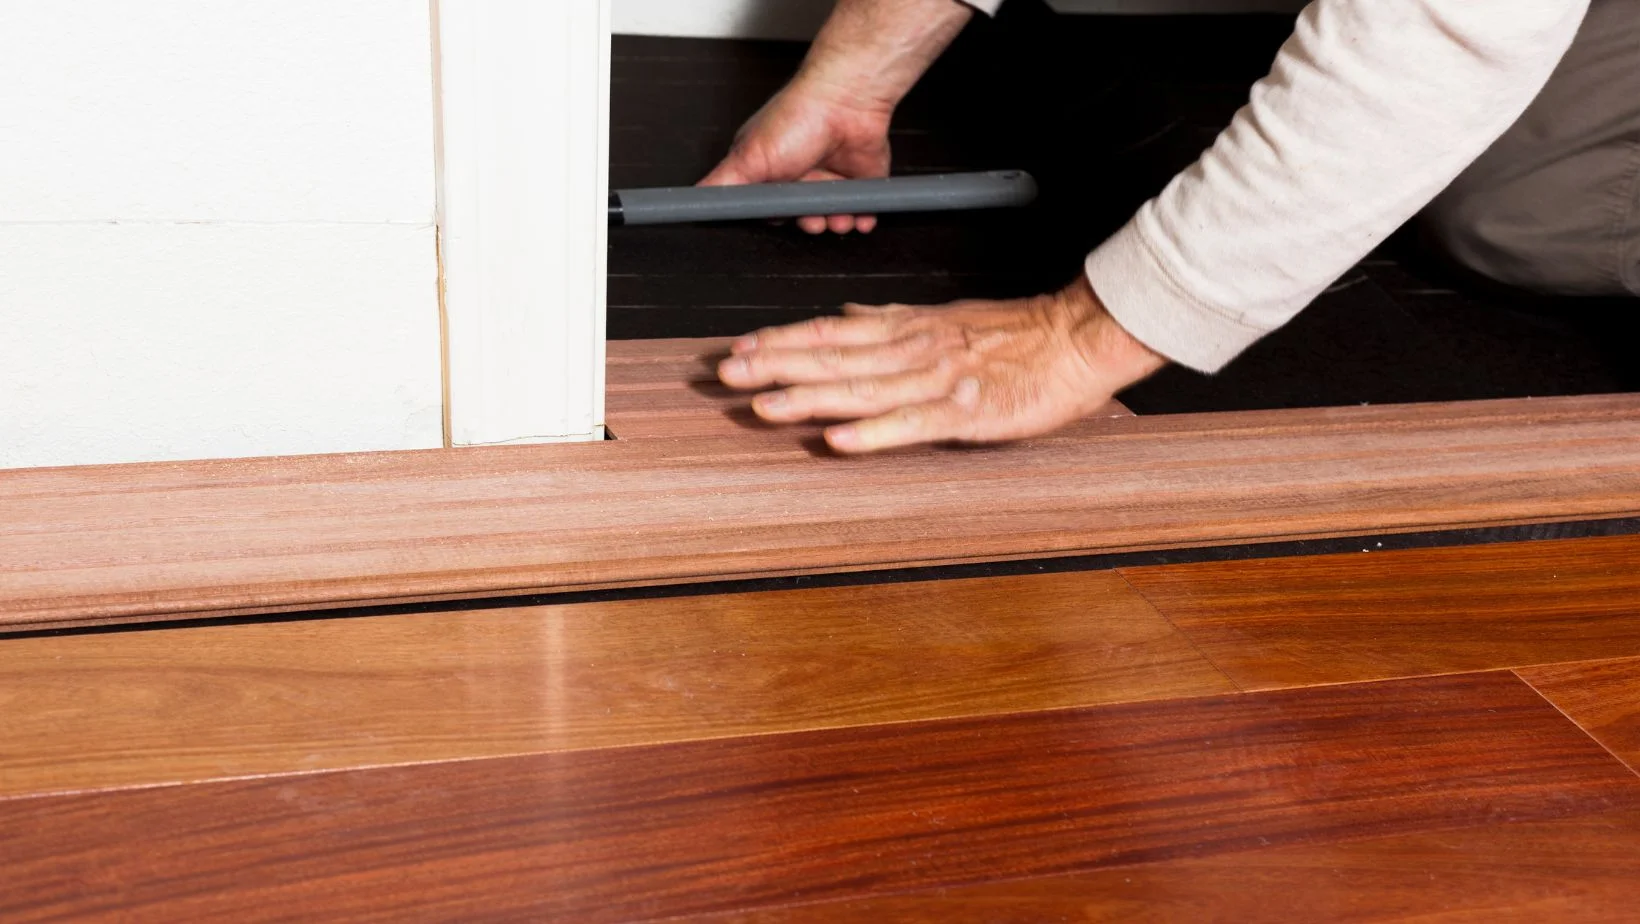
It’s time to lay down the first row of flooring after you’ve trimmed it to size. Starting at one end, neatly place the planks parallel to the longest wall of the room. Tongue-and-groove floors require adhesive in the grooves before they can be joined together. You can use a rubber mallet or a tapping block to make sure the planks are locked together tightly. When installing flooring next to a wall, use expansion gap spacers to keep the gap uniform as you move along the wall. A quarter of an inch is a good minimum, but follow the manufacturer’s guidelines for the precise measurement.
Creating an Expansion Gap
When installing flooring next to walls, leaving an expansion gap is essential in order for the planks to expand and contract in response to changes in humidity and temperature without buckling or warping. Spacers should be placed between each row of flooring and next to the wall to allow for expansion. Throughout the installation process, keep the spacing consistent. When you’re done with the installation, you can take out the spacers and cover the exposed space with baseboards or trim.
Installing Subsequent Rows
Install the second row parallel to the first and keep going until you reach the far wall. Ensure proper alignment as you go by using the expansion gap spacers. To properly install tongue-and-groove flooring, you must first fill the grooves with adhesive. To make sure everything fits snugly, use a rubber mallet or a tapping block. Cover the floor in this manner until you have completed the task.
Dealing with Obstacles and Corners
When laying flooring along walls, you’ll need to account for things like doorways, vents, and corners. Approach this step carefully to ensure that the rest of the installation goes smoothly. Customizing flooring to fit around obstructions requires precise measuring and cutting. A jigsaw or coping saw is ideal for cutting out shapes that aren’t square or rectangular. To complete the look of the corner, use corner molding or quarter round.
Finishing Touches and Trim
It’s time to add the finishing touches and trim now that the flooring is in. In order to hide the expansion gap and give the room a finished look, baseboards or trim should be installed around the room’s perimeter. If you want to make sure the trim stays put, you can use a nail gun or some adhesive. Take your time and make sure the trim fits snugly and completely covers the hole. Use a miter saw to make angled cuts for corners if necessary.
Troubleshooting Common Issues
During the installation process, you may encounter some common issues that can affect the fit of the flooring against the walls. Uneven walls or improper measurements can result in gaps between the flooring and the wall. To fix this, carefully measure and cut additional pieces of flooring to fill the gaps. Another common issue is the buckling or warping of the flooring, which can be caused by an insufficient expansion gap or excessive moisture. In such cases, consult a professional to assess the situation and make the necessary repairs.
Tips for a Successful Installation
1- Always read and follow the manufacturer’s instructions for your specific flooring material.
2- Take accurate measurements and double-check them before cutting.
3- Use the proper tools and materials for the job.
4- Take your time and work carefully to ensure a professional finish.
5- Check for any obstacles or potential issues before starting the installation.
Don’t rush the process; a successful installation takes time and attention to detail.
Fitting flooring against walls is an essential step in any flooring installation project. By following this step-by-step guide and using the right tools and techniques, you can achieve a seamless and professional finish. Remember to take accurate measurements, create the necessary expansion gap, and pay attention to the details. With practice and patience, you can master the art of fitting flooring against walls and enjoy a beautiful and long-lasting floor in your home.